📮 Save this recipe for later!
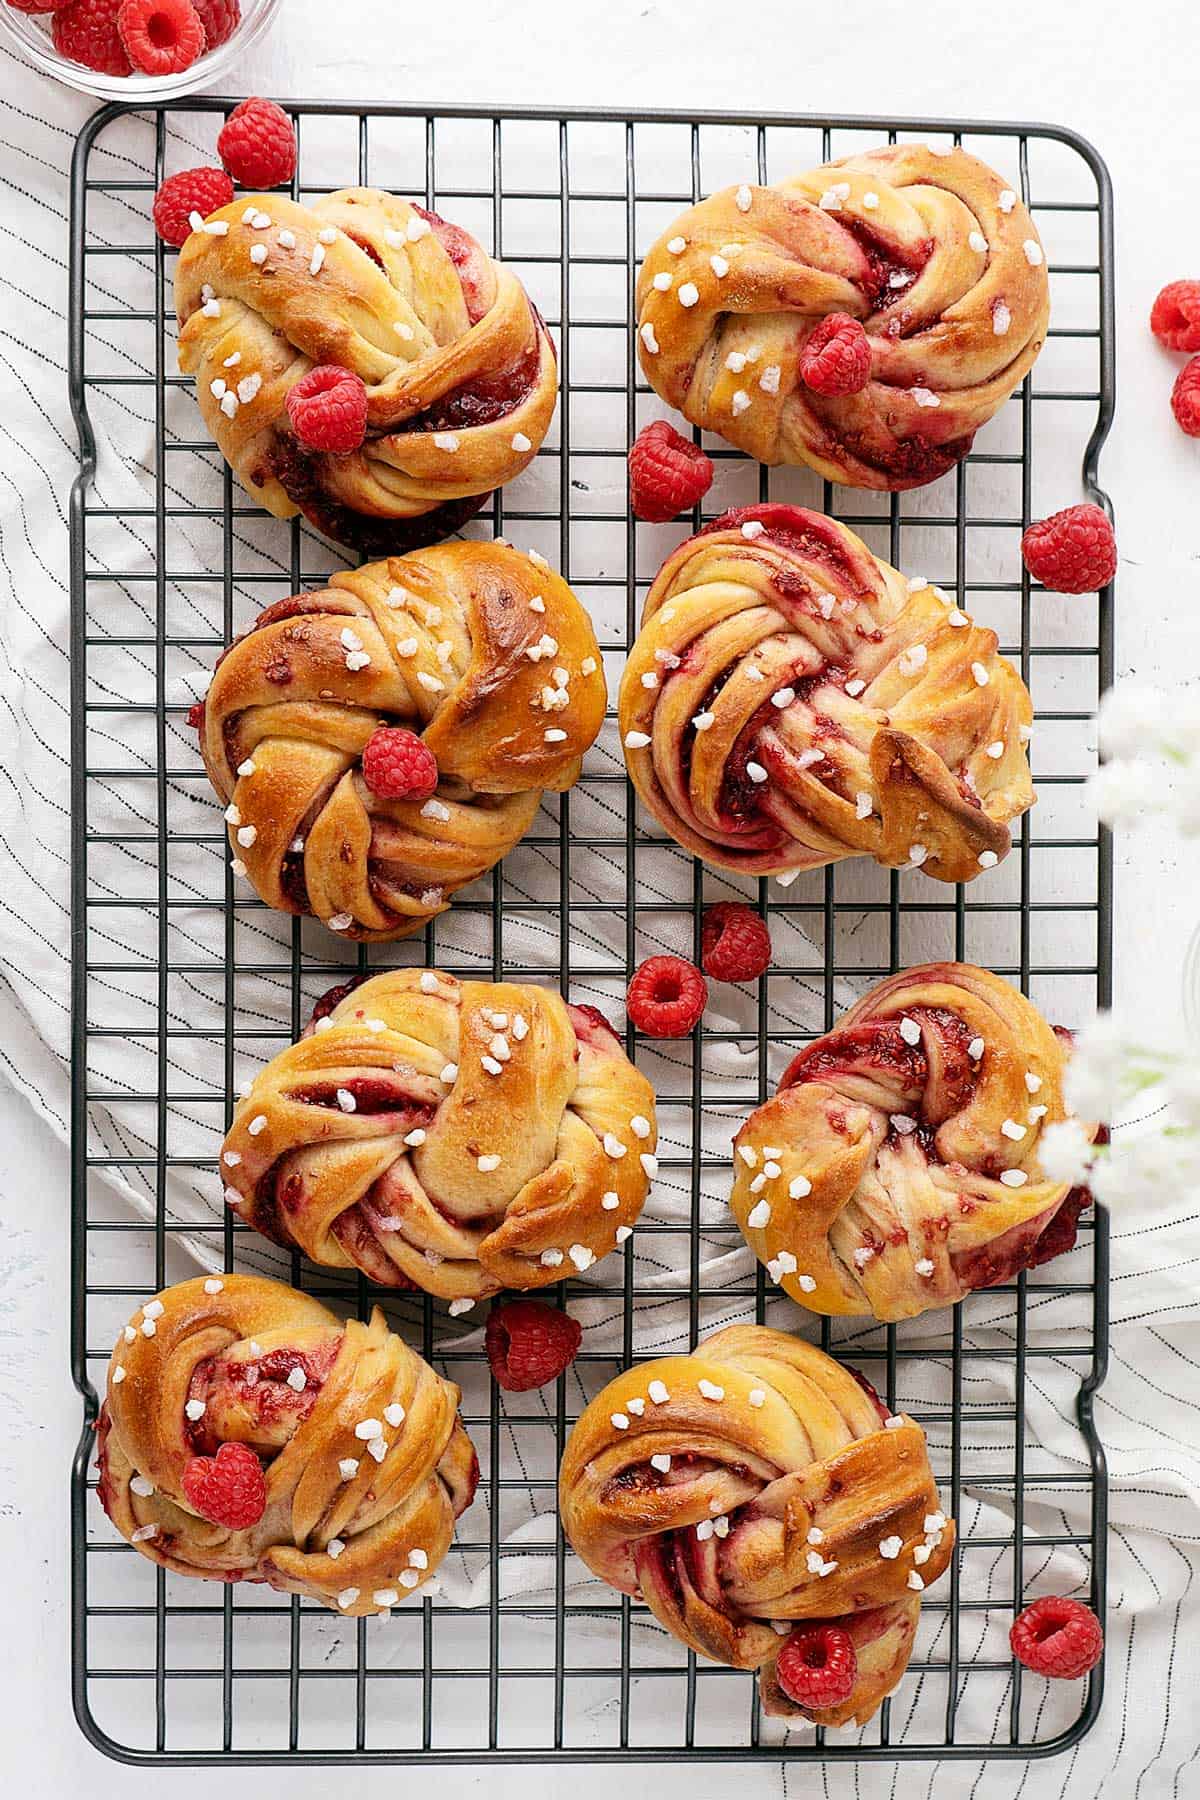
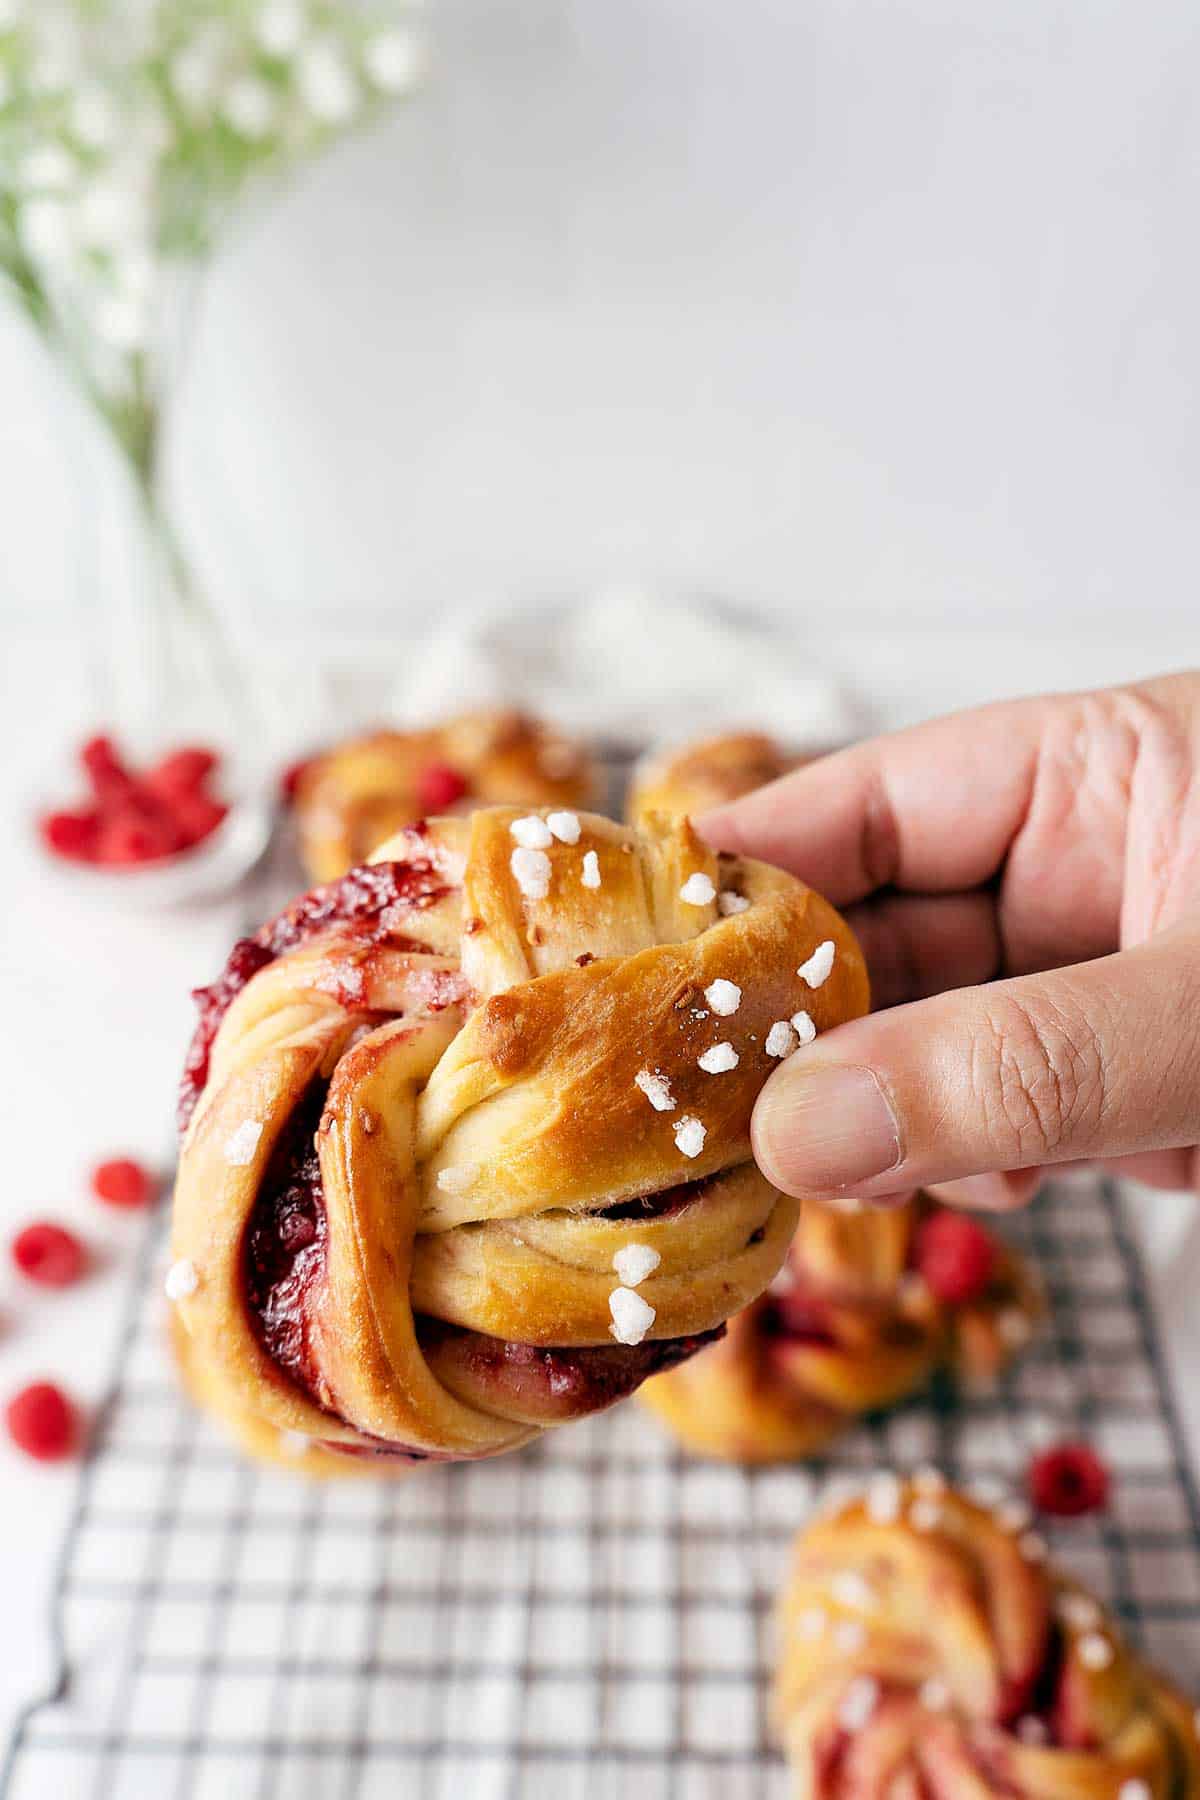
It's been a while since I last shared any yeasted bread recipes, right? And I think these raspberry twisted buns are just perfect for a bread-recipe comeback!
They are leaning more towards brioche in a way, but with a more straightforward method. Yeah, we love simpler things around here, don't we? *wink!*
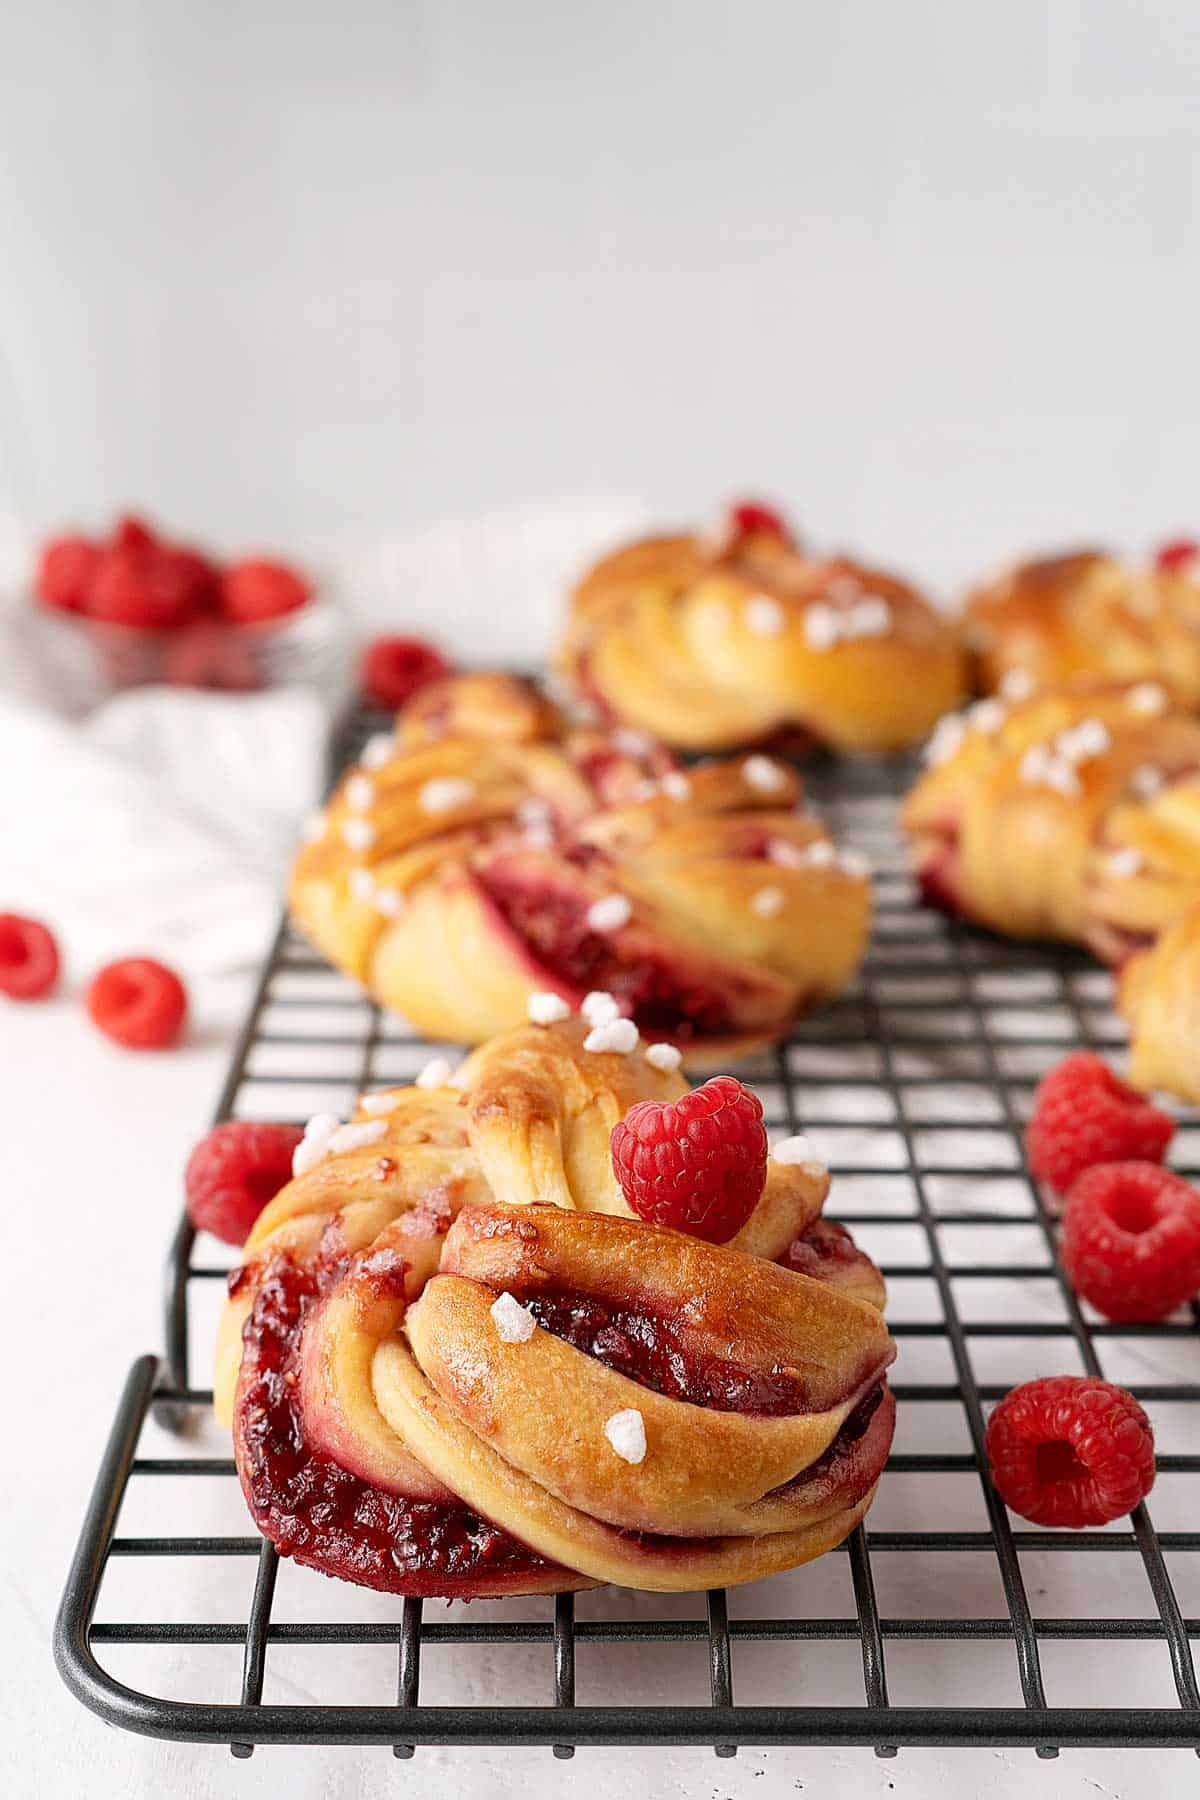
These buns are rich with tender crumbs, due to the eggs and butter that we're putting in the dough. Imagine that and then a slather of raspberry jam between the dough layers. And you know what? Let's throw in some raspberries too. Yeah, I meant the fruit itself.
Yum yum yummeh!
Lets Talk Ingredients
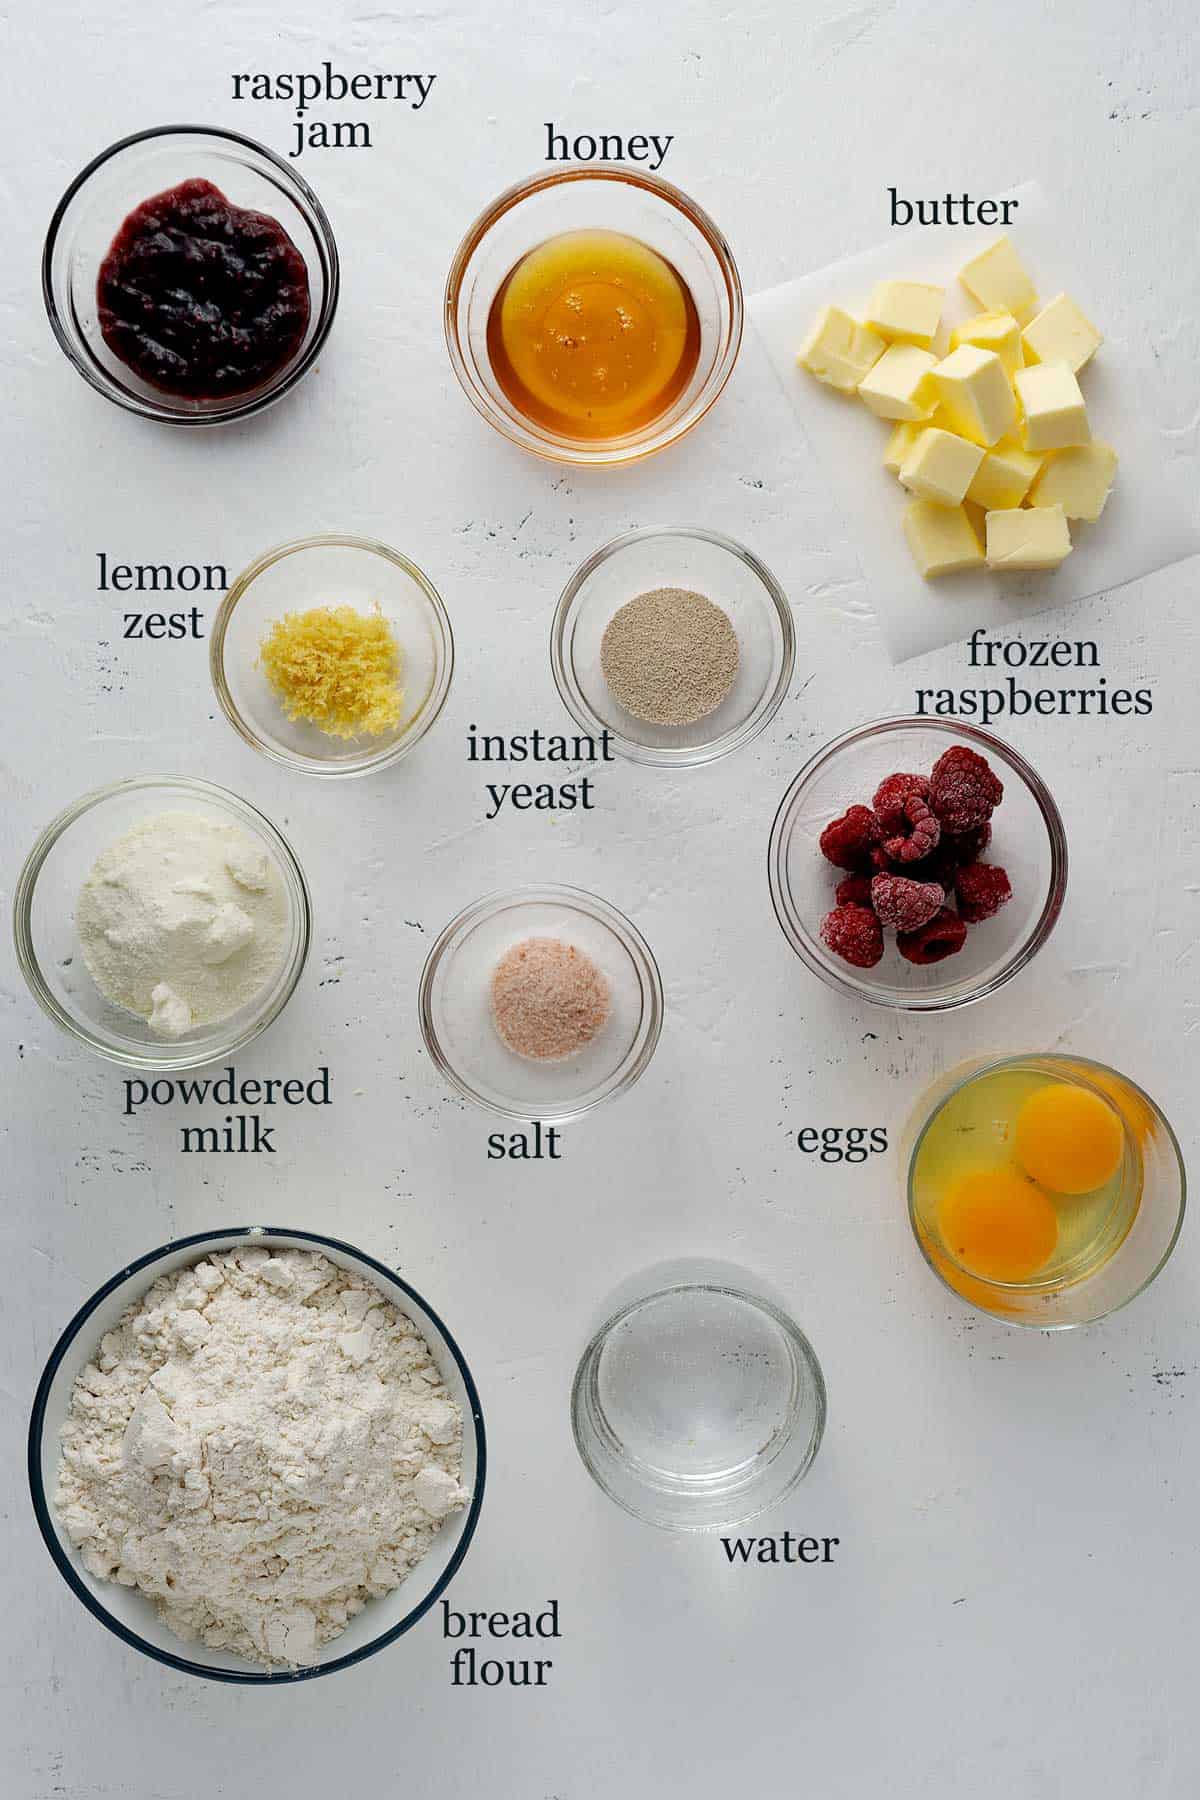
Bread flour - Please use bread flour, not all purpose flour. We want the gluten developed real good in these buns. Using all purpose flour will effect the amount of liquid in the dough, making the buns not to rise as much and the texture not as tender.
Egg - Large sized.
Butter - I use unsalted butter. You can use salted butter and reduce the salt to half.
Milk powder - You can use full fat or skim milk powder, it's fine.
Yeast - I use instant yeast (directly mix it with all the ingredients). You can use 2 ¼ teaspoon active dry yeast or 1 ½ tablespoon of fresh yeast instead. Just dissolve it in warm water and honey and leave it to foam before using.
Lemon zest - Use any other citrus zest of your liking. But I always feel raspberry and lemon are perfect together.
Honey - If you really don't have it then use same amount of white sugar.
Raspberry jam - Find the best that you can, trust me it'll make all the difference.
Raspberry - I use frozen raspberries just because it makes it easier to roll the dough. Feel free to use fresh ones.
Honey and milk powder help in getting that super tender and flexible texture. I recommend you not to skip them.
Tips For Making Twisted Buns
There's always one or two tips that one can share in a recipe, don't you think? Here are some that I thought you'd find useful.
Scoop and level - Measuring the flour correctly is the key in this recipe as the amount of liquid is just perfect for the texture that we're going for. If you're using cup measurement then measure your flour using scoop and level method so that you don't use more flour than needed. If you find the dough is tough/hard then it means you've measured the flour incorrectly.
Take your time - When adding the butter bit by bit into the dough, just take your time. Don't rush. You'd think that the butter will never get mixed into the dough, trust me, it will. Just take your time.
Less is more - Don't go overboard when spreading the raspberry jam on the dough or else you're going to end up with a huge mess of sticky red bloody dough in your hands.
Just do it - And yes, it will get a bit messy when you start twisting and shaping the buns, and the raw buns will look horrible. I know, but trust me, they're going to look amazing after you bake them. So just do it regardless how messy and horrible you think they look.
Proofing time - The dough does take longer to rise than any other typical bread dough, due to the amount of butter and eggs in it. So plan your time. If your kitchen is too cold, then heat your oven at 120ºF (50ºC) for 1-2 minutes, then turn the heat off. Place the dough in the warm oven to speed up the proofing time.
Can I Freeze The Buns?
Yes, you can. Although they do taste way better on the day of baking. Fresh ones are the best.
Freeze them in an airtight container up to 3 months.
Thaw at room temperature before giving them a quick re-heating in the oven at 350ºF (175ºC) for 5-10 minutes, just long enough to warm them through.
I hope you'd give these raspberry twisted buns a try! They're just perfect for baking projects in the weekend. Have fun!
More Bread Recipes
Check these out:
- Swedish cardamom pistachio buns
- Nutella babka buns
- Cinnamon chocolate chips rolled bread
- Apple cinnamon rolls
- Apple stuffed buns
Video
📖 Recipe
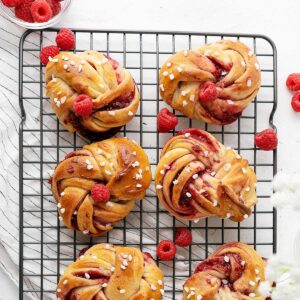
Raspberry Twisted Buns
Equipment
- Cooling Grid (14"x12")
Ingredients
The Dough
- 2 ¼ cup bread flour (290 g), use scoop and level method
- ¼ cup powdered milk (30 g)
- 2 tablespoon honey (40 g)
- 1 teaspoon salt
- 1 large egg plus 1 large yolk, room temperature
- 1 tablespoon lemon zest
- 1 ½ teaspoon instant yeast (5 g)
- ⅓ cup warm water (80 ml)
- ⅓ cup unsalted butter (75 g), cubed, at room temperature
Others
- some raspberry jam
- some frozen raspberry
- 1 egg , for egg wash
- 1 tablespoon water , for egg wash
- some pearl sugar
Instructions
The Dough
- Add all the ingredients except for butter, into a standing mixer bowl. I use a KitchenAid. Using the dough attachment, mix to incorporate (speed 1) and then knead for 10 minutes (speed 2).
- Lower the speed back 1 and add butter gradually, making sure it's properly mixed after each addition. Then knead for another 10 minutes.
- Form dough into a ball and place into a greased bowl. Cover tightly (I use this re-usable silicon cover) and leave for the dough to rise until double its size, in a warm place.
Shaping The Buns
- Place the risen dough on a lightly floured working top. Form into a log and cut it into 8 equal pieces. Cover them with a kitchen towel to prevent from drying.
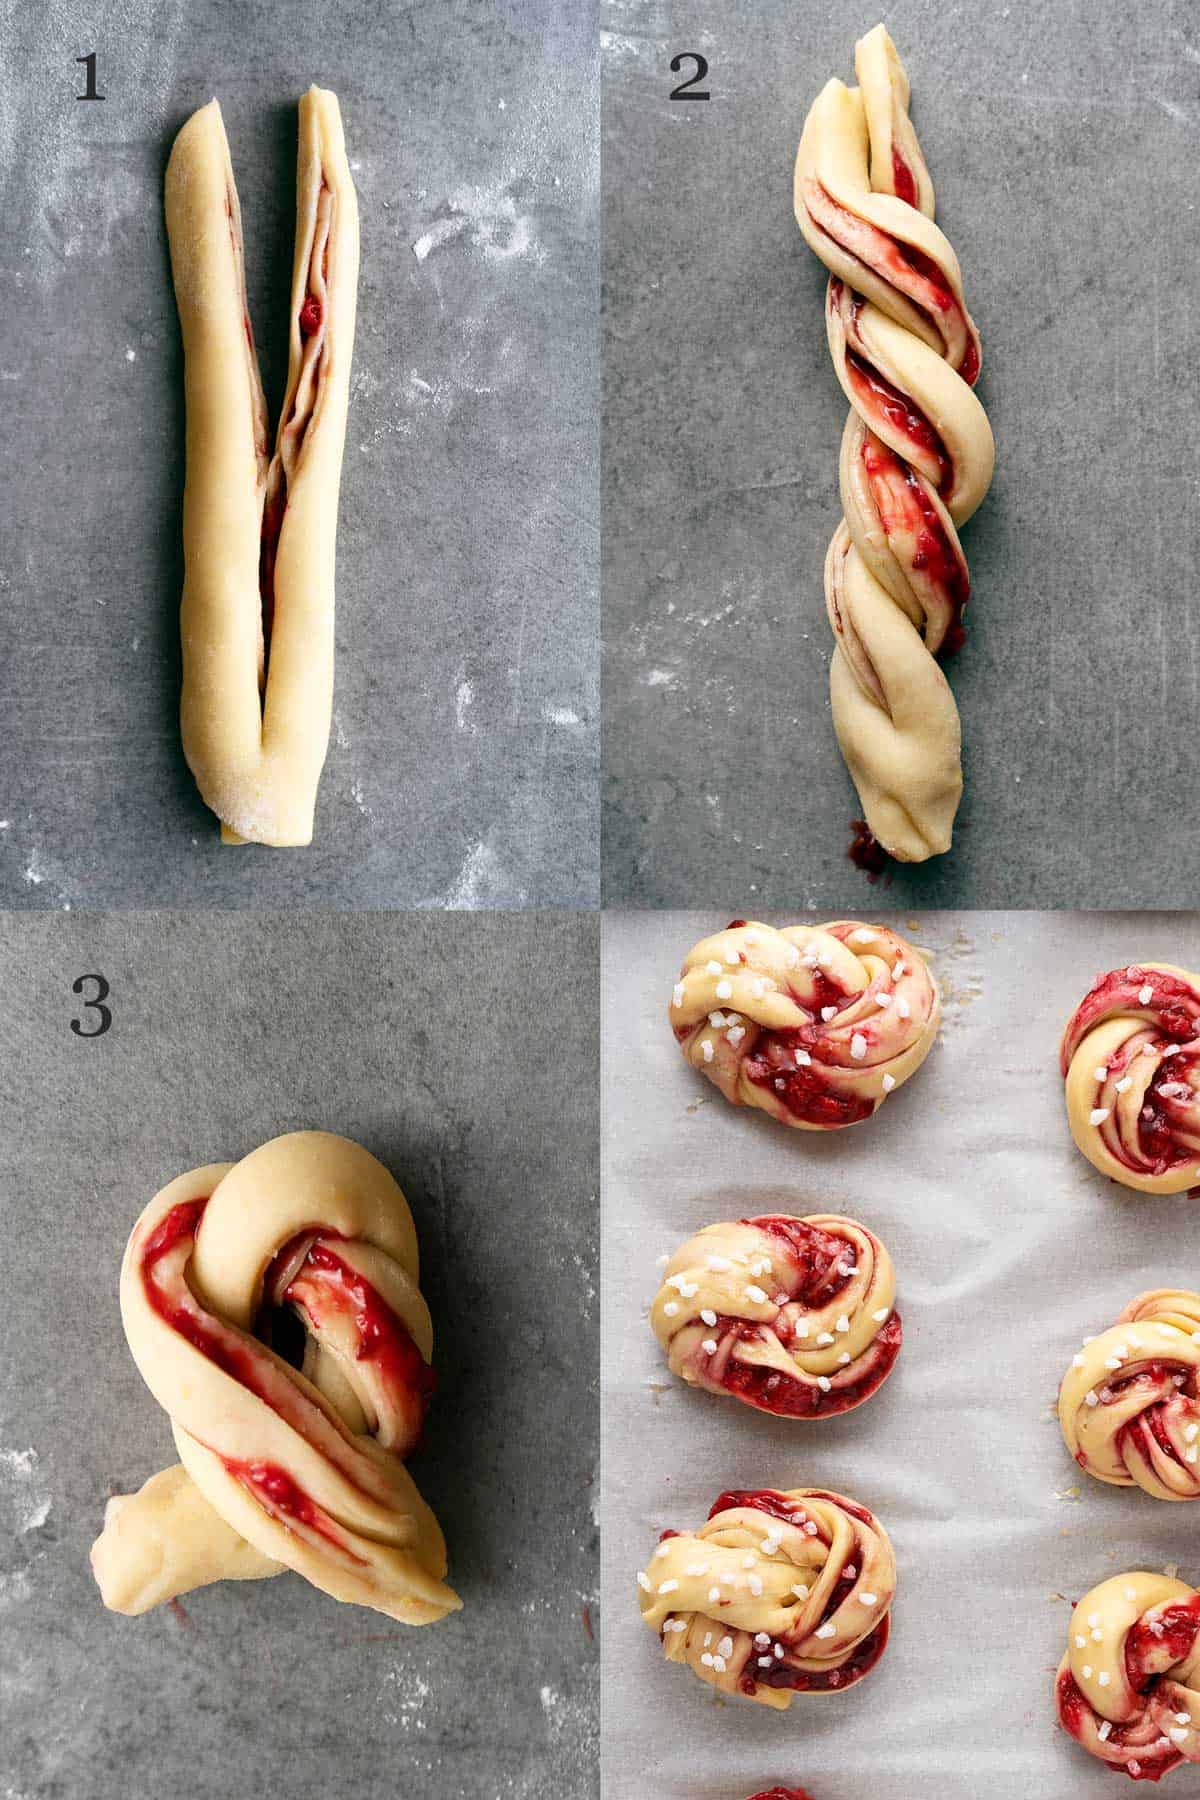
- Take a piece of dough and roll it using a rolling pin, into a more or less 5x8 inch (13x20 cm) rectangle. Spread around 1 teaspoon of raspberry jam on top, leaving the edges empty. Place some frozen raspberry pieces on top. Roll it lengthwise. Cut it lengthwise, not all the way to the end. Braid the 2 pieces of dough together, making sure the beautiful exposed layers of jam is on top.
- Hold the braid on both ends and stretch it a bit. Bring both ends together, overlapping them and creating a hole in the middle. Bring one end into the hole and pinch it together with the other end at the bottom.
- Place on a baking tray with a baking sheet. Repeat with the rest of the balls. Rest the dough for 30 minutes or until they puff up a bit. Paint them with some egg wash (egg with water, beaten), avoiding the jam part. Finally sprinkle with some pearl sugar.
- Bake in a preheated oven at 350ºF (175ºC), conventional mode, using upper and lower heat, on the lower ⅔ rack, for 25 minutes or until golden brown and fully cooked. Remove from the oven and leave to cool on a rack. Enjoy!
Notes
- Use spoon and level method when measuring the flour (for cup measurement)
- Use portable oven thermometer (like this one) for a more precise temperature reading (I use it too)
- Refer to my post above for ingredients notes and tips
Nutrition Facts
The nutrition facts provided are an estimate per serving. Accuracy is not guaranteed.








Bian L says
Mine didn't come out as neat as yours. But what I want to say is they were very yummy and soft. Thanks for sharing this recipe. I will try with other marmalade like figs and orange.
Bea says
No worries, as long as they taste great, right? Figs and orange jam sound delish! Thanks Bian!
Mersa says
Hey Bea!
I was attracted to these buns they look so beautiful! So I decided to try them. They were scrumptious! Can I use blueberry also with this recipe? Thanks!
Beth says
Hi there
Thank you for the delicious recipe. I really appreciate all your efforts to sharing well tested recipes with us.
Wanted to gently call out that you missed listing the water in your ingredient list in the recipe card. Minor typo 🙂
Thank you again
Beth
Bea says
Hi Beth! Thank you so much for the heads up 👍. Yes, I totally forgot to mention it in the recipe card. I've already updated it. I'm happy that you're enjoying the recipes and thank you again!