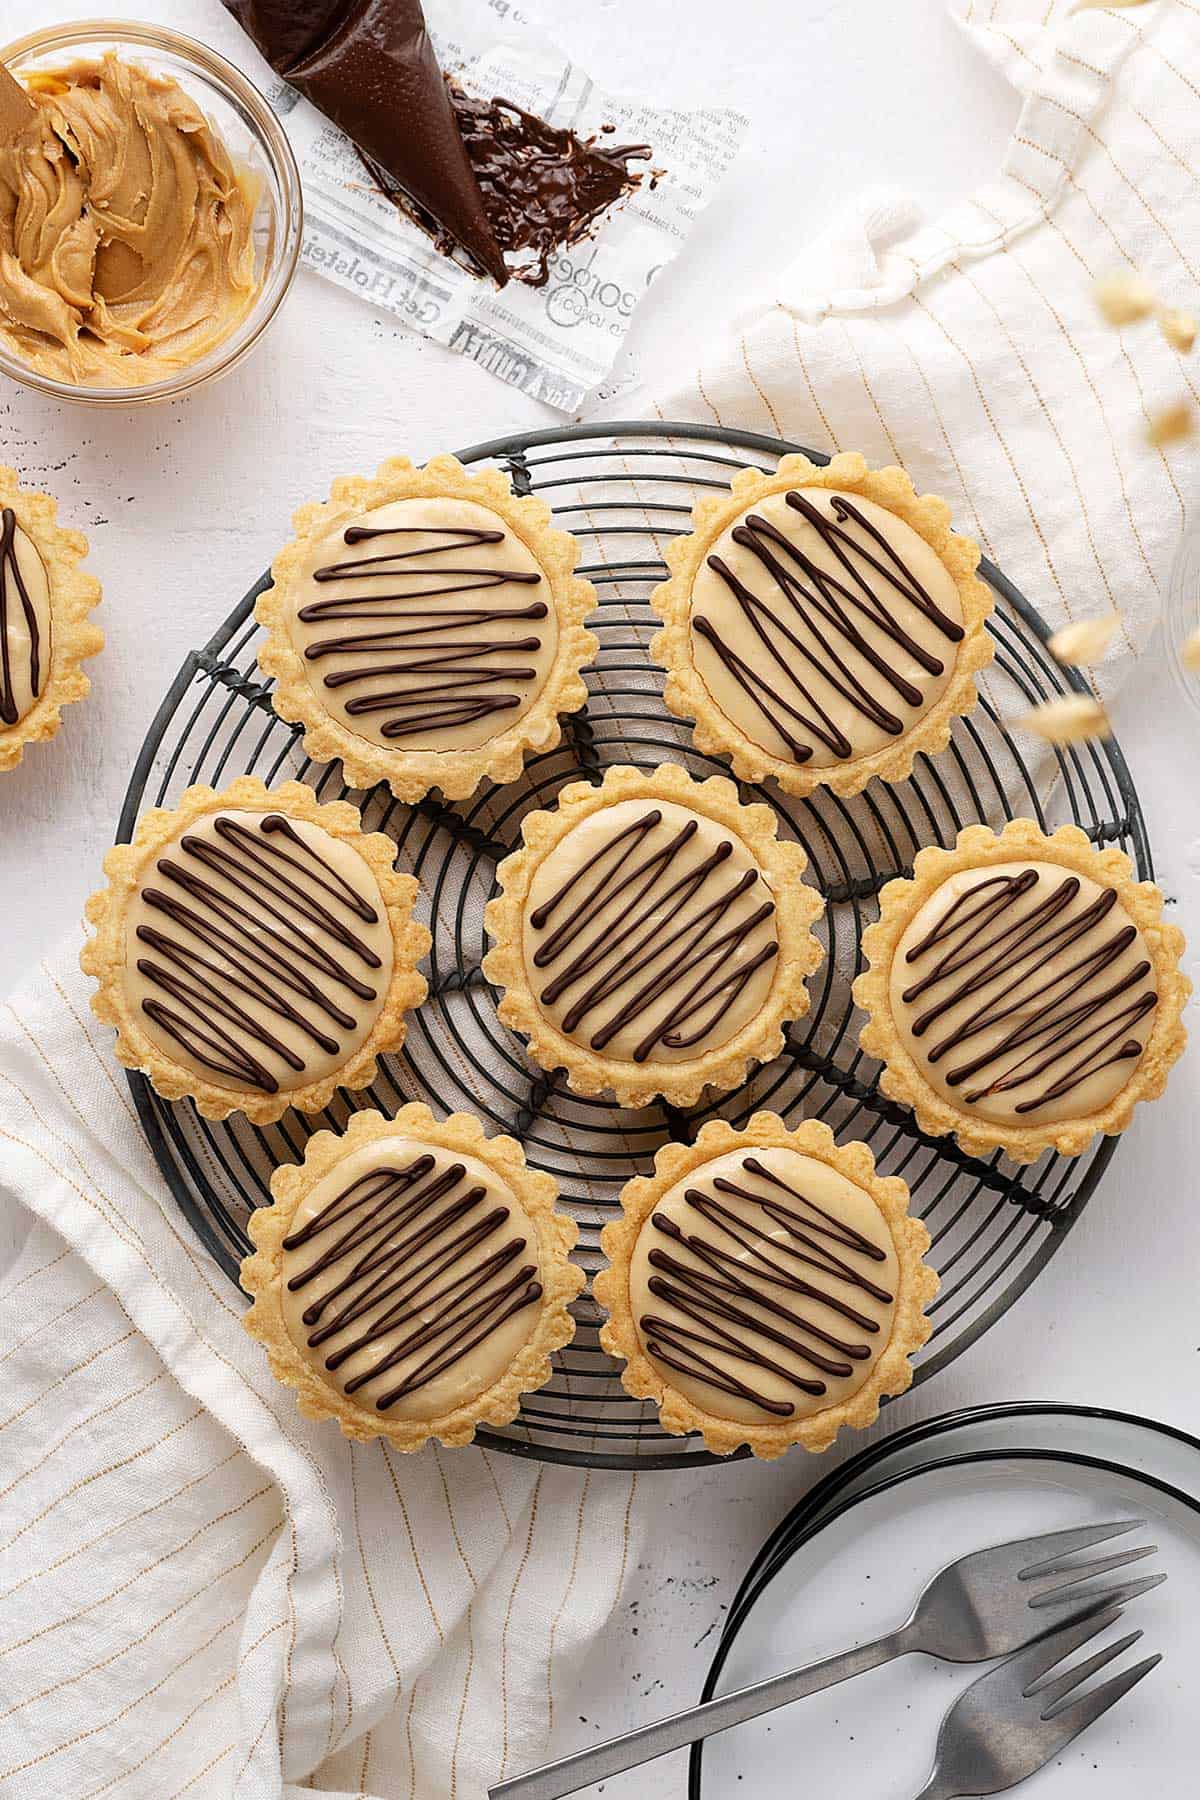
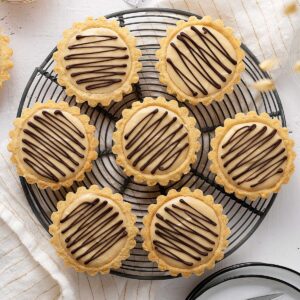
I know it's already autumn and everybody's starting with their pumpkin pies and whatnot. But since it's already autumn also and we're already planning our holiday meals (don't tell me you haven't yet!), I've been meaning to share these peanut butter cheesecake tarts with you.
If you haven't checked out my super easy buttery flaky tart shells recipe, then I think you should *wink!*.
These peanut butter cheesecake tarts are a must-try.
Make the tart shells in advance and freeze them. All you need to do is whip up the filling on the day of, fill them, chill for a few hours and you're ready to go.
📮 Save this recipe for later!
Talking about the filling. It's super creamy and luscious, not overly sweet, and has a perfect peanut butter balance. Yum yum yum!
Lets Talk Ingredients
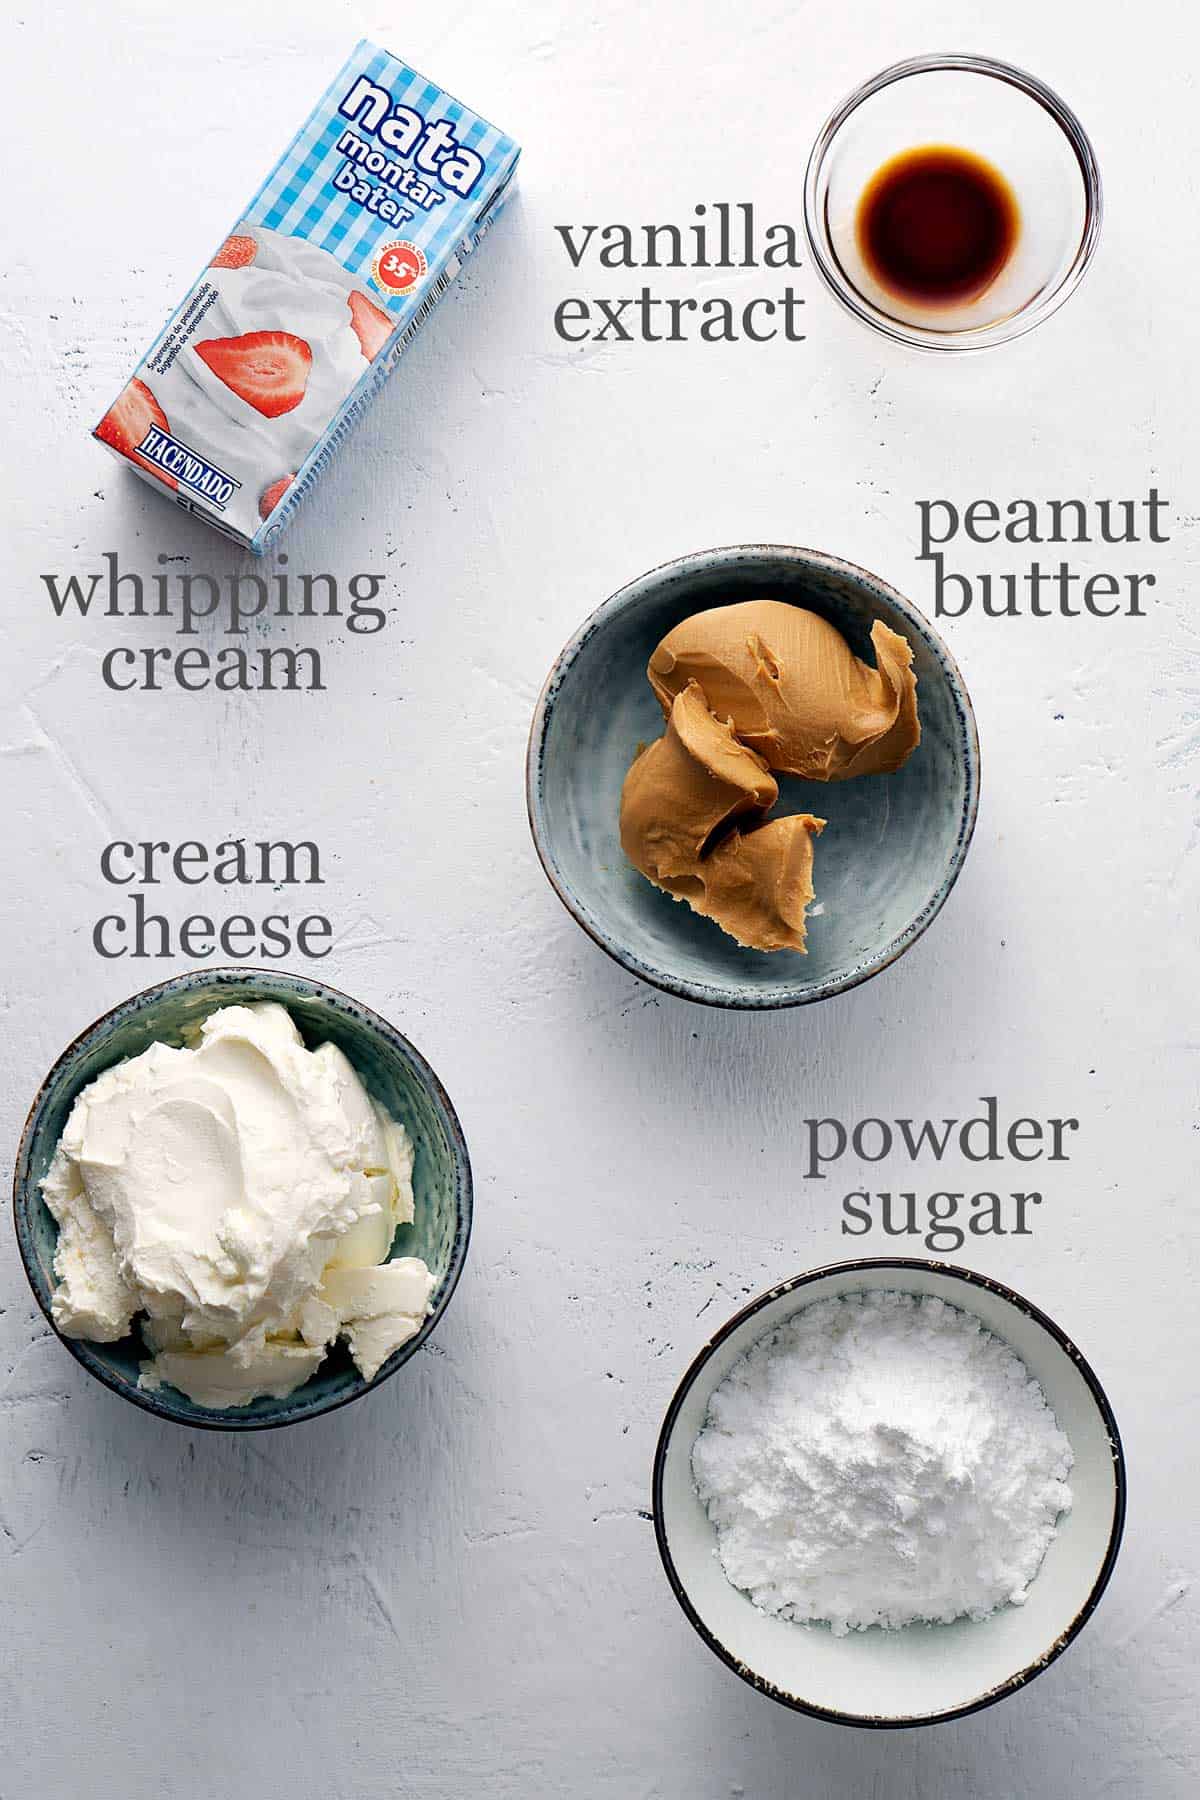
As you can see, the ingredients are super basic and simple.
Peanut butter - Please use smooth (creamy) peanut, the typical ones like Skippy. I don't recommend using natural peanut butter though, since the fat tends to split when it sits for quite a while.
Whipping cream - I use the one with a minimum of 35% fat. Whatever it's called in your country (double cream, heavy cream etc), just make sure the fat content is min 35%, alright?
Powdered sugar - Or also known as confectioner sugar. Don't use granulated or caster sugar to avoid feeling the grains in the filling (since we won't bake the filling). We want a smooth and creamy texture.
Vanilla extract - Like I always say, everything is good with vanilla extract. Feel free to use vanilla paste, no problem at all.
Cream cheese - Full fat, please. Yeah, we're going big or going home mode with this one. The fat will help set the cheesecake filling.
Tips To Get It Right
Ingredients temperature - Please follow the temperature specified for the ingredients.
Peanut butter - I warm my peanut butter slightly in the microwave. Just until the texture is a tad runnier so that it will be easier to mix with the cheesecake mixture. Remember, slightly warm. Not extremely hot. If you overheat your peanut butter, just leave it for a few minutes until it cools slightly before adding it to the cheesecake mixture.
Pack the peanut butter if you're using a cup measurement.
Can I Freeze Them?
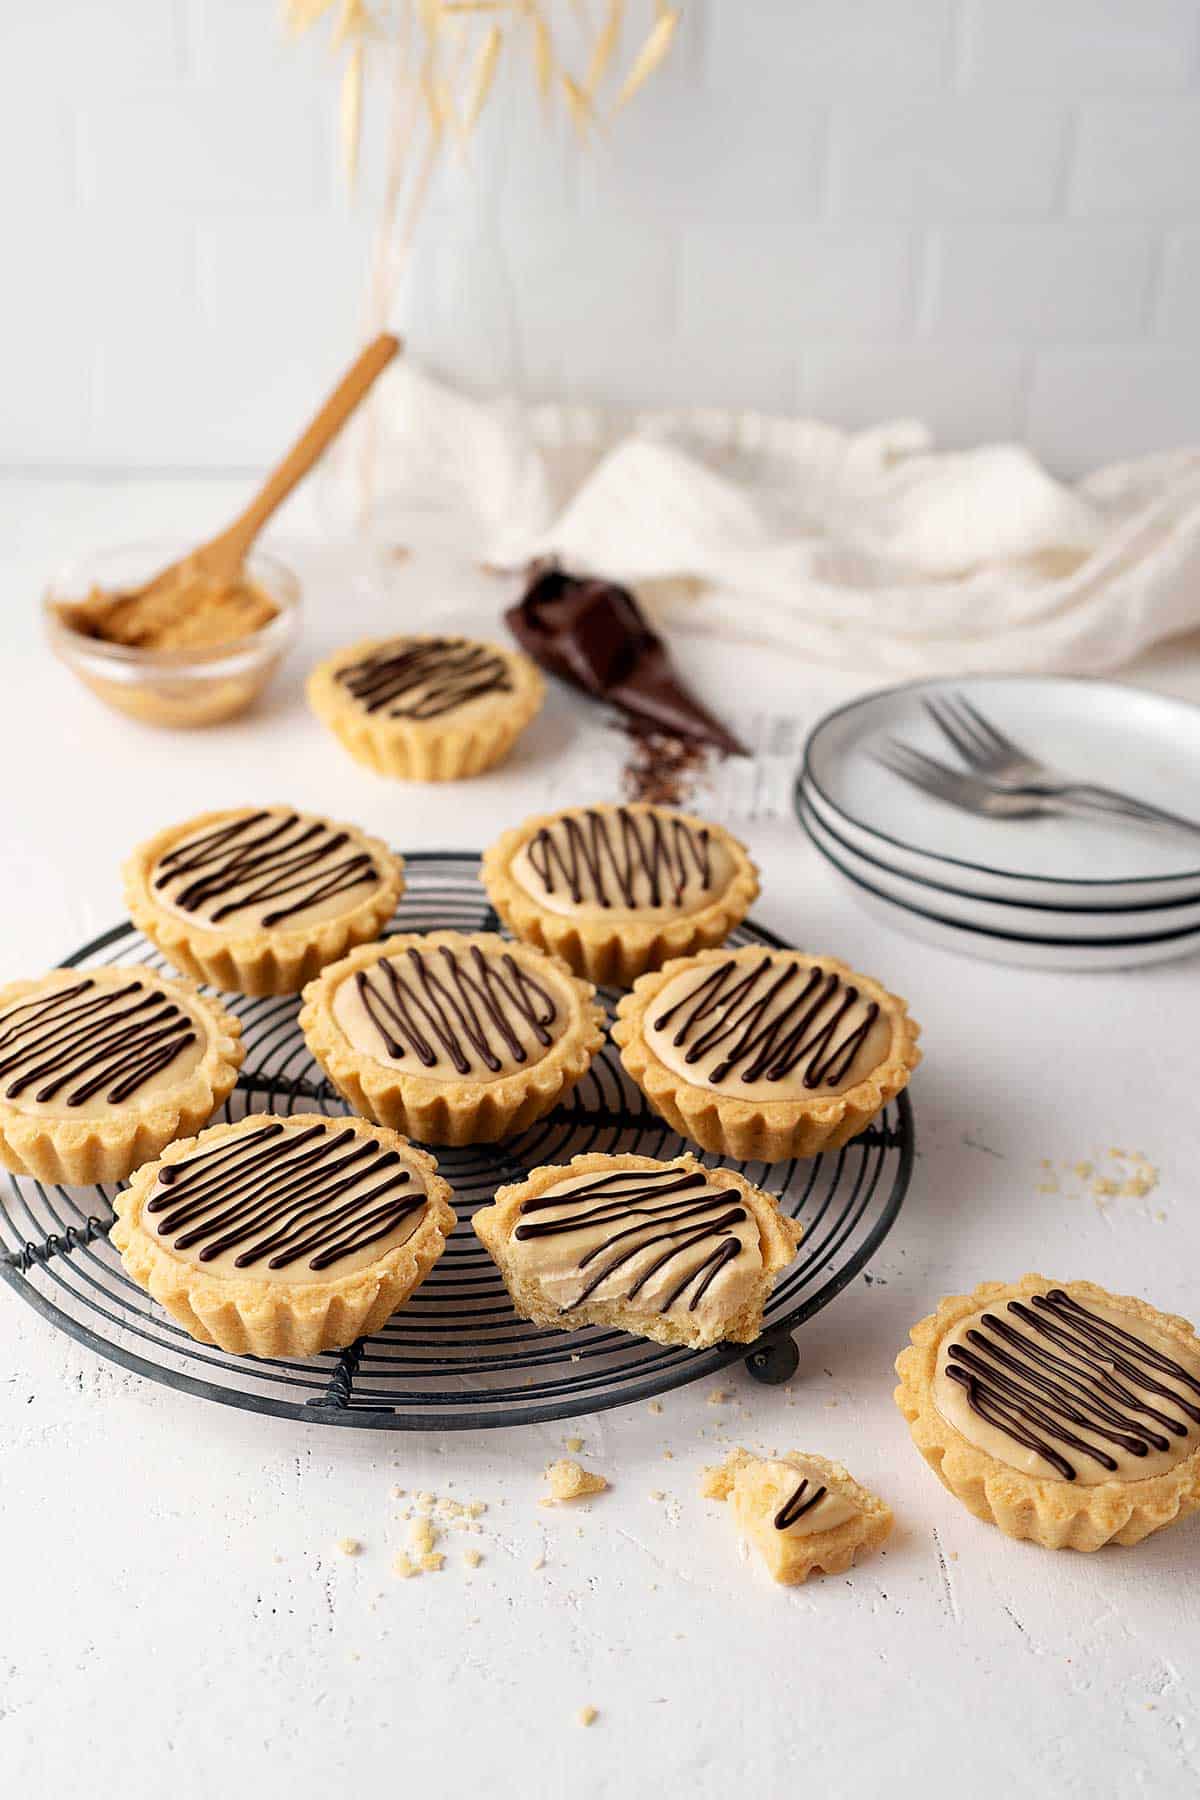
Yes, you can. I did. You can do it in 2 ways.
Only the tart shells - As I mentioned earlier. Freeze the tart shells and only prepare the filling on the day of.
With filling and topping - That's what I did. Remember that they won't taste as fresh as recently filled tarts but hey, you win some, you lose some. If you don't mind (like me), then give me a high five!
How To Freeze Them?
It doesn't matter if you want to freeze empty shells or with filling and topping, I'm sharing on how I do it.
Line a baking tray with some parchment paper and place the empty tart shells (without the moulds) on it, making sure they don't touch each other. Place in the freezer for 1-2 hours until they're totally frozen. Remove and wrap them individually with some cling film, place them in a Ziploc bag and put them back in the freezer. They're best for up to 3 months.
Thaw in the fridge 1 day before.
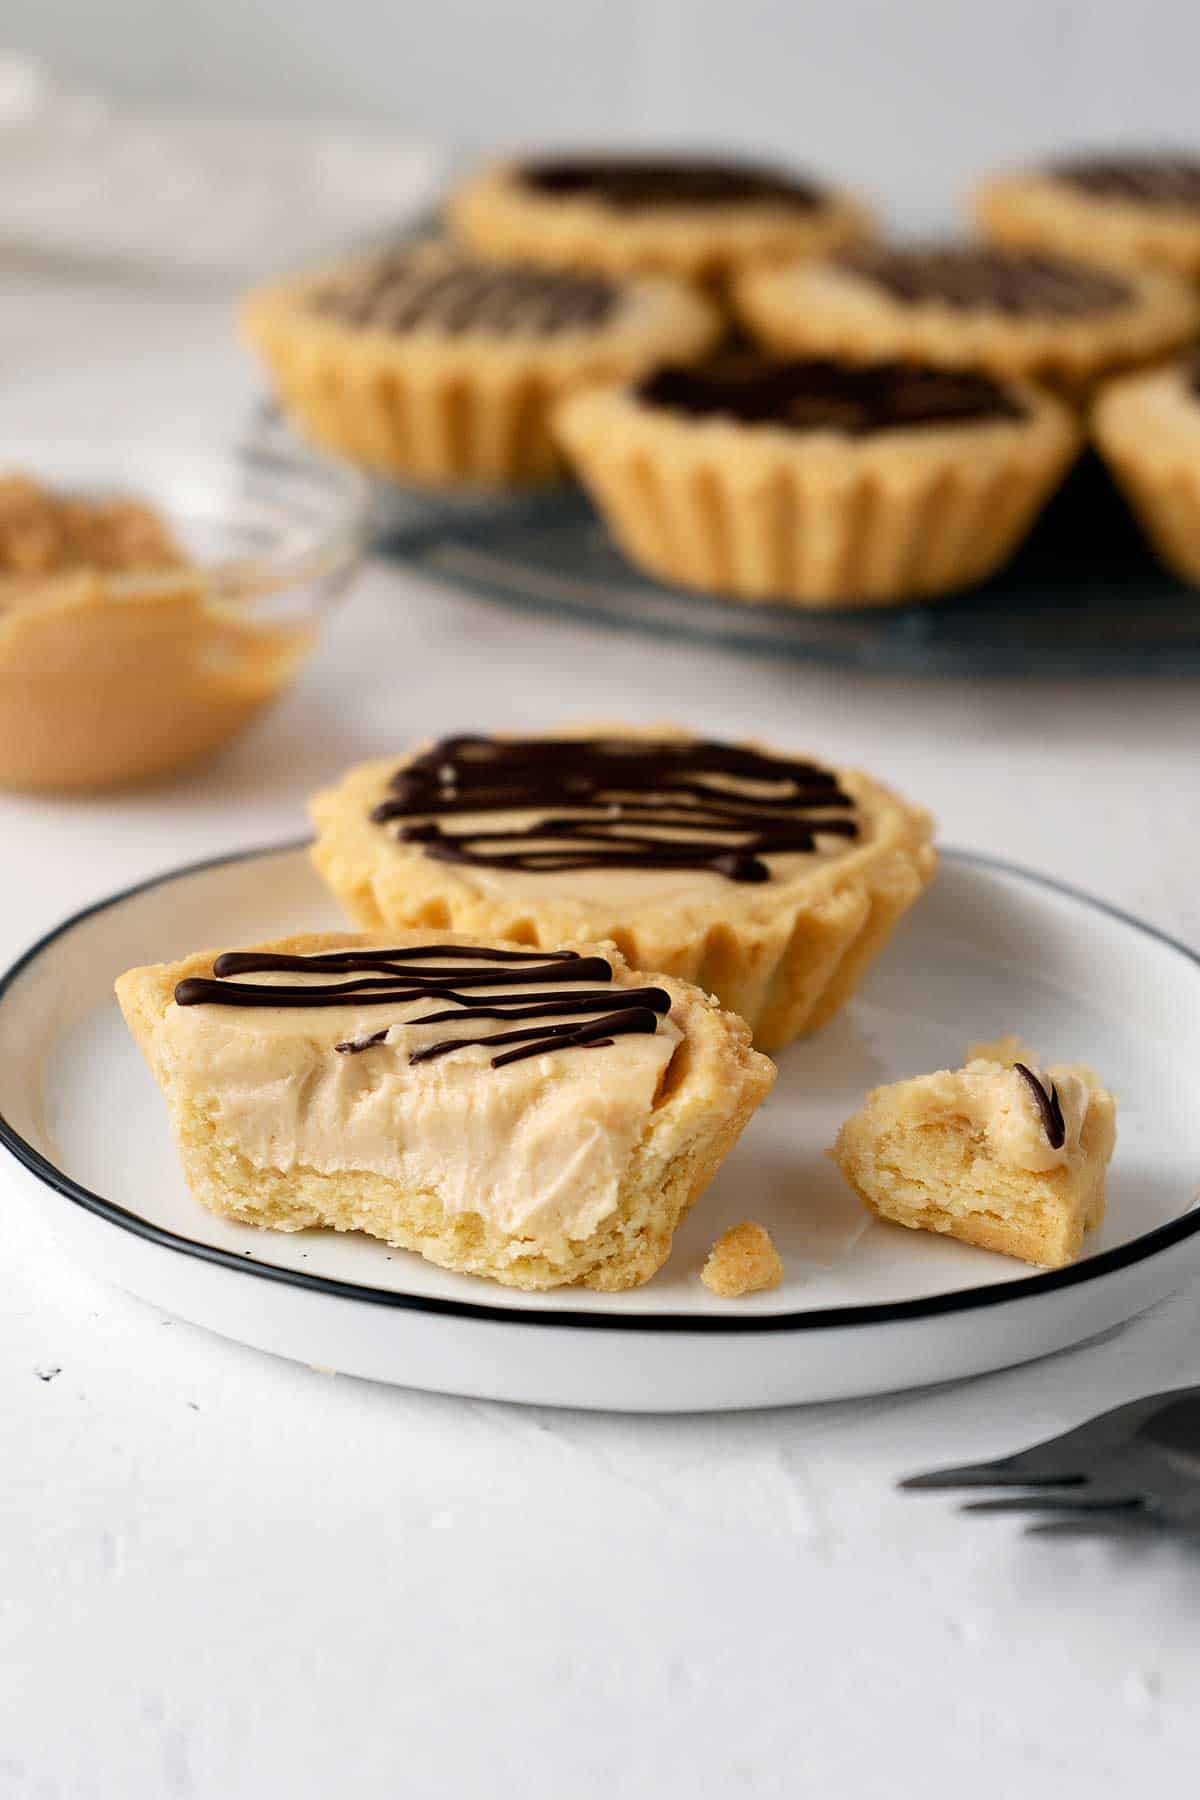
I really hope you'd give these peanut butter cheesecake tarts a try. They're totally amazing! Holidays and fireworks, here I come!
Hungry For More Tarts?
Check these out:
- Mini salted chocolate tarts
- Coconut and dulce de leche tart
- Hong Kong-style coconut tarts
- Hokkaido cheese tarts
Recipe Video
📖 Recipe
Peanut Butter Cheesecake Tarts
Ingredients
The Filling
- 8 oz full fat cream cheese (225 g), room temperature
- ½ cup powdered sugar (60 g), sifted
- ½ teaspoon vanilla extract
- ⅓ cup smooth peanut butter (85 g), warm slightly to get runnier texture
- ¼ cup whipping cream min 35% fat (60 ml), chilled
The Topping
- ½ cup chopped semisweet chocolate (50 g)
The Tart Shells
- 2 tart shells recipe (18 shells), see recipe here
Instructions
The Filling
- Add cream cheese into a bowl and whisk until fluffy using a handheld whisk. Now add in powdered sugar and vanilla extract. Mix everything well. Add in peanut butter that has been warmed slightly and immediately whisk until everything is well combined. Set aside.
- In another bowl, whisk whipping cream until stiff peaks. Now add into cream cheese mixture and fold gently using a spatula, until everything is well combined.
- Using a spoon, fill the tart shells. Give them a wiggle for the filling to settle in nicely. Use and offset spatula to smoothen the top if you wish.
- Place on a container lined with parchment paper and chill in the fridge for minimum 4 hours or until they fully set.
The Topping
- Once the filling is fully set, melt chocolate in microwave or double boiler. Pour into a piping bag and finally drizzle on top of the tarts. Enjoy!
Notes
- Use spoon and level method when measuring the powdered sugar (for cup measurement)
- Pack peanut butter (for cup measurement)
- Refer to my post above for ingredients notes and tips
Nutrition Facts
The nutrition facts provided are an estimate per serving. Accuracy is not guaranteed.




Trudy Banner says
These tarts tasted so fine and smooth, like the ones you would find in some expensive bakeries. I cannot believe that they were so easy to make. Thank you for sharing your recipes with us.
Bea says
Hi Trudy! Yes, they are my favourite tarts so far. Glad that you enjoyed them, thank you!
Julie Kuliers says
Hi Bea,
I have tried your peanut butter cheesecake and it was amazing. I made these tarts also and my whole family loved them.
Thank you!
Bea says
Yeay! I'm happy that you gave the recipe a go. Glad that everybody loved the tarts, thank you for your feedback Julie 😍!