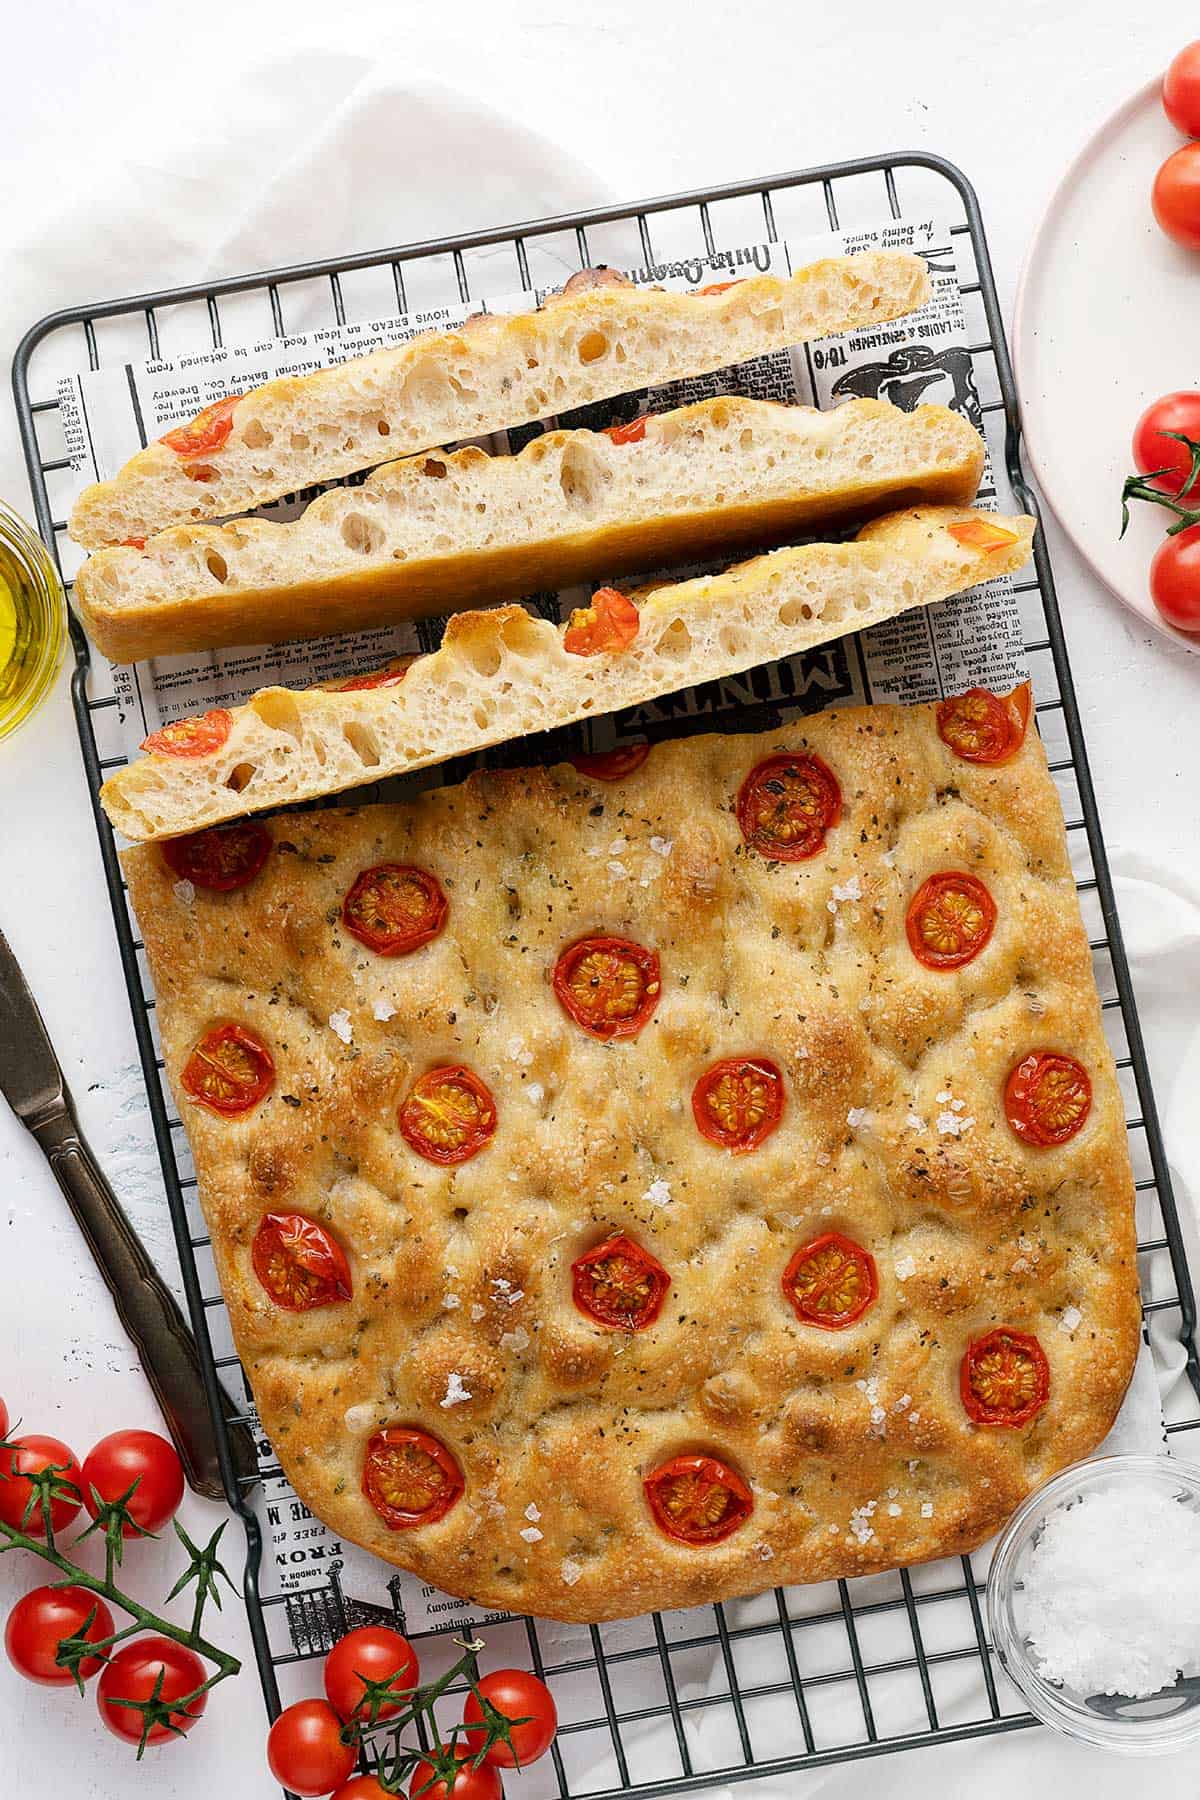
If you're an enthusiast baker like me, then you will definitely have to try this no-knead focaccia bread recipe. It has that artisan rustic look with lots of big-sized air pockets!
📮 Save this recipe for later!
Jump to:
Recipe Highlights
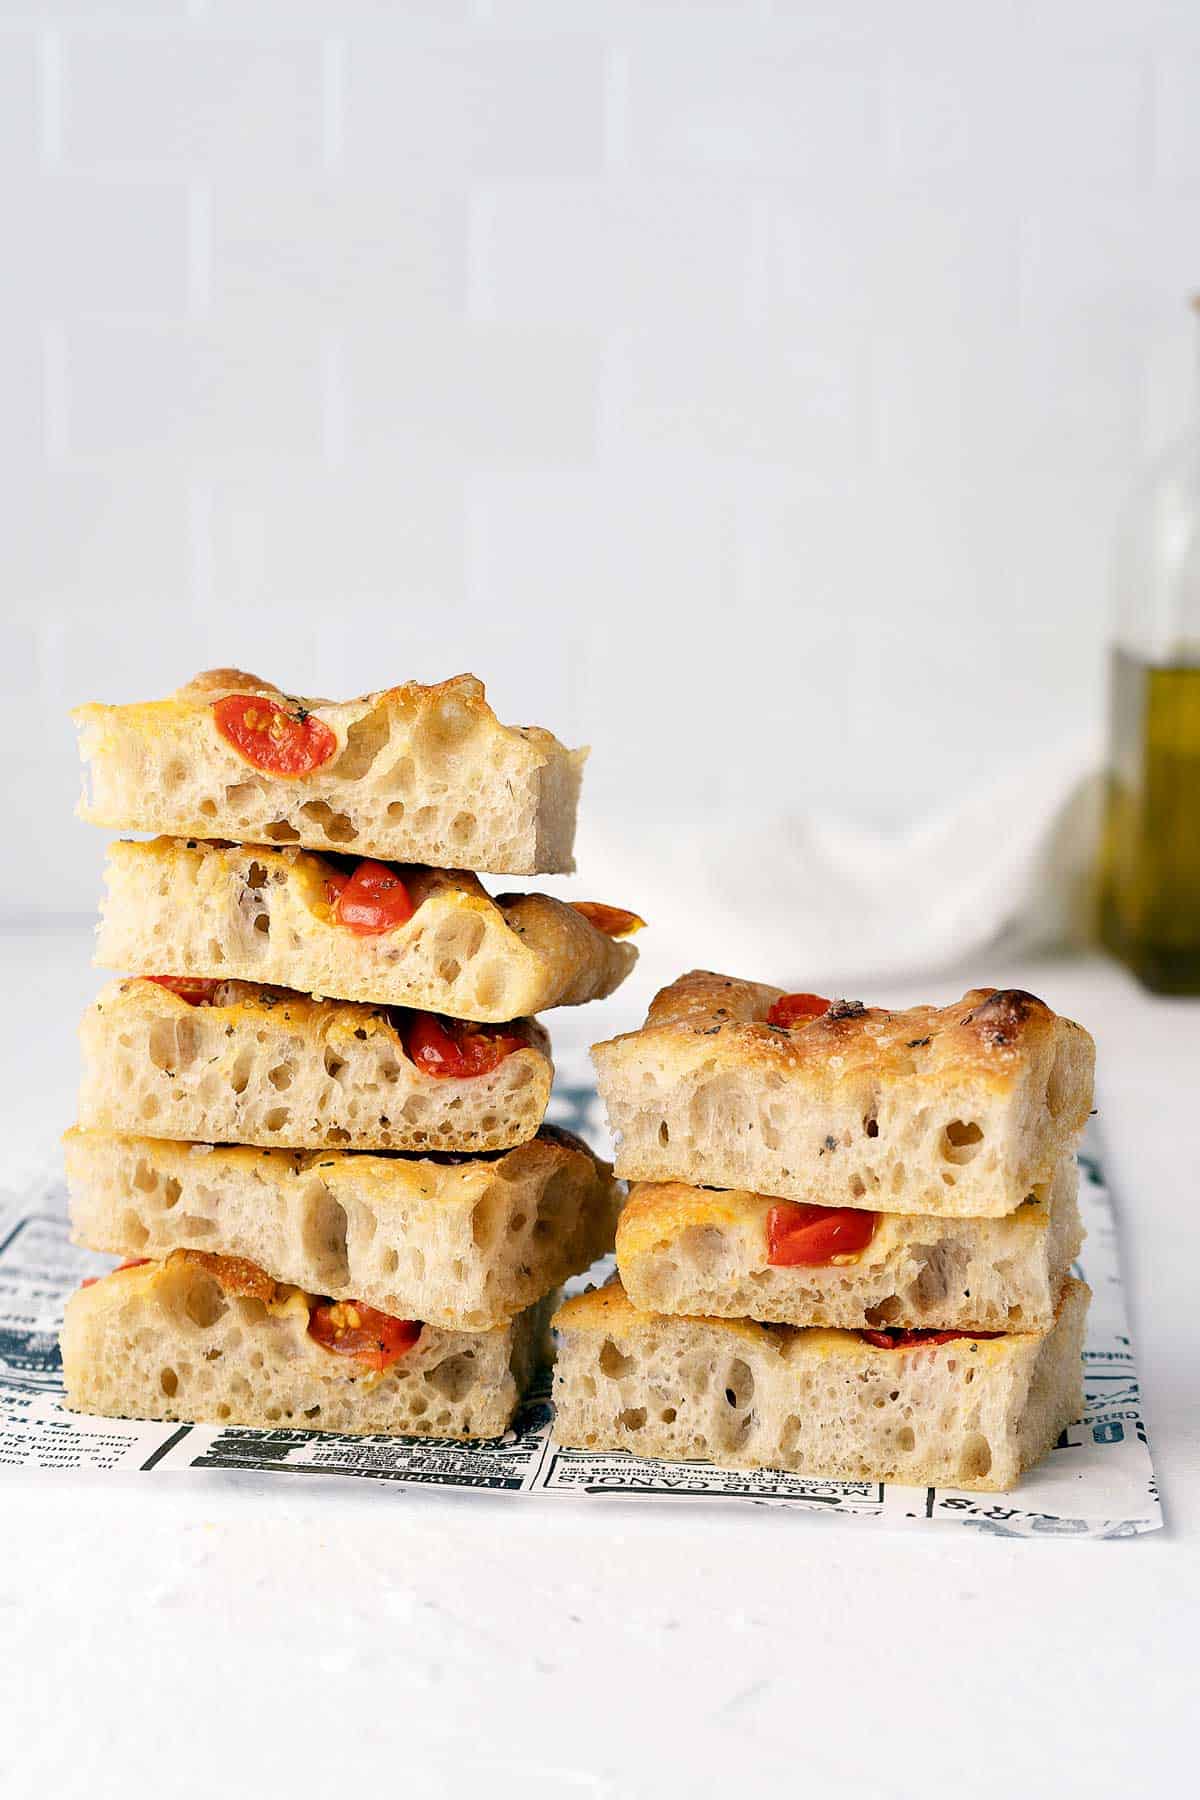
Texture and flavor - Crusty crust, huge air pockets, soft and chewy inside with amazing flavor.
Yield - 1 loaf of 9x13 inch (23x33 cm) sized focaccia enough for 6 people, easily.
Level - Super easy as there's no kneading and fancy machine needed. But you do have to plan this ahead as involves hours of waiting around.
Occasion - Anytime! Lunch, dinner, turn it into sandwiches. Make this to wow anybody, trust me.
What Is Dough Hydration?
Hydration in a dough affects the final texture of the bread. The more hydrated a dough is (has more water), the more holes the bread texture will have.
Dough hydration is the percentage of the weight of water in dough in relative to the weight of flour in it.
Dough hydration (%) = water weight / flour weight
For example:
Dough hydration 60% means the dough has 60 g of water with every 100 g of flour.
The dough hydration is around 60-80% for breads like focaccia or ciabatta.
So when you want those rustic big holes in your bread, expect to have a high hydration dough. Meaning the dough will have lots of water and will be so sticky and difficult to handle.
Today's recipe is with dough hydration at 79%. Yep.
What Is Stretch And Fold Technique?
Since our dough will be very sticky we will use the stretch and fold technique to slowly develop the gluten in it. Developing gluten will strengthen the dough and make it easier to handle.
Stretch and fold is basically stretching the dough and folding it like an envelope. You do it a few times until you feel the dough is stronger. And you also do it with an interval time so that the dough has time to relax.
You can see how I did it in the recipe video below.
The first round is the most difficult, if I have to say since the dough is very sticky. But it gets easier after.
Also, remember to wet your hands beforehand to prevent sticking. Using a large scraper will also help.
Why The 24 Hours Slow Rising?
Slow-rising dough develops more flavor than a fast-rising one.
I've tested this recipe with only 8 hours of slow rising in the fridge. The taste was good but 24 hours of slow rising tastes way better.
If you don't feel like it, you can simply leave the dough at room temperature to rise until it doubles its size before shaping the focaccia, but then.. what's the point? Right?
We want it all. Look, texture, and flavor. Go big or go home.
How To Correctly Bake A Focaccia
We love the golden dark brown color of good focaccia, right? We've taken good care of the dough, and we will do it justice by baking it the right way.
Here's how:
- No fan forced - use conventional heating, meaning don't use the heat with a fan that circulates air in the oven. This is to preserve moisture in the oven.
- High temperature - preheat your oven for at least 30 minutes at 500ºF (260ºC).
- Use a higher rack - use the higher ⅔ rack in your oven to bake your focaccia. This will help getting the color that we want without over baking it. Overbaking it will result in a hard and overly chewy focaccia.
- Rotate - optional. Rotate the baking tray during half baking time to get that even color.
I know today's recipe is a bit different from all the bread recipes that I've made. This recipe will take more of your time but with less effort AND with amazing results.
Give it a try.
In Summary
This no-knead focaccia is:
- perfect for enthusiast bakers who are eager to learn new technique in perfecting their bread making
- requires no kneading
- is a super simple recipe with super easy steps
- has that artisan rustic look with crusty crust, soft chewy texture and amazing flavour
- let's admit it, it's just so darn DELICIOUS!
More Bread Recipes
If you're into more bread recipes, take a look here:
- Japanese milk bread (using water roux or tangzhong)
- Swedish cardamom pistachio buns
- Matcha bread
- Garlic cheese herbs pull apart bread
Video
📖 Recipe
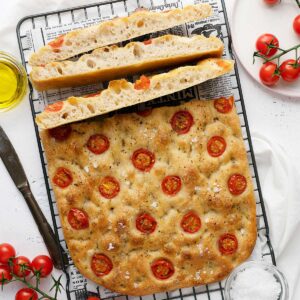
No-knead Focaccia Bread Recipe
Ingredients
The Dough
- 1 ¼ cup warm water (310 ml)
- 1 teaspoon active yeast (3 gr)
- 3 cup all purpose flour (390 gr)
- 1 teaspoon salt
Others
- 1 tablespoon water
- 1 tablespoon olive oil
- some cherry tomatoes , cut in halves
- some dry oregano
- some sea salt flakes
- more olive oil
Instructions
The Dough
- Combine warm water and active yeast in a bowl.
- Add in flour and salt. Using a wooden spoon, mix everything well until there are no lumps. Cover bowl with cling film and rest dough for 30 minutes.
- Spread some olive oil on working surface. Place the dough on top.
Stretch & Fold
- Wet your hands to avoid dough from sticking. Grab one side of dough, stretch and fold on top. Do the same with all the other 3 sides as if you're folding an envelope.
- Grab the whole dough and flip it up side down.
- Cover the dough with a generously oiled cling film and leave it to rest for 30 minutes.
- Repeat the stretch and fold process for 3 more times. Watch the recipe video above for better understanding.
Slow Rising
- After the 4th stretch and fold, place the dough upside down inside a generously oiled bowl.
- Cover the bowl tightly with cling film and place it in the fridge for 24 hours.
Assembling & Baking
- Preheat oven at 500ºF (260ºC) for 30 minutes. Place rack on the higher ⅔ level in the oven.
- Line a 9x13 inch (23x33 cm) pan with baking sheet. Pour in generous amount of olive oil.
- Flip the bowl on top of the pan and let the dough slowly fall by itself into it. With wet hands, gently stretch the dough to fit the pan. Careful not to poke the air pockets.
- If it's difficult to stretch, leave it for 10 minutes and then continue stretching. After that leave the stretched dough for 30 minutes.
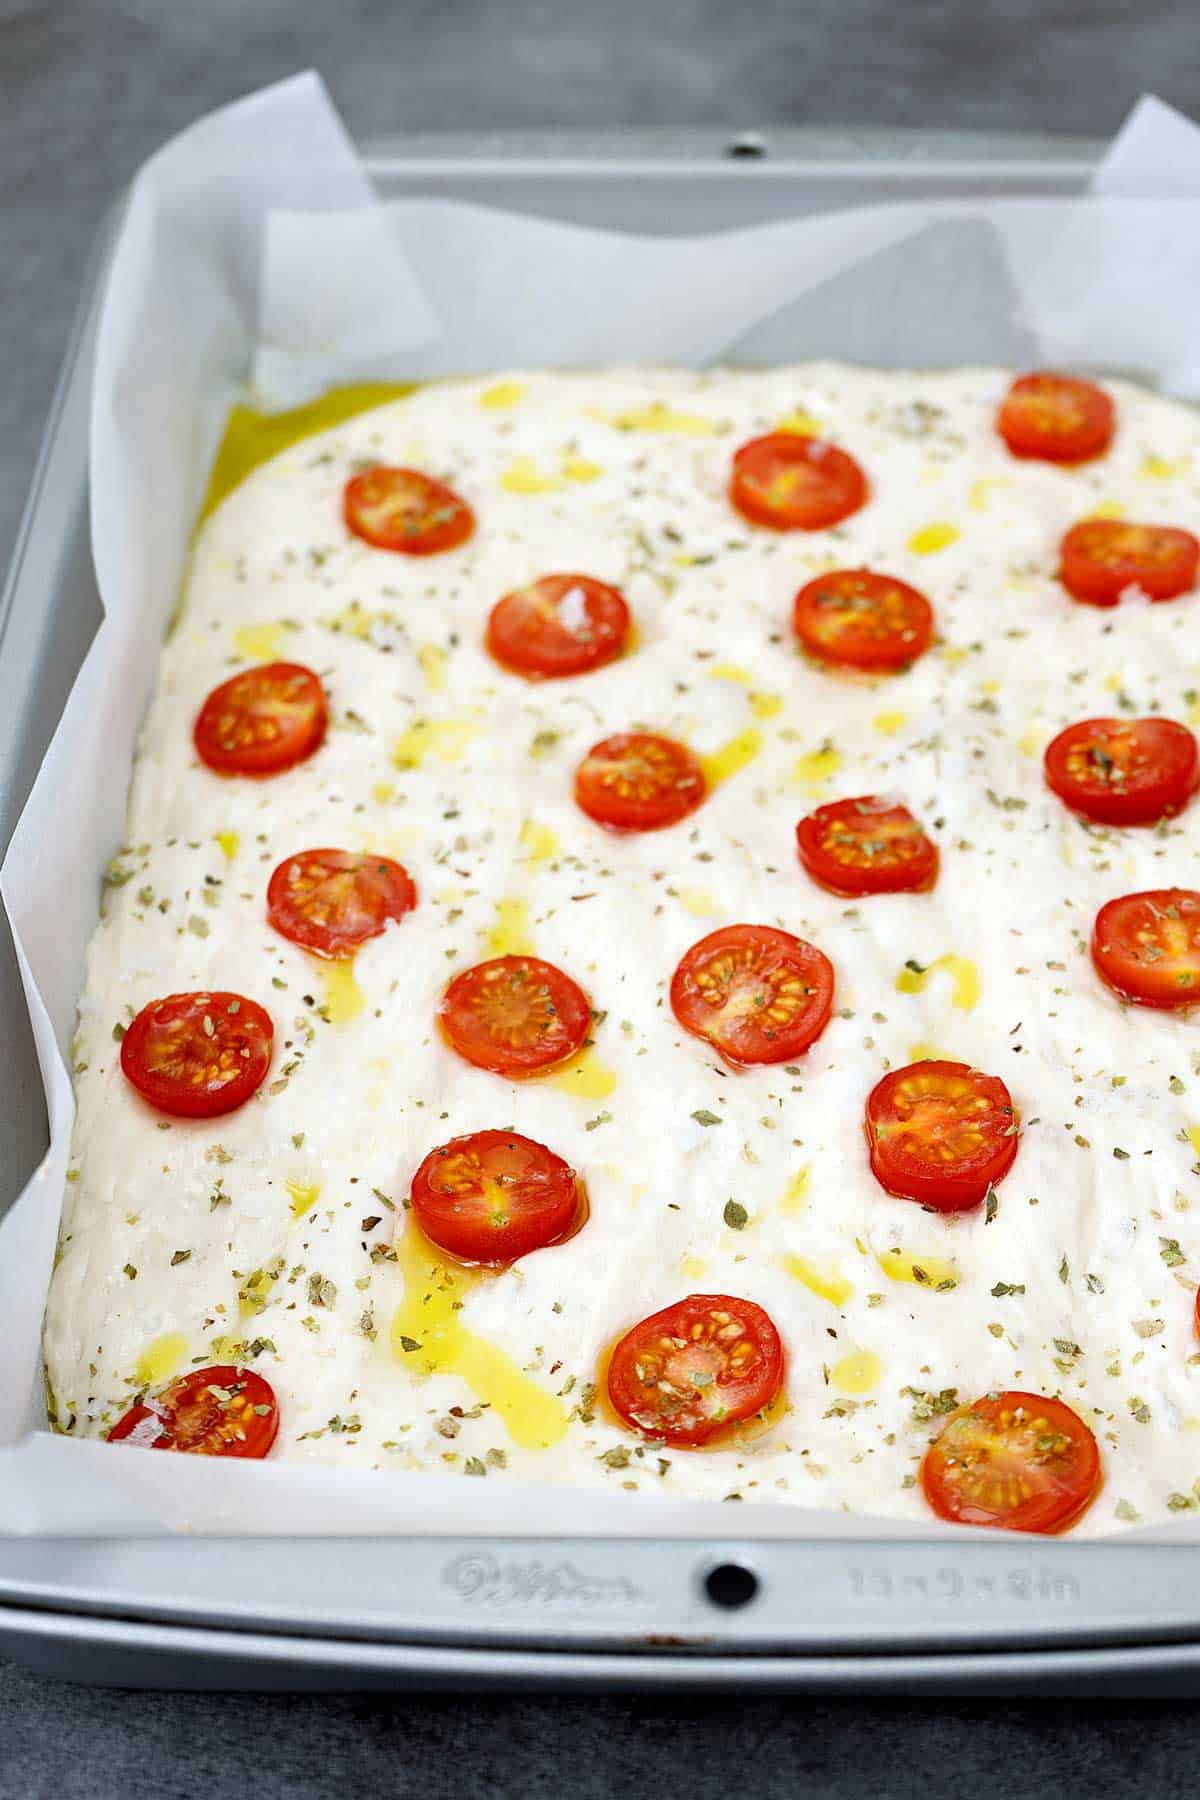
- With wet hands, gently make random indentations on the dough. Place tomato on top.
- In a bowl, mix 1 tablespoon water with 1 tablespoon olive oil to emulsify. Then drizzle on top of the dough. Lastly sprinkle some dry oregano and sea salt flakes.
- Bake for 20 minutes or until golden brown and fully cooked.
How To Serve
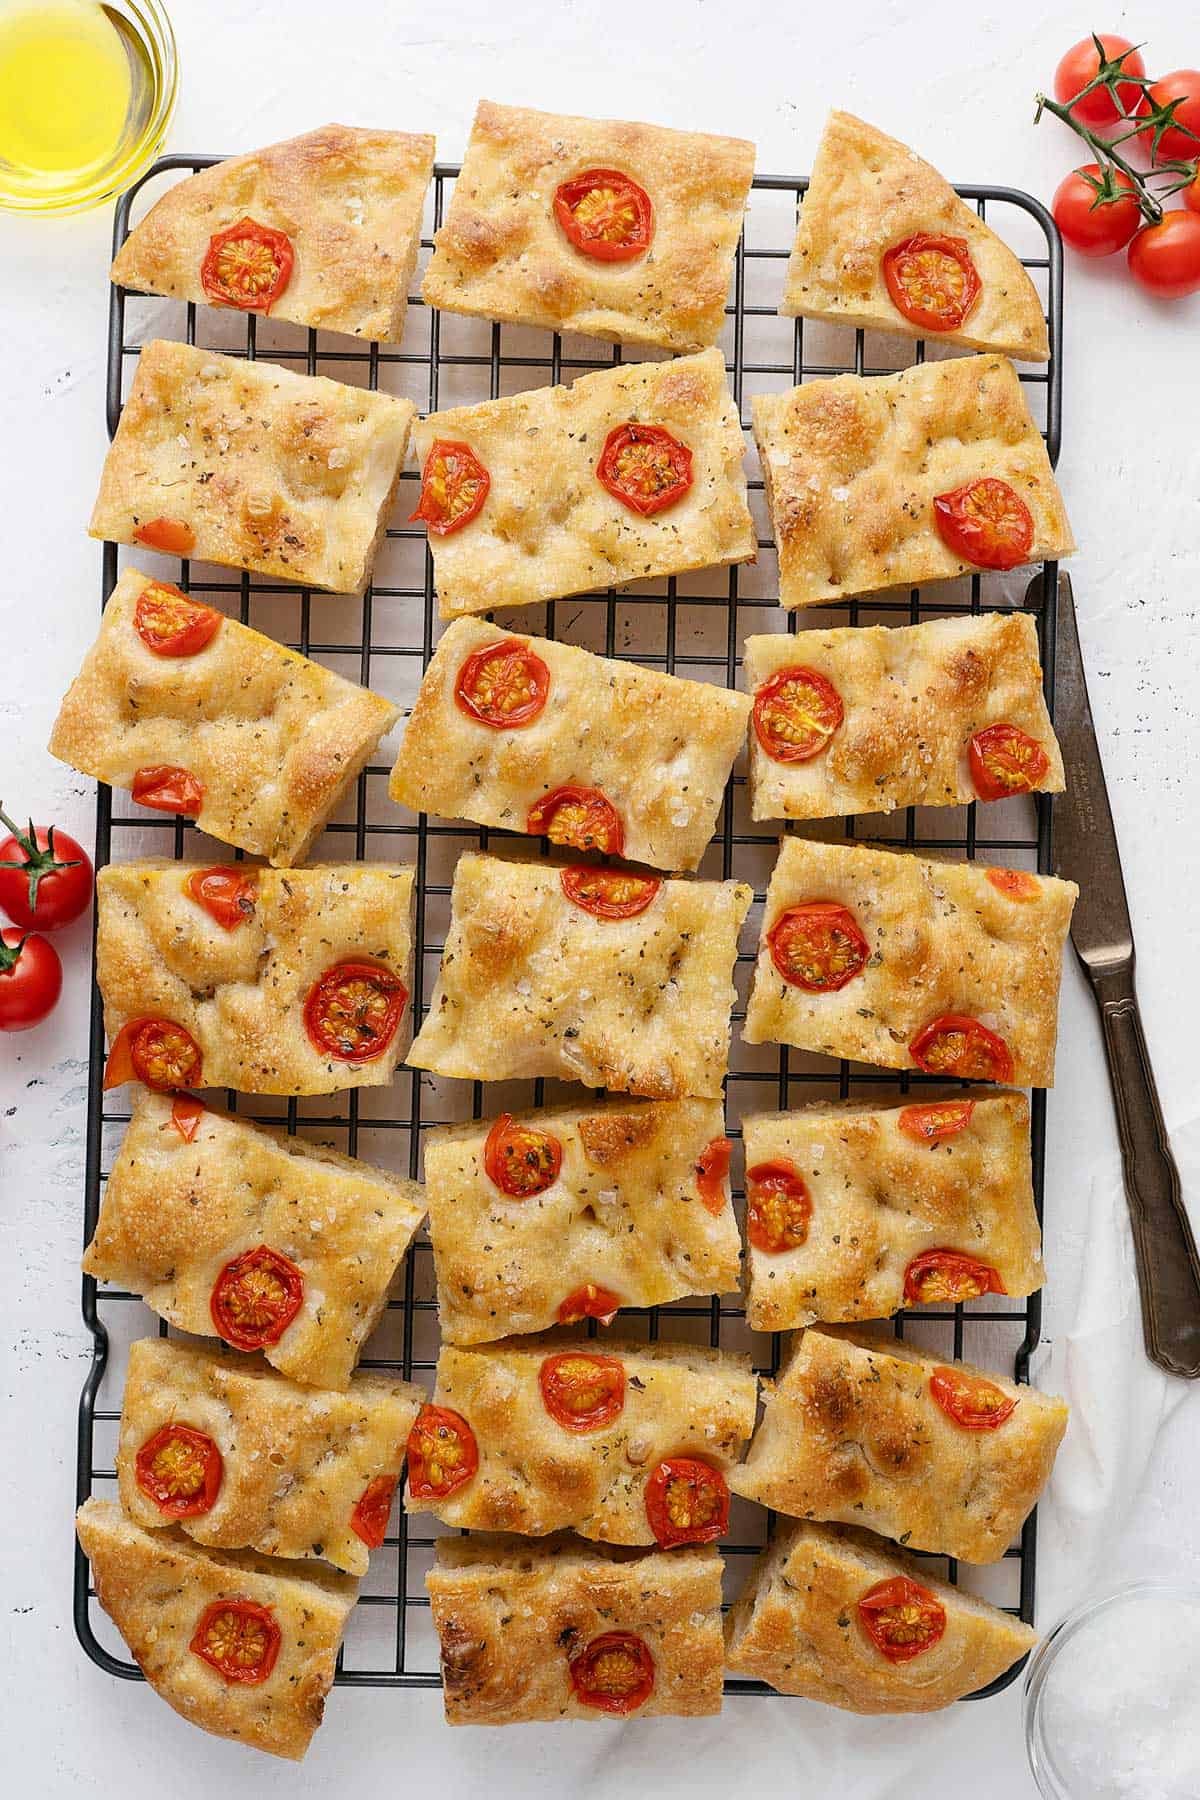
- Cool the focaccia on a rack for 30 minutes. Slice and enjoy as is or cut in half and make sandwiches out of it.
- Best eaten the day of baking.
Note
- Use a kitchen scale for precise measuring of flour. Use scoop and level method if you're using cup measurement to avoid having more flour than the actual amount for this recipe.
- Please refer to my post above for tips and detailed explanations.
- Although this recipe is forgiving, I really do suggest you using all purpose flour (different flours have different water absorption level, which effects the amount of water needed), in order to have the exact same result as in the video and photos. If you're using bread flour, add bit more water (see the video above for the consistency).
Nutrition Facts
The nutrition facts provided are an estimate per serving. Accuracy is not guaranteed.












James says
Not sure what I’m doing wrong but my dough is dry compared to your video.
I have tried to weigh the flour and scooped with a measuring cup and I get the same result.
Would you have any suggestions.
Bea says
Hi James! Did you use the exact ingredients and measurements? Try weighing the all purpose flour (not measure with cup). If you used bread flour (high protein flour), you'll definitely need more water than mentioned in the recipe. This is a super simple recipe and many of my readers have successfully made it, so no worries. Let me know how it goes!
Neeti says
Thank you for sharing this lovely bread recipe. I baked the bread after proofing for 24 hours. It turned out super delicious. I added some more topping on it.😍😍🙏🙏
Bea says
That's great Neeti! I' glad that you liked it, thank you!
Kelly says
Hi, first of all, thank you for the recipe! I'm looking forward to try it, it looks delicious and fun to make.
But, may I know if this focaccia bread works with wholemeal flour?
Bea says
Hi! I haven't tried it with wholemeal flour so I can't really say. I did try using spelt flour and it worked amazing. Hope it helps.
Penny says
Hi, I used 2 cups of APF and a cup of wheat flour. (i don't know why, I was being a risk-taker), but it's been 30 mins, and it doesn't look lumpy. does it need more time, because of the wheat?
Bea says
Hi Penny! I'm not sure if I get you, but yes, it's not supposed to be lumpy.
Christina Seow says
Hello Bea! I tried your focaccia recipe again and it’s a super big hit. Funny thing is that I just measured all my trays and realised that I used the same tray to make the single recipe and the double recipe! Both tasted great but needless to say, the single recipe tasted better.
I wanted to ask about toppings - can I use the same dough recipe but make an onion focaccia instead? I was thinking of caramelising the onions first before baking. Do I need to be concerned about the caramelised onions making the dough crust less crispy?
Bea says
Hi Christina! Yes, no problem at all. I actually did that. What I did was sprinkle the caramelised onion all around. I also sprinkled some blue cheese on top, I simply love the combo. The focaccia turned crispy, so no worries. Just try not to put too much (as in the amount) of topping on top though. Hope it helps, and thank you!
Nicole S says
Was on my list of things to make and since being home, trying all things. This was simple and delicious! Thank you for your video easy to follow. Looking forward to baking some of your other receipes!!
Christina says
Hello Bea! I have doubled this recipe and it is now slowly rising in the fridge. Just curious to know how this recipe is different from the rosemary one since that has sugar and this doesn’t? I used dried yeast and the dough looked like it is rising perfectly. Fingers crossed for the taste tomorrow!
Lily says
Hey Bea, do I need to make any changes to the recipe if I'm using instant yeast instead of active yeast? And is it okay to substitute all purpose flour for bread flour if I like a chewier bread? Thanks!
Bea says
Hi Lily! No, no need to change anything on the yeast. I haven't tried it with bread flour but I don't see why not. Have fun!
Chloe says
Hi Bea. Did this yesterday and turned out so good with the iconic big holes and lovely texture. Appreciate your continuous effort to bring amazing recipes to our home. Thanks again
Chloe
Bea says
That’s awesome! For me it’s very satisfying and I feel a sense of accomplishment to see those holes 🤣. I’m glad that you liked it, thanks for your feedback Chloe!
Paula says
Hello! I’m in the process of making this but when mixing all the ingredients my dough seems drier and I need to mix it by hands. Should I add a little more water next time?
Bea says
Hi Paula! How did you measure your flour? If you're using cup, use the method of spoon and level. You most probably have more amount of flour than what it calls for. With this kind of bread, it's more accurate if you use a scale. Hope it helps.
Ray says
Wonderful...perfect texture and taste. Love it.
Bea says
Glad you liked it, thanks Ray!
Dee says
WOW! This was so good, so easy and almost no work at all. I didn't even do the folding part as I missed that when reading the directions. I fermented only 14 hours as I was in a hurry. I did use an unlined, well oiled (1 tsp?) glass pan and I got this perfect crispy crust. I used less than 2 Tbls of infused oil on top that I didn't mix with water as I missed that part as well, proving this is very forgiving. The crumb was beautiful, with artisan style holes and a perfect chew. And I baked at 350 for longer, also not reading the directions. I did do a 30 minute 2nd ferment in the pan. I had trouble getting the dough to the edge of the pan, so I just picked it up after letting it relax like a pizza dough, and turned it around a couple times, letting gravity stretch it out. Make it, you won't regret it. It was brought to a small party and gone in less than 5 minutes. Thank you Bea!
Bea says
Yeaaayy! I'm happy to hear that it turned out great and that it was a hit! Yes, this is super easy and forgiving. And you can play around with the topping also, like a blank canvas. Thank you so much for your feedback Dee! 😍
Marie Kanarr says
How does this focaccia compare with Sicilian focaccia? This recipe looks great. I love the airy texture of the bread and that the bread makes noise when you cut into it? Please email me your response I have not made this recipe yet I’m in the research phase
Vanessa says
So excited to try this! I should use all-purpose, NOT bread flour?
Bea says
Nope, no need for bread flour for this one. Hope you have fun with it (I know I did 😀 )!
Fatima says
Hi Bea,
Thank you so much for the recipe of this amazing bread I made twice and it went straight to my cookbook.
Fatima
Bea says
Yeaaaayy! I'm happy to know that, Fatima. Thank you so much!
GABRIELA SAMPSON says
Hi Bea
I have just discovered your website via your YouTube video on orange cake 😃!!! Cannot be simpler....my cake is now baking in the oven !!!!
I will make the focaccia tomorrow 😊..I have the feeling you are very very good at this baking business 🤩
Thank you 😊😊😊
Gaby
Bea says
Hi Gabriela, welcome to our website and channel 😀 ! Yes, I really hope you try the focaccia. It's such a rewarding and satisfying process (at least for me 😀 😀 ). By the way, I'm just an enthusiast 🙂 . Thank you so much Gaby!
Reid says
I'm so eager to bake this in a few hours! The dough is growing so great in the fridge! Your bread recipes are always wonderful, thank you!!!
Bea says
Hey that's awesome! Yes, for me seeing the dough rises is such an exciting part of making bread. I hope you liked it, thank you so much Reid!
Reid says
Yes we liked it, it was tasty! I have to be more soft with the dough because I think I over pressed it. I will definitely make this again thank you Bea.