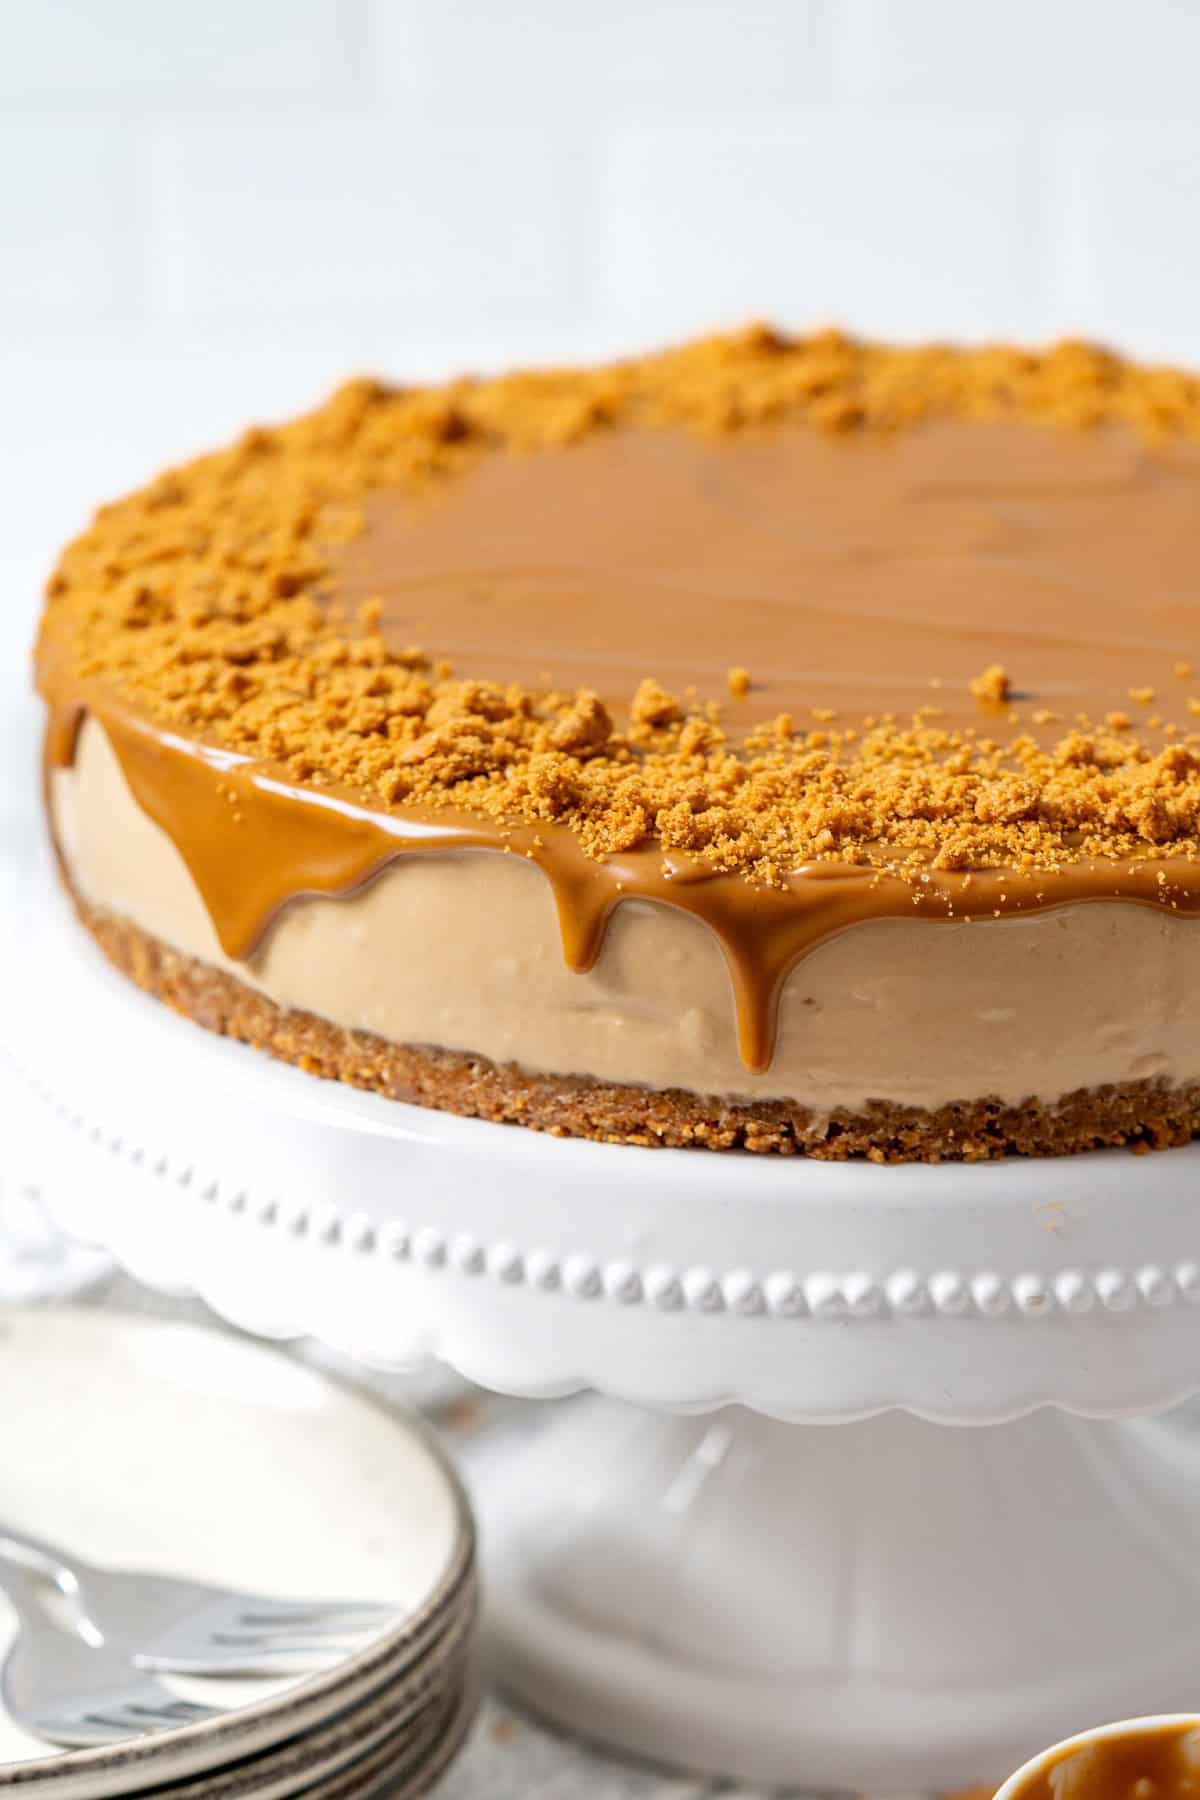
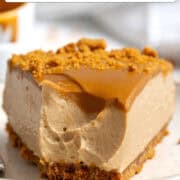
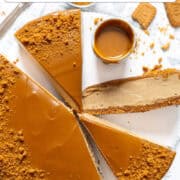
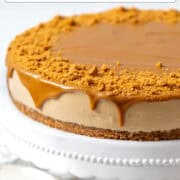
This no-bake Biscoff cheesecake is deliciously delightful! With a buttery Biscoff cookie crust and a creamy filling that highlights the warm, spiced caramel flavor of Biscoff spread, it's rich yet perfectly balanced in sweetness. Topped with more of the spread, this cheesecake is easy to make and requires no gelatin!
★★★★★
Made this for the family for new years- went down a treat. Such a scrumptious desert- this will now be on my list of go to deserts to impress!! Thanks Bea- loving your YouTube channel and blogs!
- Mariam Serroukh
📮 Save this recipe for later!
Why You'll Love This Foolproof Recipe
Our readers love our easy and success-guaranteed cheesecakes, which shows in our most popular recipe: mini cheesecakes! This no-bake Biscoff cheesecake is no different, and here's why we love it!
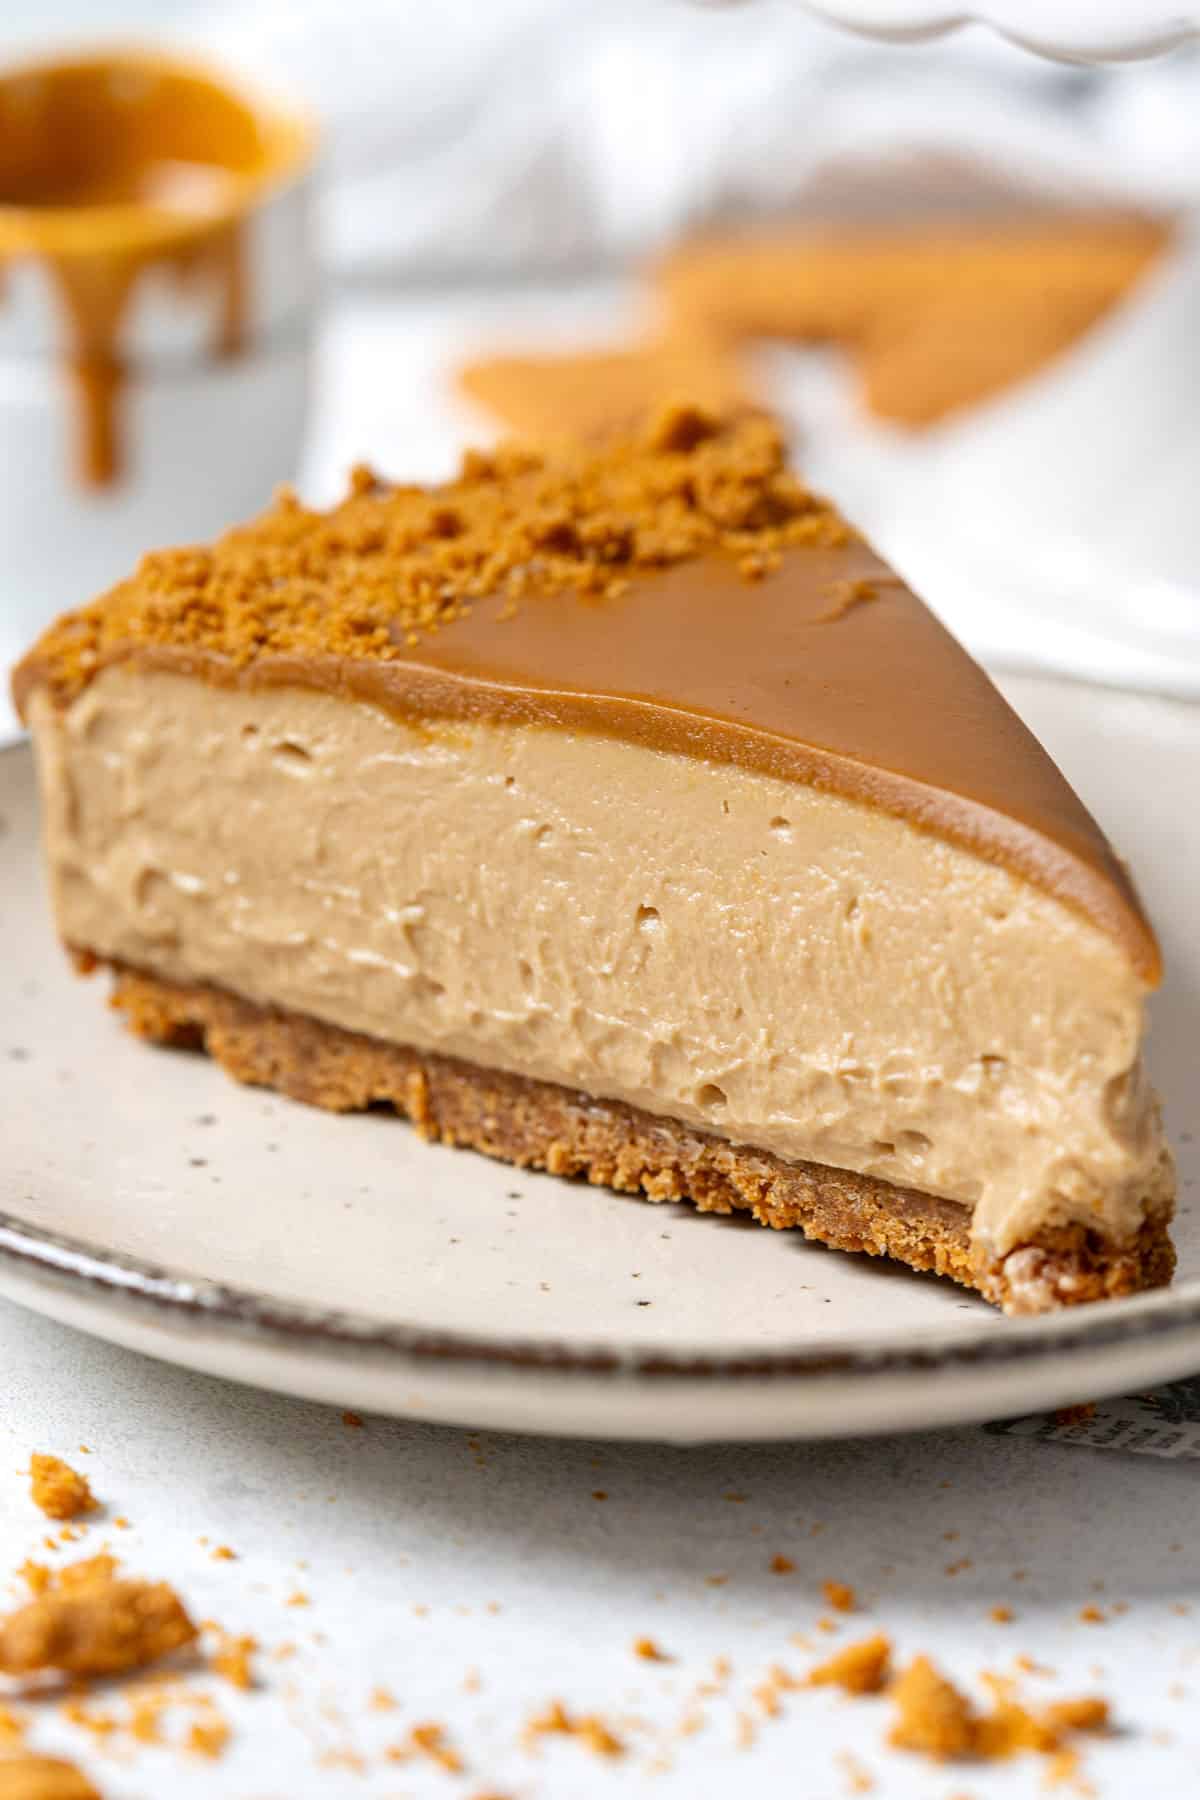
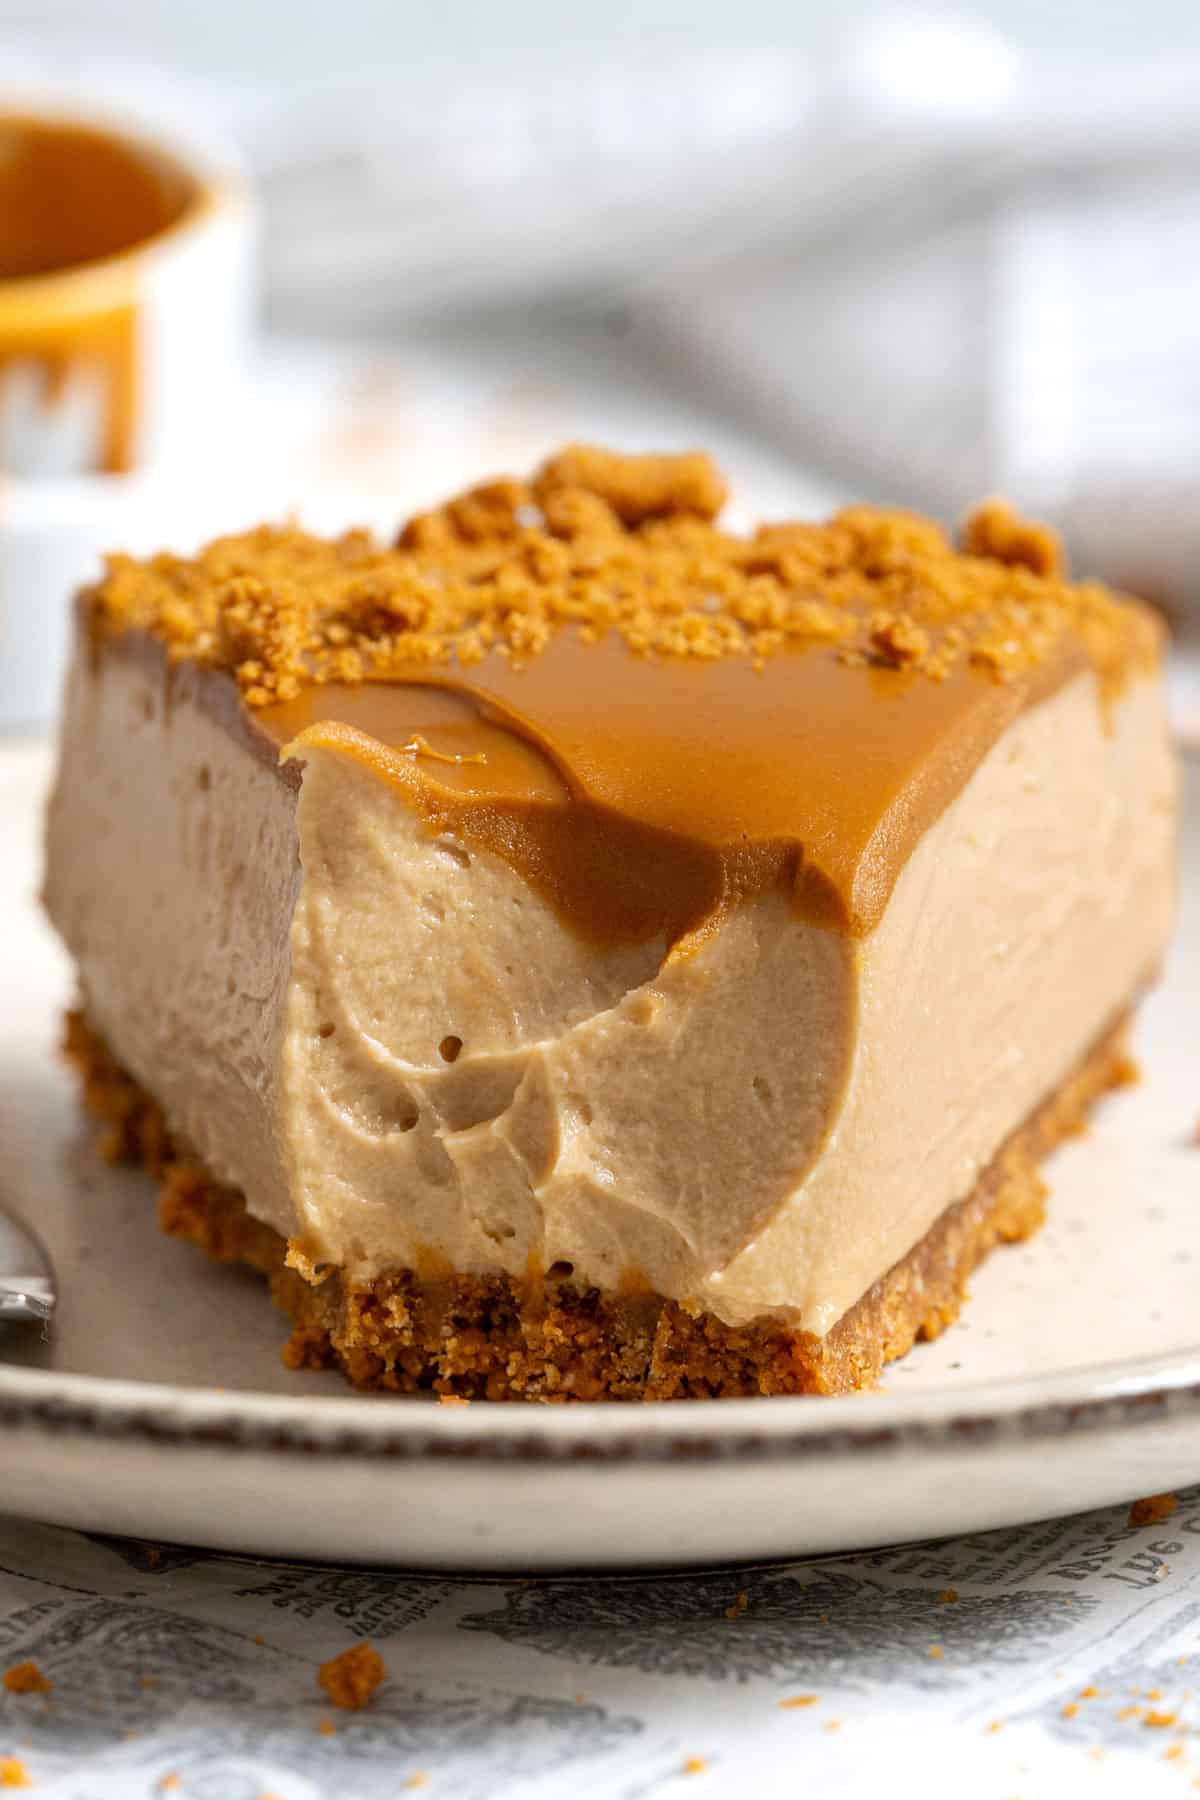
Creamy and flavorful—This delightful no-bake cookie butter cheesecake is incredibly creamy and infused with the signature flavors of Biscoff spread, which include caramel and cinnamon. The buttery crust is made from crushed Biscoff cookies, while the filling is rich with the caramel and cinnamon notes of the Biscoff spread. The cheesecake is topped with more Biscoff spread and cookie crumbs to add a contrasting texture.
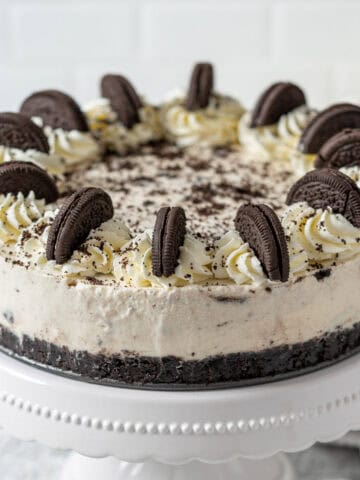
No gelatin—We aim to meet our readers' preference for no-bake cheesecake recipes that do not contain gelatin. We have created this creamy, smooth, and perfectly set no-bake Biscoff cheesecake without gelatin, just like our no-bake Oreo cheesecake!
What Is A Biscoff Spread?
Biscoff actually comes from the words biscuit and coffee! It originated in Belgium, where people love dipping their biscuits, especially Biscoff cookies, in coffee and putting them on their bread.
A Belgian woman invented the Biscoff spread by turning Biscoff cookies into cookie butter. This spread tastes like pure cookie heaven—sweet, buttery, and spiced with warm hints of cinnamon and caramel. It’s like a creamy, melt-in-your-mouth version of those iconic speculoos cookies! The spread is ideal for toasts and unimaginable amazing desserts, and this Speculoos cheesecake is one of them!
Ingredients For This Recipe
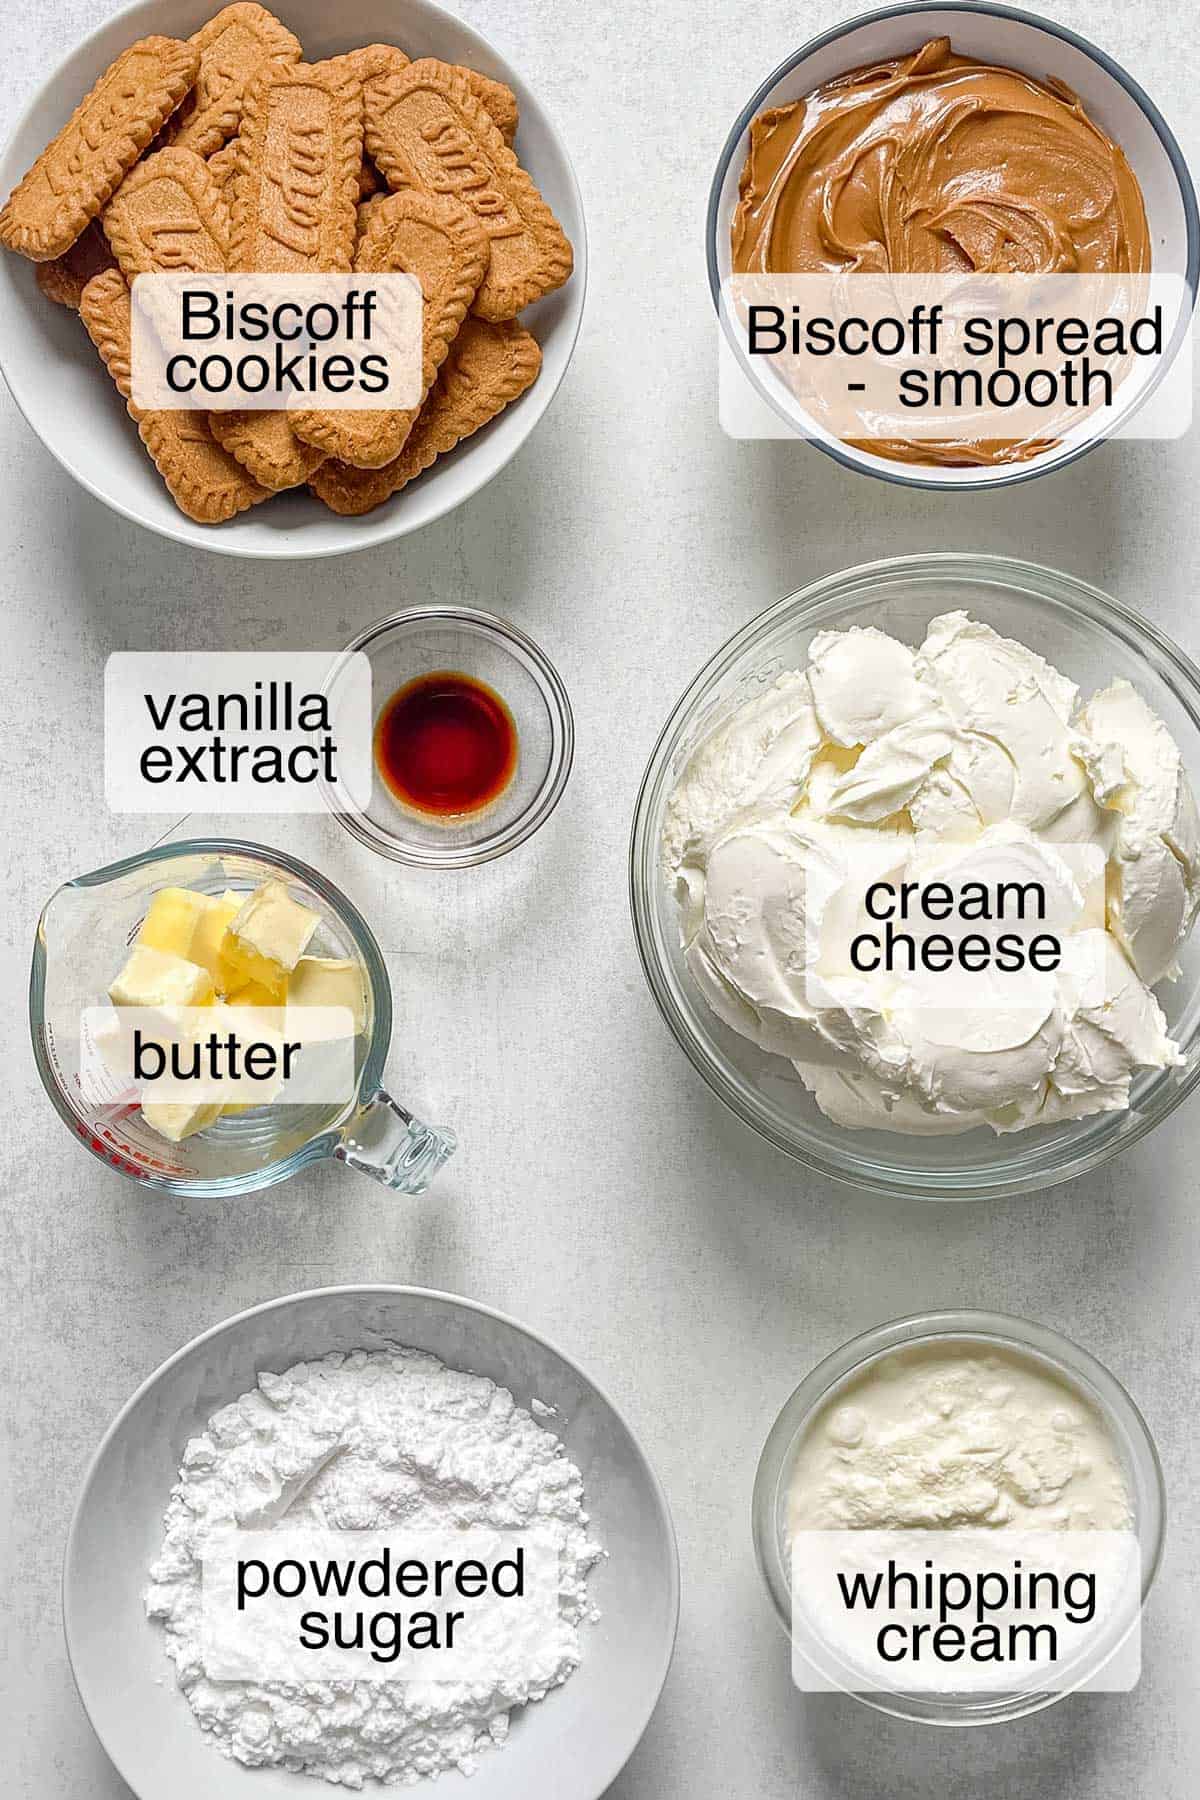
Biscoff cookies—They are thin shortbread cookies with a unique caramelized cinnamon flavor. Alternatively, you can use graham crackers, digestive biscuits, or other biscuits with a similar taste by adding half to one teaspoon of cinnamon powder.
Butter—We use unsalted butter in this no-bake Biscoff cheesecake as the cookies are flavorful enough.
Cream cheese—Use full-fat plain cream cheese, not whipped or light varieties. Cheesecakes with no gelatin need the fat content to set properly, as our no-bake lemon cheesecake. It may come in bricks or tubs, depending on your location.
Biscoff spread—It's made from Biscoff cookies, amongst other ingredients. We love using the smooth version like in our Biscoff cheesecake shots, to achieve the luscious smooth texture. However, the crunchy spread works too.
Powdered sugar—Its fine texture blends beautifully with the filling, creating a smooth, luscious cheesecake, like our no-bake strawberry cheesecake. We don't recommend granulated sugar in this recipe.
Whipping cream—With a minimum 35% fat content. Do not use light cream because we need the fat content for this no-bake Biscoff cheesecake to set beautifully. Depending on your location, you might find it as double cream.
See the recipe card for complete information on ingredients and quantities.
A baker's best friend!
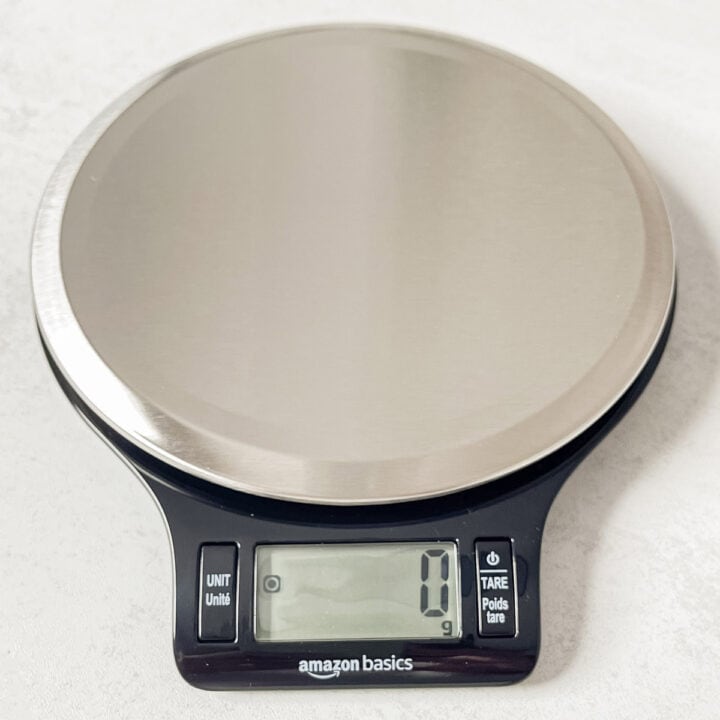
Kitchen scale
It provides precise measurements for your ingredients, surpassing measuring cups. We strongly recommend it, as baking is a science!
Step-By-Step Instructions
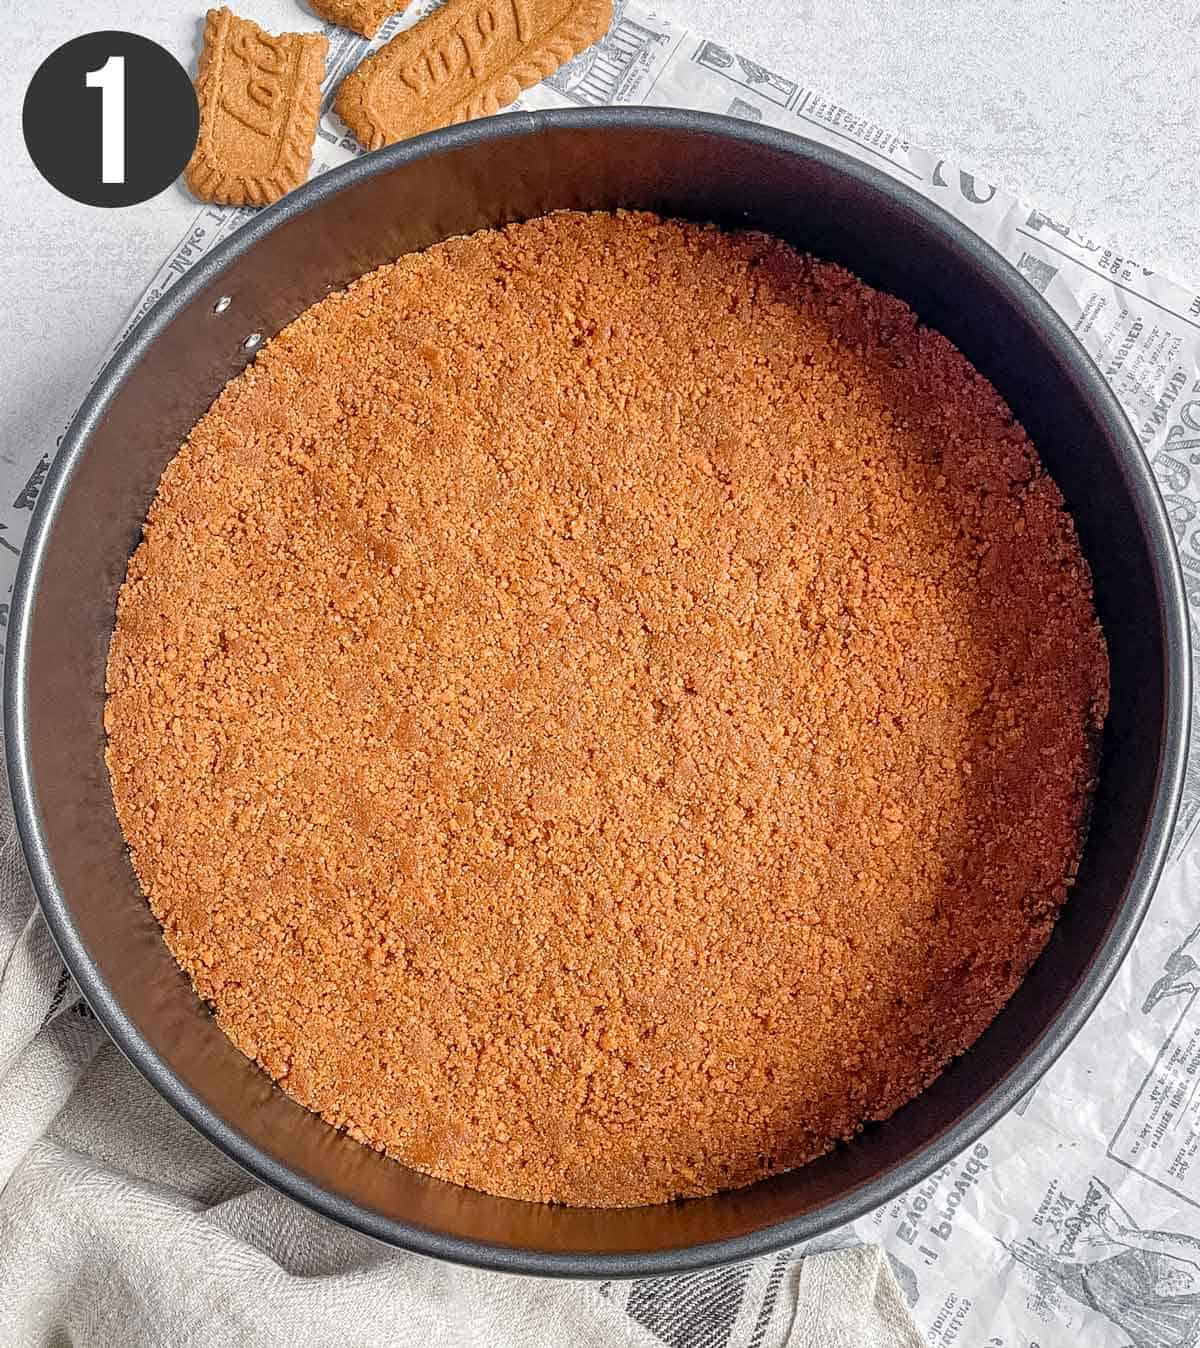
Step 1: Make the base. Crush the biscuits using a small blender. Mix with melted butter. Pour and press into a 9-inch (23cm) springform pan. Freeze for 30 minutes.
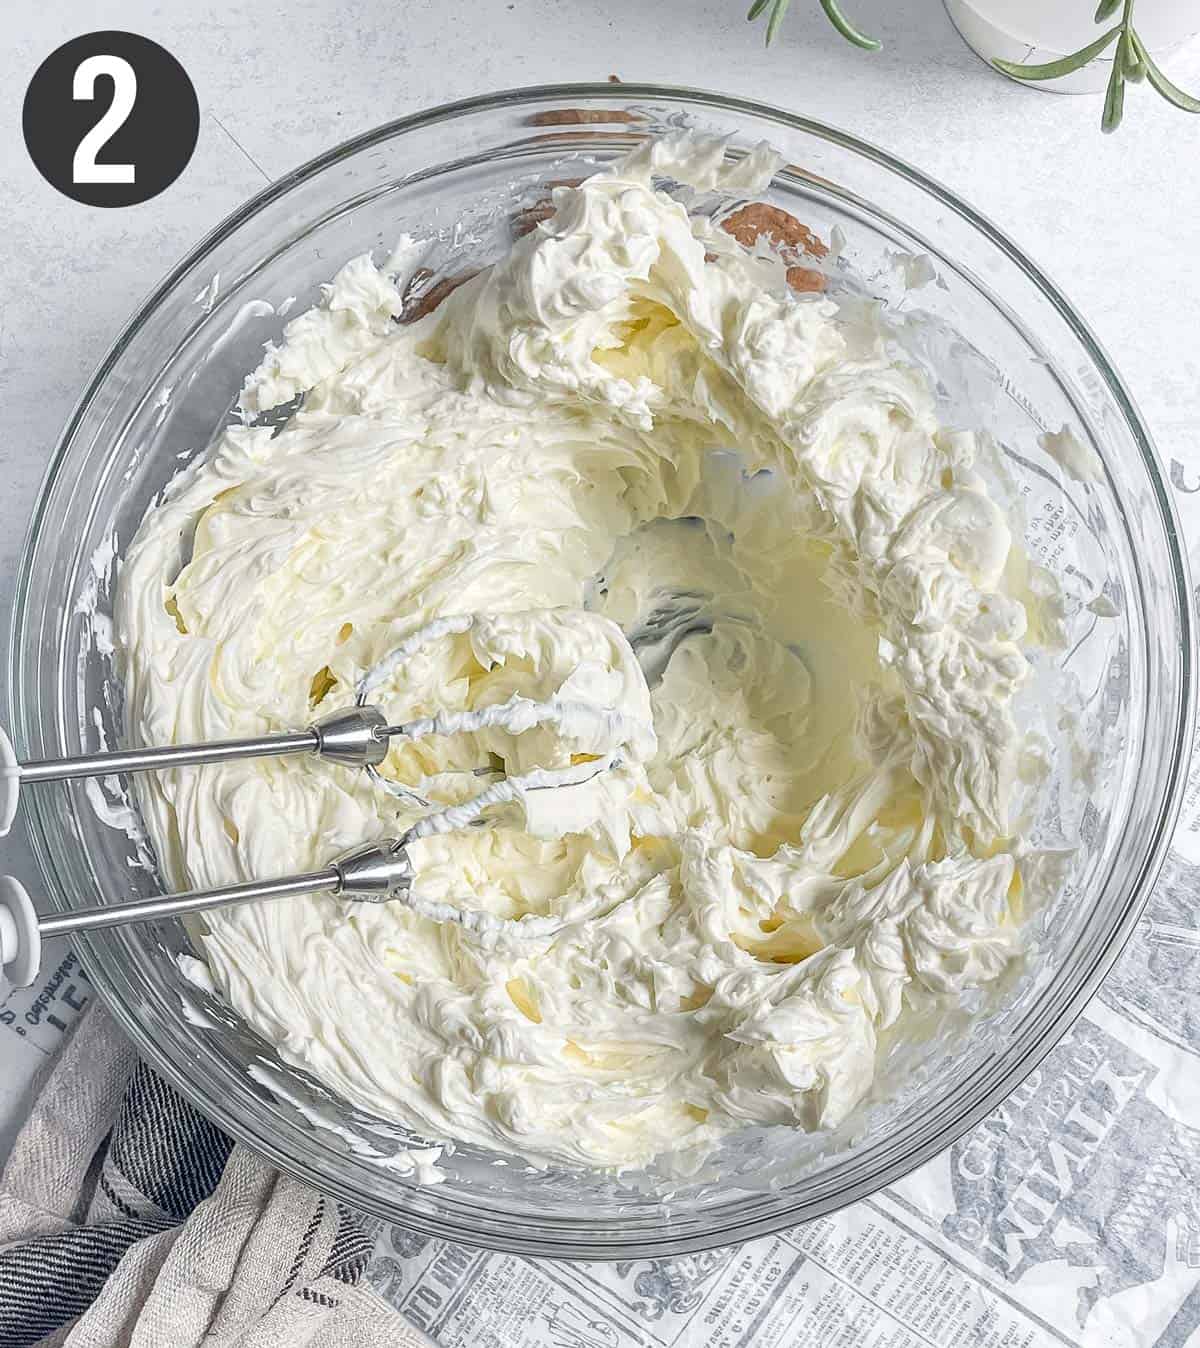
Step 2: Cream the cream cheese. Whisk cream cheese for 2-3 minutes using a handheld whisk or a standing mixer until creamy and fluffy.
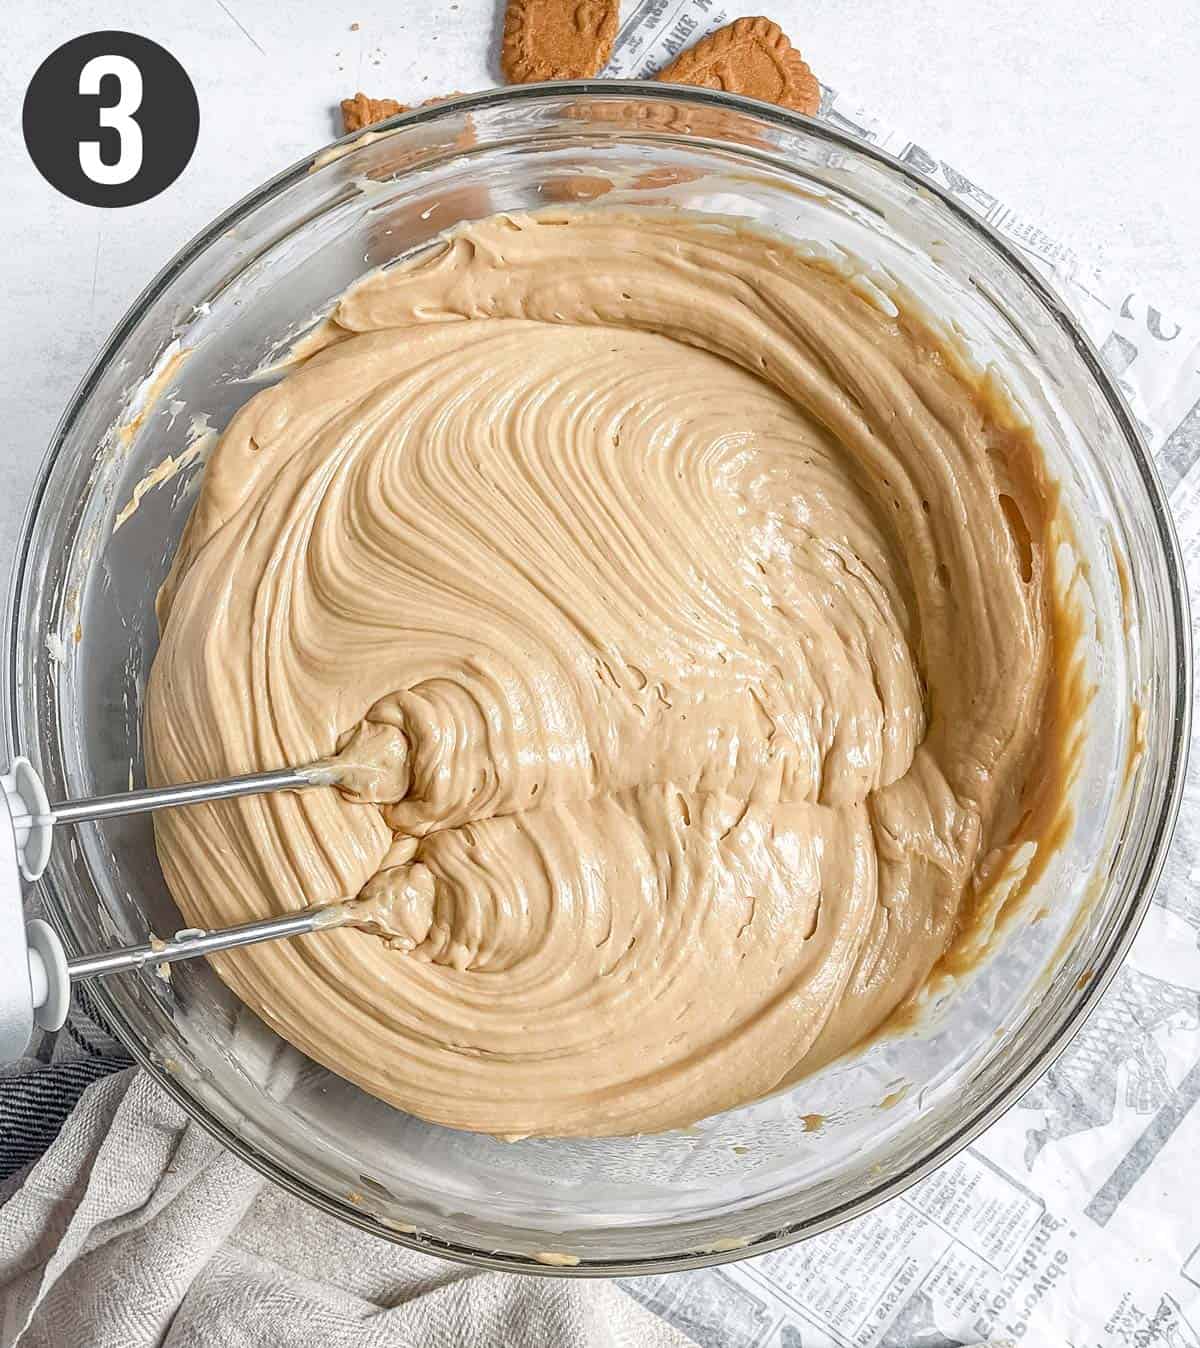
Step 3: Add the rest. Mix in powdered sugar, vanilla extract, and Biscoff spread.
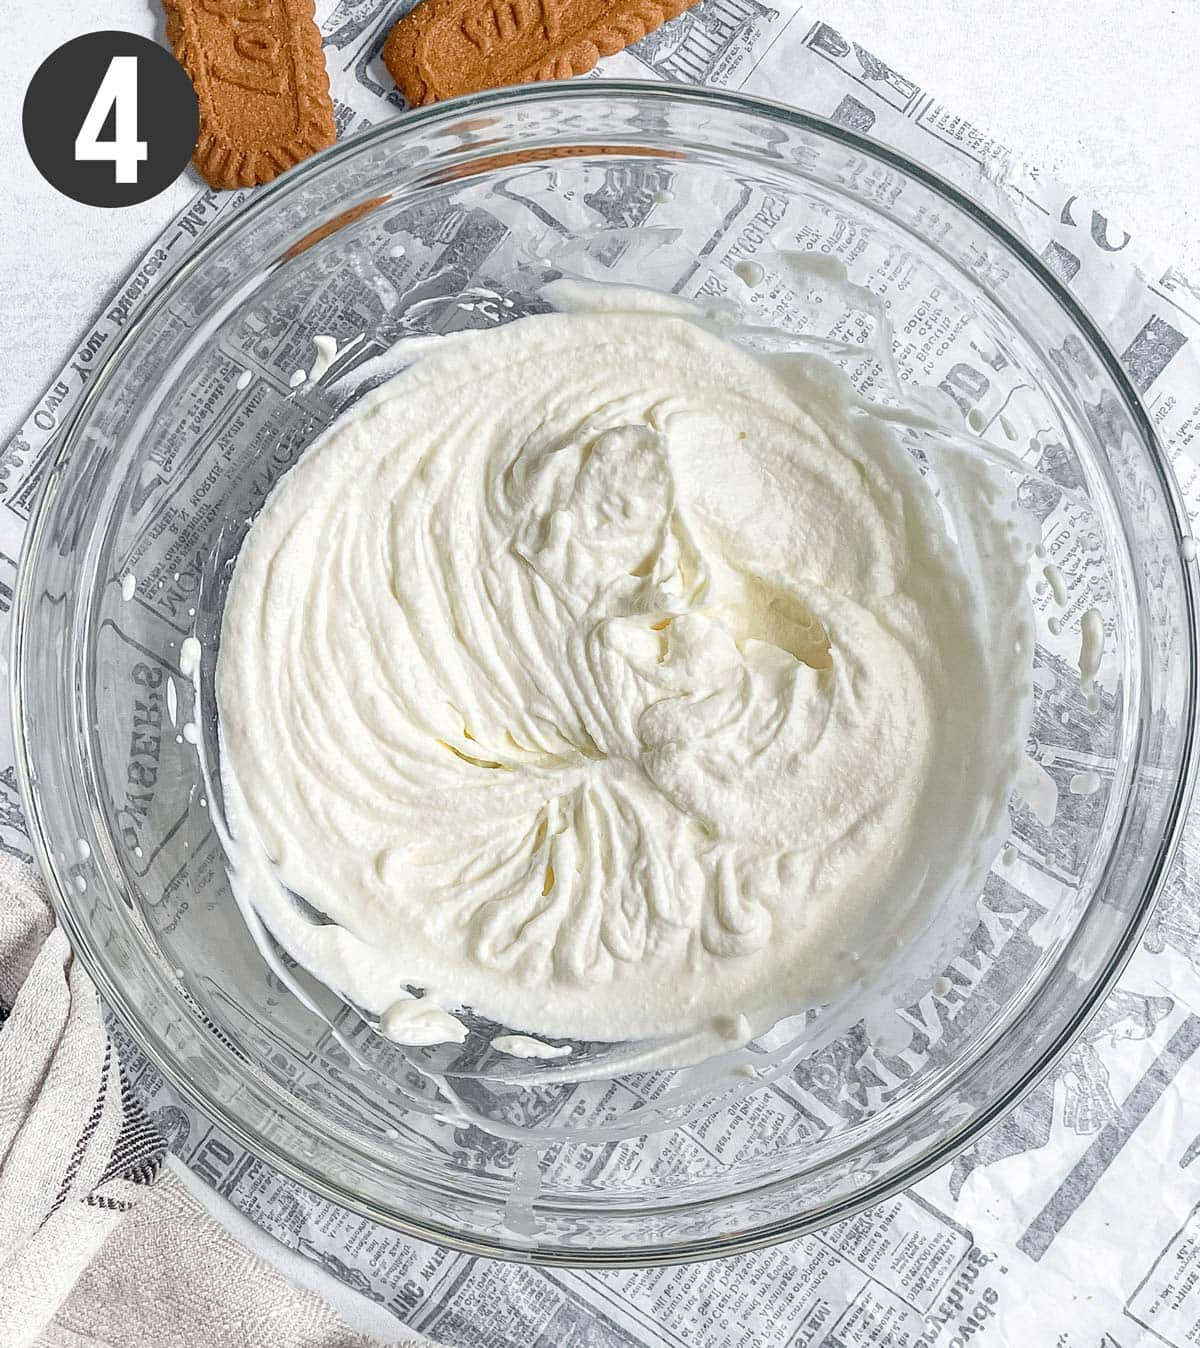
Step 4: Whip the whipping cream. In a separate bowl, whisk the cream until stiff peaks form. Use medium-high speed, taking care not to over whisk it to avoid splitting.
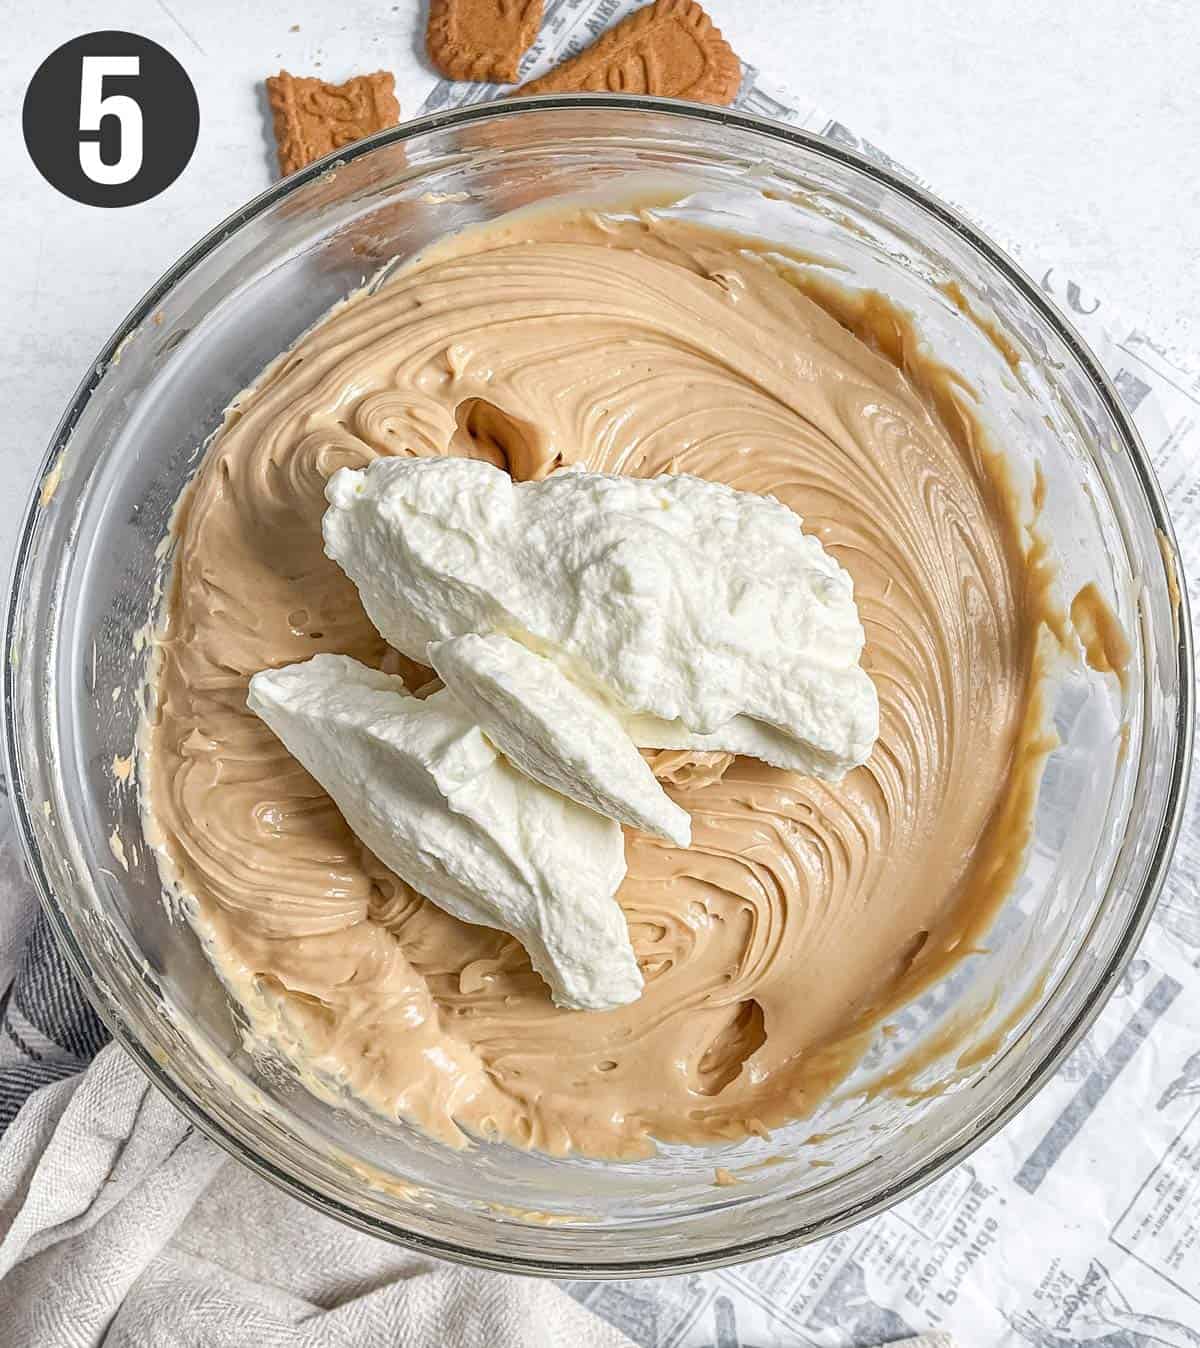
Step 5: Fold in whipped cream. Add whipped cream to the cream cheese mixture and gently fold everything together, ensuring you do it slowly to avoid deflating the whipped cream.
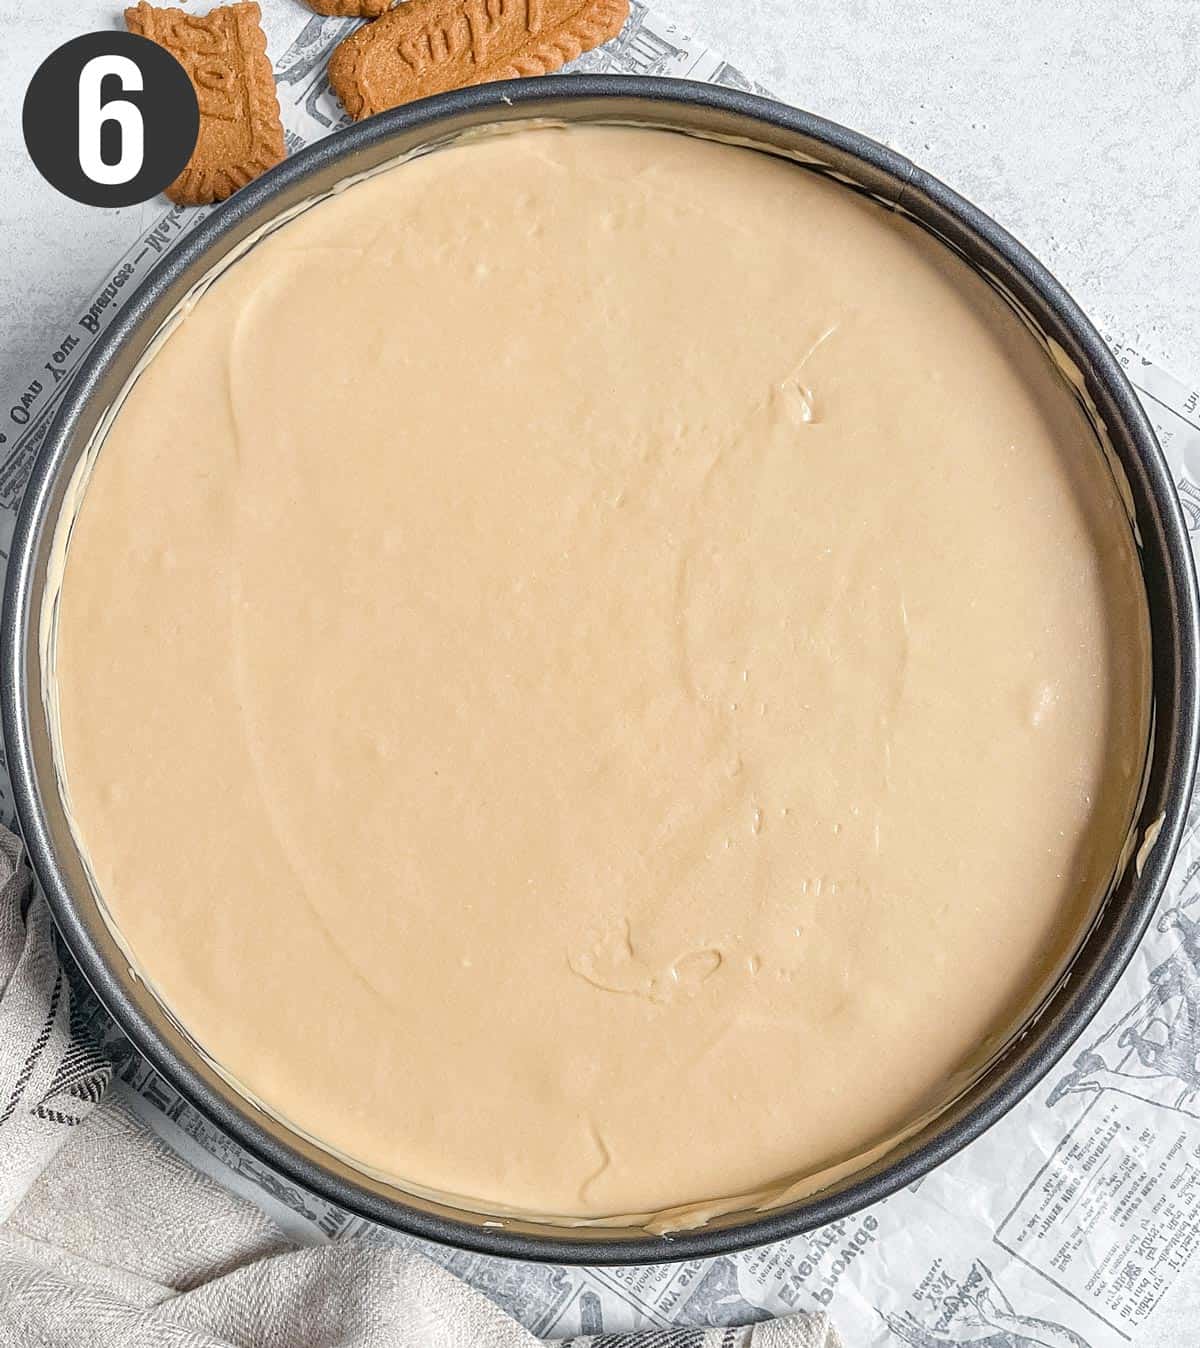
Step 6: Chill and freeze. Pour the filling into the pan and spread it evenly using an offset spatula. Gently shake the pan back and forth to help the filling settle. Chill in the refrigerator for a minimum of 8 hours, preferably overnight. Freeze the filling for 1 hour before decorating.
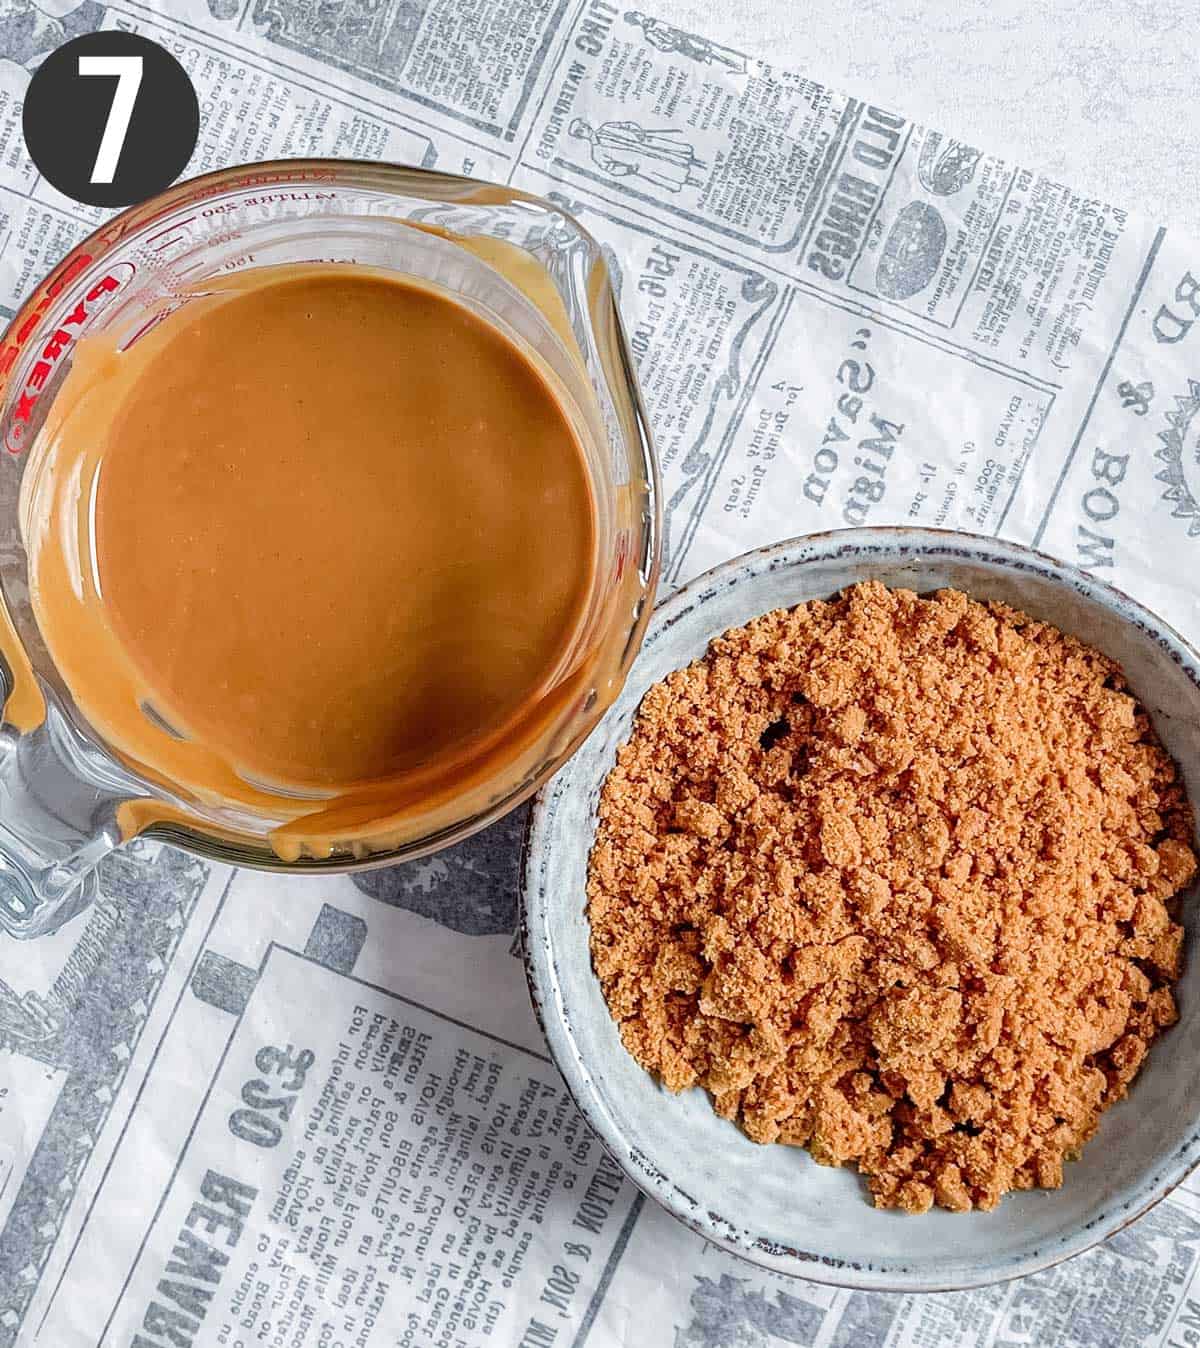
Step 7: Prepare the toppings. Crush some Biscoff biscuits. Gently warm the Biscoff spread in the microwave or on the stove. Leave until it's only slightly warm before using.
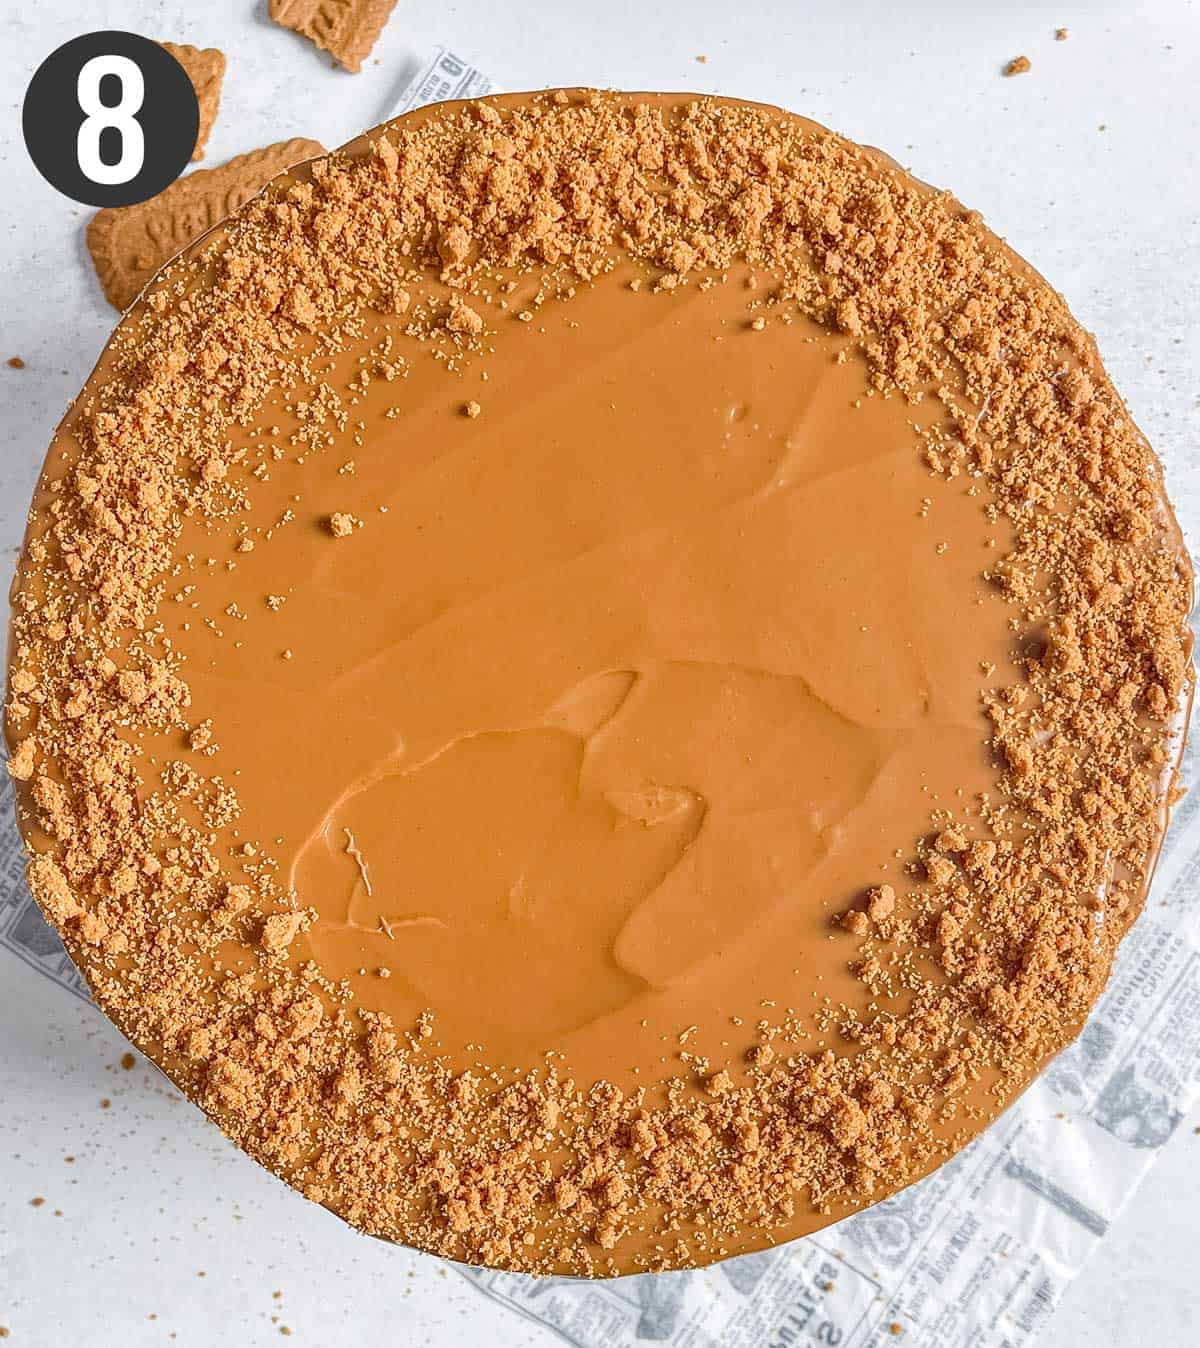
Step 8: Decorate. Carefully remove the cheesecake from the springform pan and place it on a cake stand. Pour the melted spread on top, then quickly spread it evenly to prevent it from hardening due to the cold cheesecake. Finally, sprinkle crushed biscuits around the edges. Enjoy your Lotus Biscoff cheesecake!
Recipe Expert Tips
If you're going to make this no-bake Biscoff cheesecake recipe, make sure to follow these top tips!
- Use a kitchen scale. It is more precise and gives you better results. We love using our kitchen scale as it also saves time by reducing the need for washing between measurements.
- Use ingredients at the specified temperatures. This will make it easy for them to blend without over-mixing them.
- Chill the cheesecake in the coldest area in the fridge. This no-bake Biscoff cheesecake doesn't have gelatin, so it needs cold for it to set beautifully. Chilling it overnight does the trick!
- Freeze it before pouring the melted Biscoff spread topping. This will prevent the cheesecake from softening with the warm topping. One hour in the freezer should do it.
How To Serve, Store, And Freeze
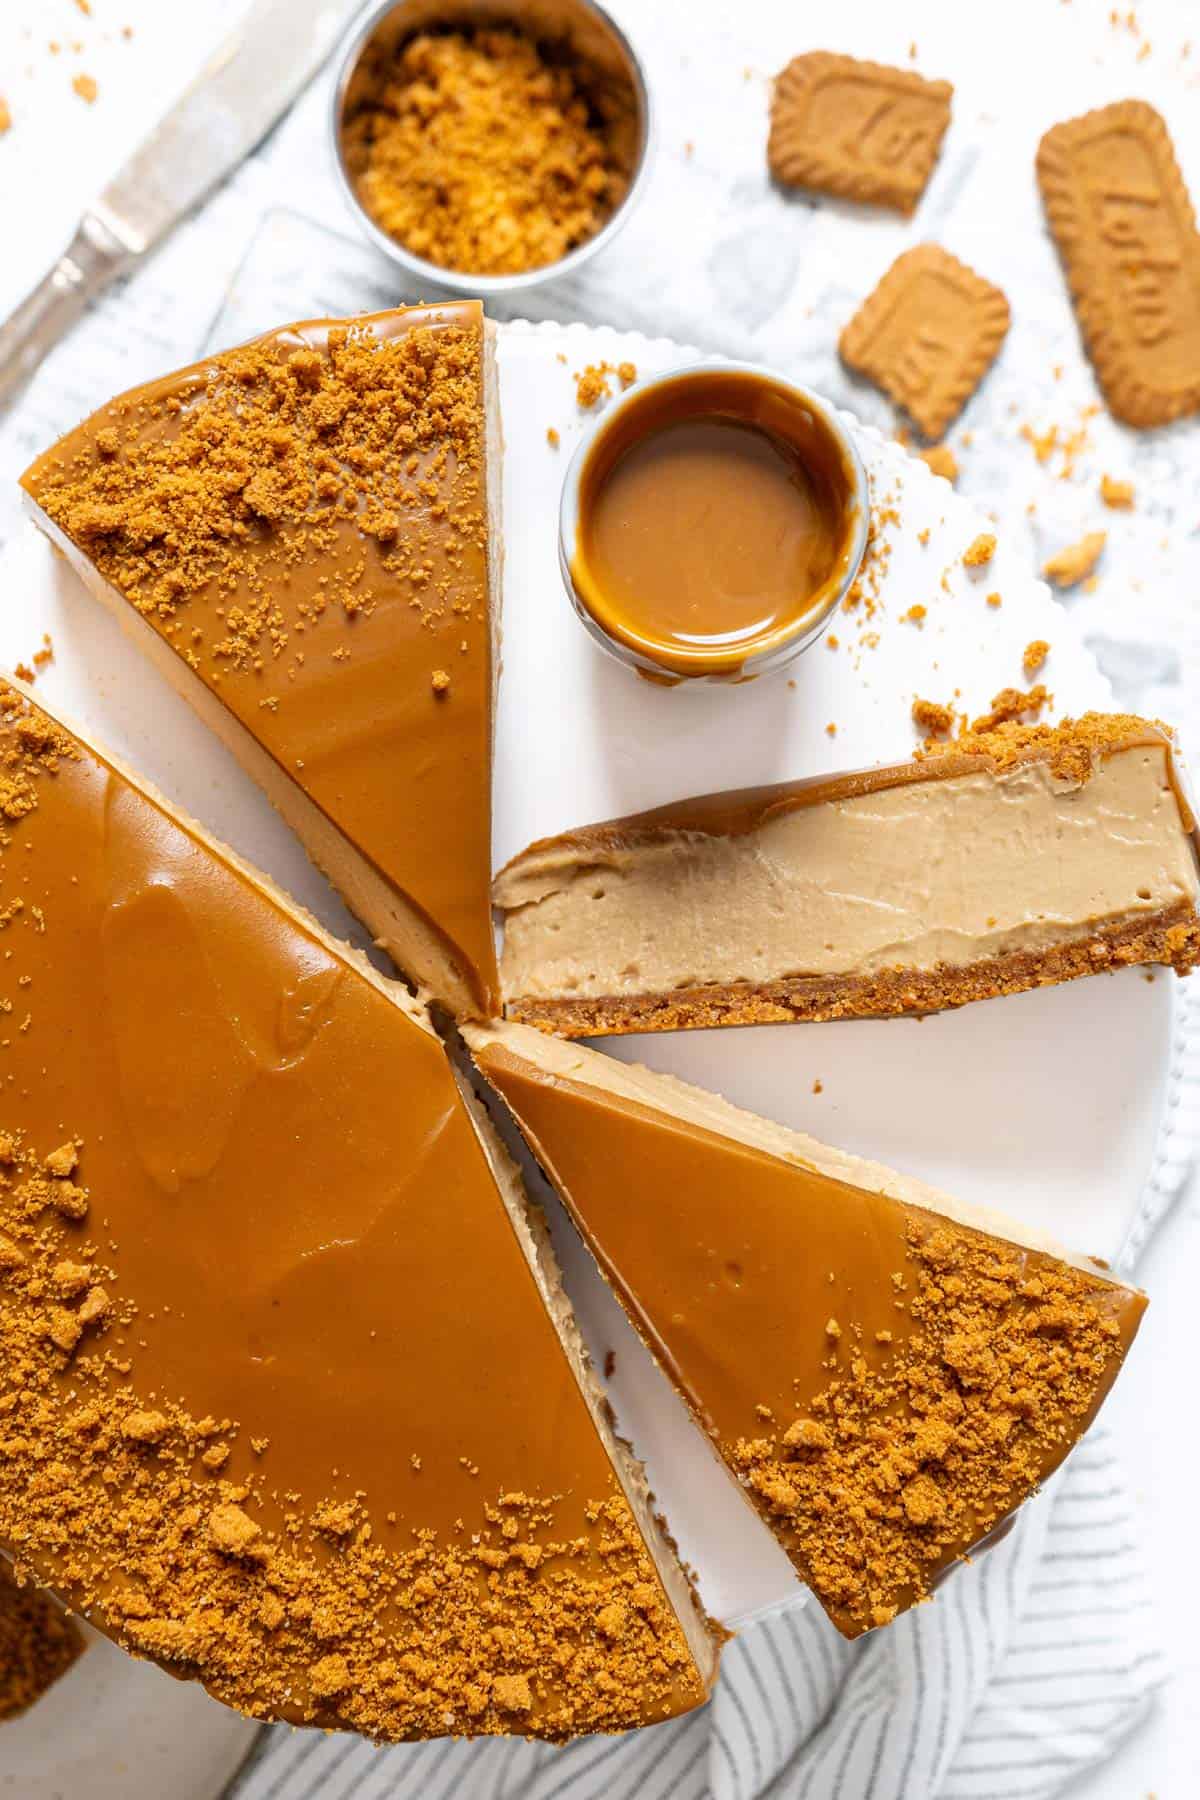
Serve—This delicious no-bake Biscoff cheesecake is best enjoyed slightly chill. Before serving, allow it to sit at room temperature for 10 to 15 minutes. This will enhance its smooth, creamy texture and the delightful flavors of the Biscoff spread. Serving it straight from the fridge may make it seem dense and less flavorful.
Store—This no-bake Biscoff cheesecake can be kept in the fridge in an airtight container for up to 5 days.
Freeze—We like to slice it into portions first. Then, we place them on parchment paper on a tray and fast-freeze them in the freezer for 2 hours. Once solid, we transfer the portions into an airtight container and place them back in the freezer, lasting up to 6 months. Whenever we crave some, we thaw a few portions in the fridge.
Recipe FAQs
Absolutely! The fat content from the cream cheese, Biscoff spread, and whipped cream is sufficient to set this no-bake Biscoff cheesecake beautifully without the need for gelatin. Be sure to whip the cream to stiff peaks!
There are a few factors to it:
1) You used light or low-fat ingredients. When cooled, fat solidifies, helping the cheesecake set.
2) The whipped cream was not whipped to stiff peaks. Stiff peaks provide more structure and hold, which helps the cheesecake set.
3) The cheesecake wasn't chilled long enough. We highly recommend chilling it overnight in the coldest section of your fridge.
This cheesecake will set—that's a promise! However, if yours doesn't for some reason, just put it in the freezer for 2-3 hours before serving.
More No-Bake Cheesecake Recipes
Did you try this No-Bake Biscoff Cheesecake?
Please leave us ★★★★★ ratings and feedback below in the comment section. We'd love to know how it went, what you liked, or if there's anything we can improve.
Thank you! -Bea and Marco
Watch How To Make It
📖 Recipe
No-Bake Biscoff Cheesecake
Video
Ingredients
Base
- 2 cup (200 g) Biscoff biscuit crumbs (26 biscuits)
- ⅓ cup (70 g) unsalted butter , melted
Filling
- 1½ lb (675 g) regular cream cheese , room temperature
- 1½ cup (435 g) Biscoff spread - smooth
- 1 cup (120 g) powdered sugar , sifted
- 1 teaspoon vanilla extract
- ¾ cup (170 g) heavy cream (heavy whipping cream) , chilled
Topping
- ½ cup (145 g) Biscoff spread - smooth
- ¼ cup (25 g) Biscoff biscuit crumbs (6 biscuits)
Instructions
Base
- Crush the Biscoff biscuits using a small blender. Mix with melted butter. Pour and press into a 9-inch (23cm) springform pan. Freeze for 30 minutes.
Filling
- Whisk cream cheese for 2-3 minutes using a handheld whisk or a standing mixer until creamy and fluffy.
- Mix in powdered sugar, vanilla extract, and Biscoff spread.
- In a separate bowl, whisk the cream until stiff peaks form. Use medium-high speed, taking care not to over whisk it to avoid splitting.
- Add whipped cream to the cream cheese mixture and gently fold everything together, ensuring you do it slowly to avoid deflating the whipped cream.
- Pour the filling into the pan and spread it evenly using an offset spatula. Gently shake the pan back and forth to help the filling settle.
Chill
- Chill in the refrigerator for a minimum of 8 hours, preferably overnight. Freeze the filling for 1 hour before decorating.
Topping
- Crush some Biscoff biscuits. Warm the Biscoff spread in the microwave or on the stove, using low heat. Leave until it's slightly warm before using.
- Carefully remove the cheesecake from the springform pan and place it on a cake stand. Pour the melted spread on top, then quickly spread it evenly to prevent it from hardening due to the cold cheesecake. Finally, sprinkle crushed biscuits around the edges. Enjoy your Lotus Biscoff cheesecake!
Notes
- Use a kitchen scale. It is more precise and gives you better results. We love using our kitchen scale as it also saves time by reducing the need for washing between measurements.
- Use ingredients at the specified temperatures. This will make it easy for them to blend without over-mixing them.
- Chill the cheesecake in the coldest area in the fridge. This no-bake Biscoff cheesecake doesn't have gelatin, so it needs cold for it to set beautifully. Chilling it overnight does the trick!
- Freeze it before pouring the melted Biscoff spread topping. This will prevent the cheesecake from softening with the warm topping. One hour in the freezer should do it.
Nutrition Facts
The nutrition facts provided are an estimate per serving. Accuracy is not guaranteed.
Originally published on Oct 6, 2018. Updated with improved text, recipe, and pictures on Dec 3, 2024.


Tez says
I just love your recipes. I am planning to make this for a feast. I live in very humid hot country. Do I need to use gelatin to set?
Bea says
No, you don't need the gelatine to set. Just keep it in the fridge longer or even put in the freezer for a few minutes before serving. Also don't keep it long outside the fridge when you serve.
Mariam Serroukh says
Made this for the family for new years- went down a treat. Such a scrumptious desert- this will now be on my list of go to deserts to impress!! Thanks Bea- loving your YouTube channel and blogs!
Bea says
Oh that's awesome Mariam, I'm happy to hear that everybody loved it! Thank you so much! XOXO
Esmée van Oorschot says
Fun fact. The Speculoos are called like that because they could not be called Speculaas (what we typically have during Sinterklaas).
Scheerazade Benatallah says
CAN i have thé translation in french of thé récipé please?
Bea says
Hi! You can use Google translate to translate it to your preferred language. Hope it helps.
Hannah says
Successful and utterly delicious cheesecake! Thank you so much
Bea says
Thank you Hannah, glad that you liked it!
Jessica says
Hey! thank for this recipe. Want to make it today but only have a 9 inch pan. Will it work or do I need to change recipe?
thanks : )
Bea says
Hey Jessica! 9 inch pan will be too big for this recipe though. Some adjustment is needed for sure.
tein says
bea thank you! i made it for christmas and my whole family loved it. cannot wait to try more of your recipes.
Bea says
Hi Tein! I'm happy to know that you and your family loved it. If you're into no bake cheesecake then you can find more recipes in my recipe page. Let me know if you tried more. Thank you Tein!
Melissa says
It looks like you used one of those Russian piping nozzles for the whipped cream on top. I can’t see the whole nozzle in the video and wanted to ask if you could send me a picture or provide a description, ie...the number, and if it is open or closed on the top. There are so many different patterns of these and I want to make sure I am using the right one.! Thanks very much...
Bea says
Hi Melissa, I used the nozzle Wilton 2D. It comes in the 22 pieces Wilton piping tip set. I hope this helps.
Melissa says
Thanks!
Bea says
No problem! 🙂
Travis says
OMG I just veganized this recipe and it was delicious!!!
Bea says
Hi Travis! Thank you for making the recipe. Vegan version sounds interesting, how did you make it?
Rukhana Sabir says
Yummy love it
Bea says
Thanks! I hope you make it, it's delicious!