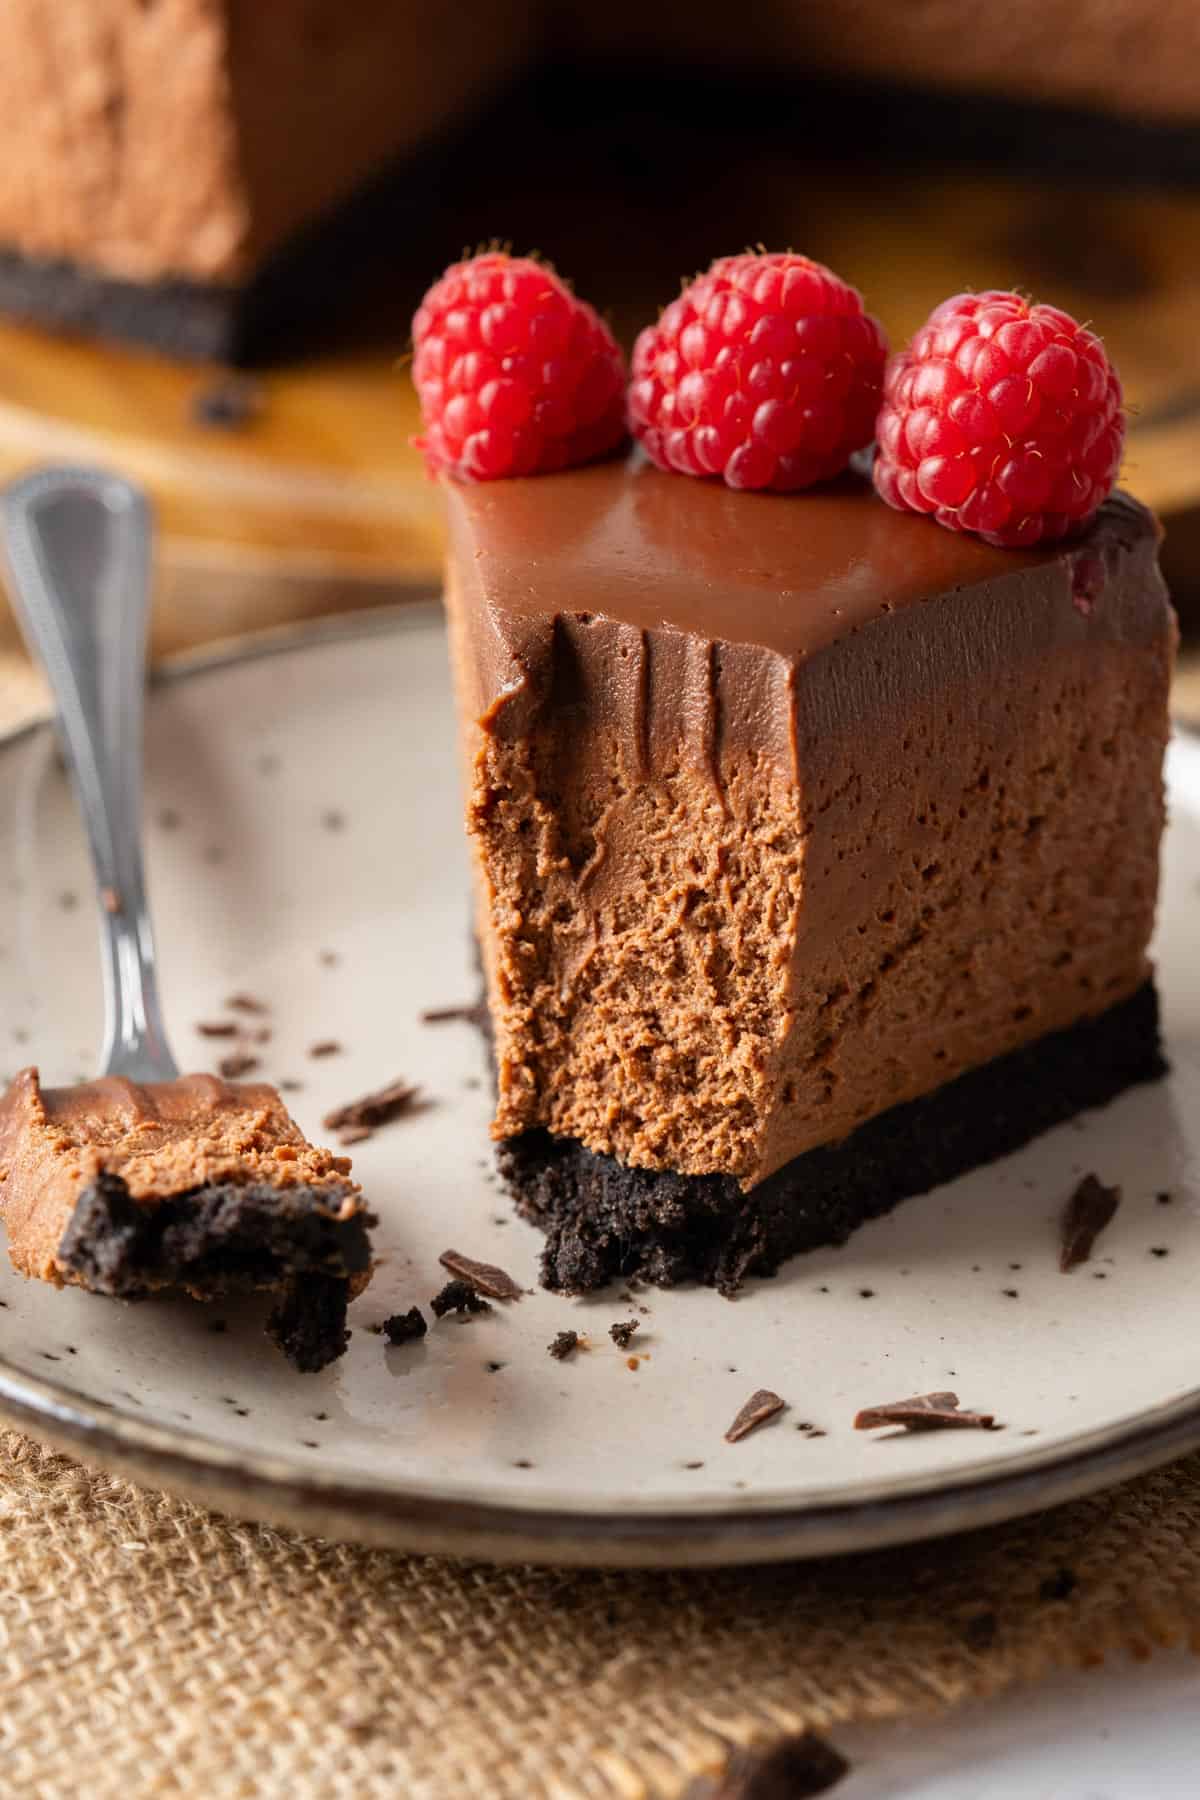
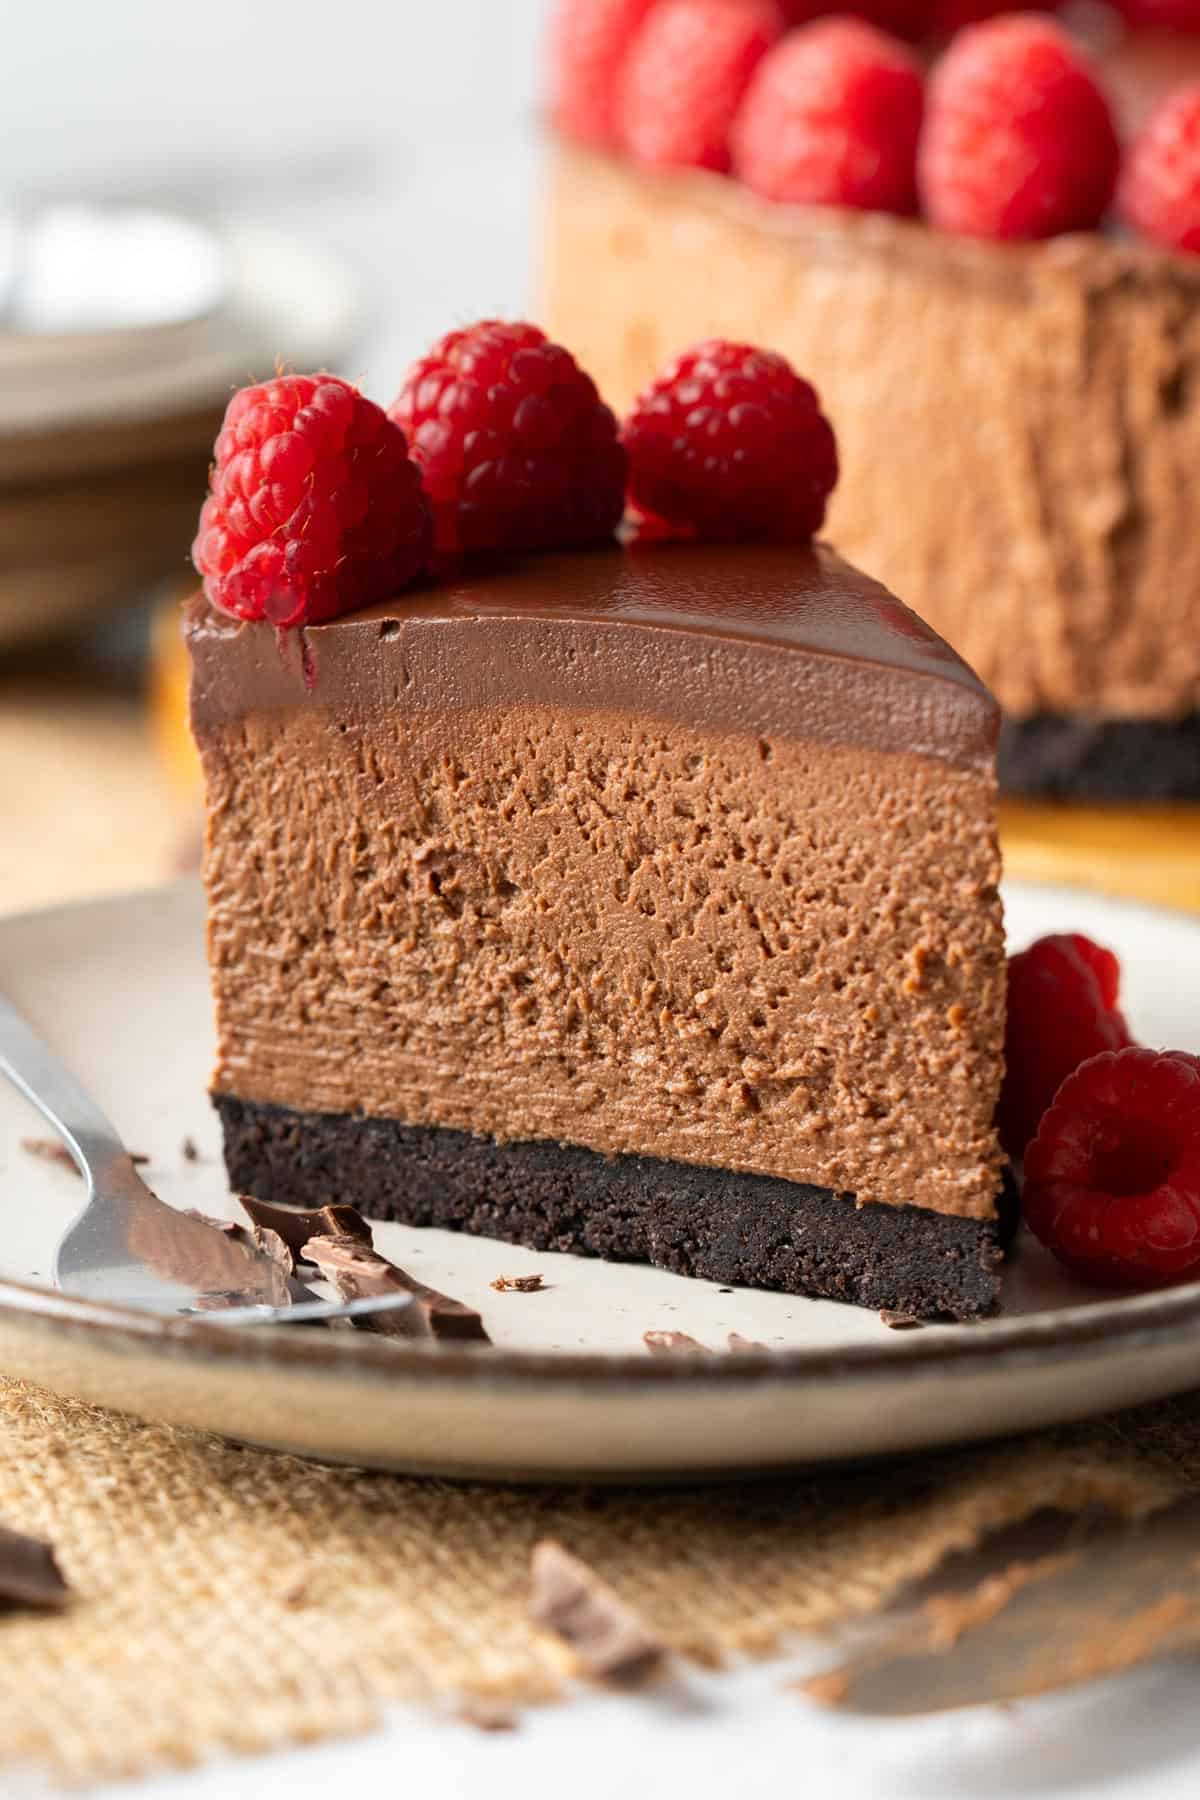
The best no-bake chocolate cheesecake that you'll ever make. Creamy filling with decadent chocolate flavor and crunchy Oreo cookie base. Rich, delicious, and amazing. Easy and success-guaranteed recipe, perfect to impress anybody and for any celebration!
Save This Recipe!
Jump to:
Why This Recipe Works
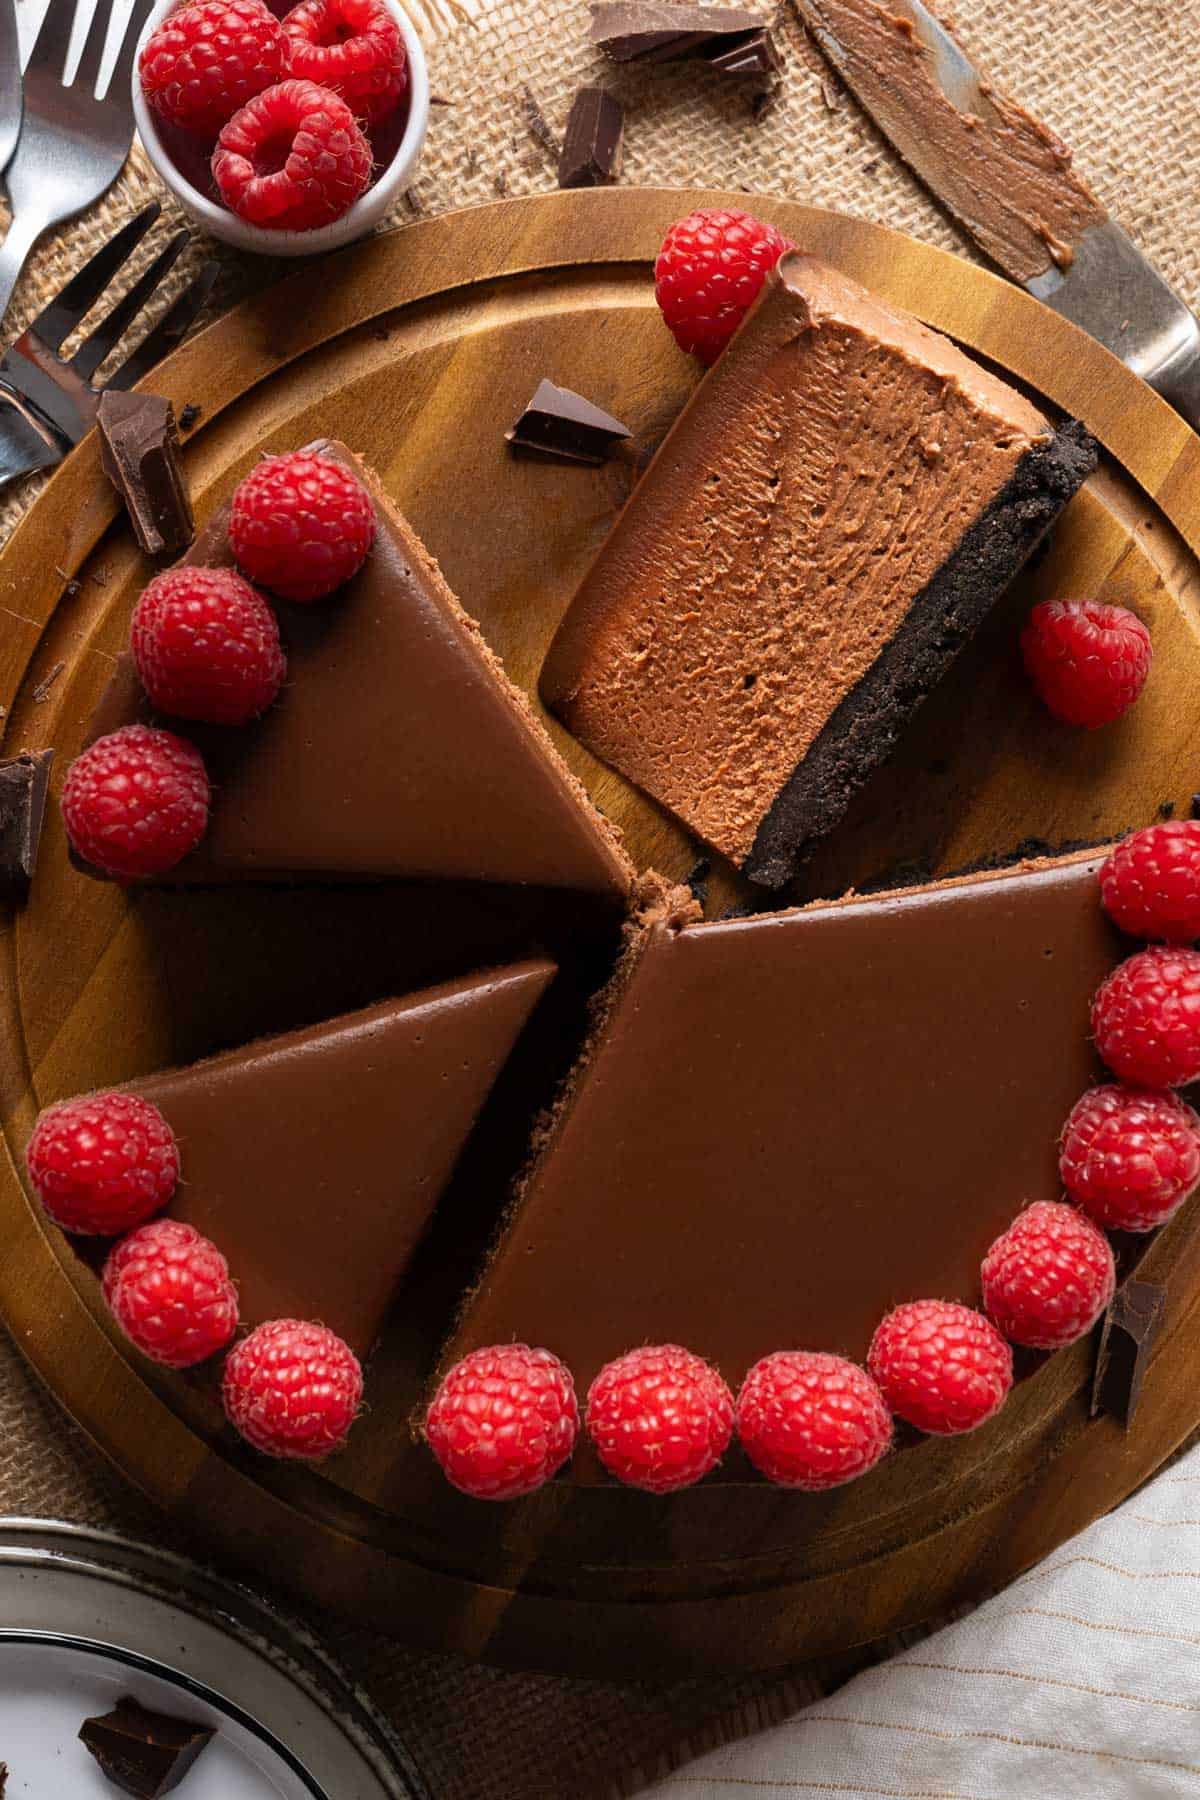
Our readers simply love all of our cheesecake recipes. So it's safe to say we know a thing or two about cheesecakes. Follow this recipe and tips, you'll be guaranteed the best no-bake chocolate cheesecake bursting with a decadent chocolate flavor, with creamy and soft filling. Biasly, obviously, these are why we feel it's the best no-bake chocolate cheesecake, ever.
- Easy no-fail recipe - This recipe is a straightforward and easy no-bake cheesecake recipe, even for a beginner in the cheesecake world, like our delicious easy mini cheesecake and our mini chocolate cheesecakes. We're using only 7 easy-to-find ingredients, not counting a pinch of salt to bring out the delicious chocolate flavor. Stick to the recipe, you can't go wrong with it even if you try, like in our panettone bread recipe. Your loved ones will be impressed!
- No gelatine - This is a no-bake chocolate cheesecake without gelatine, yes. The chocolate not only gives flavor to this cheesecake but the perfect amount helps to firm up the filling. No gelatine is needed like in our amazing no-bake vanilla cheesecake, no-bake key lime pie, and no-bake strawberry cheesecake.
- Many have made it without problems - Our recipe has had over 7.6 million views on our YouTube channel as of this post date. Everybody loves it and so many have made it without problems.
- Freezer-friendly - Since we make lots of cheesecakes, we've been freezing them a lot too! I've had this frozen for months, and it still tastes amazing. The texture is still creamy and soft. Follow my tips below.
Ingredients For This Recipe
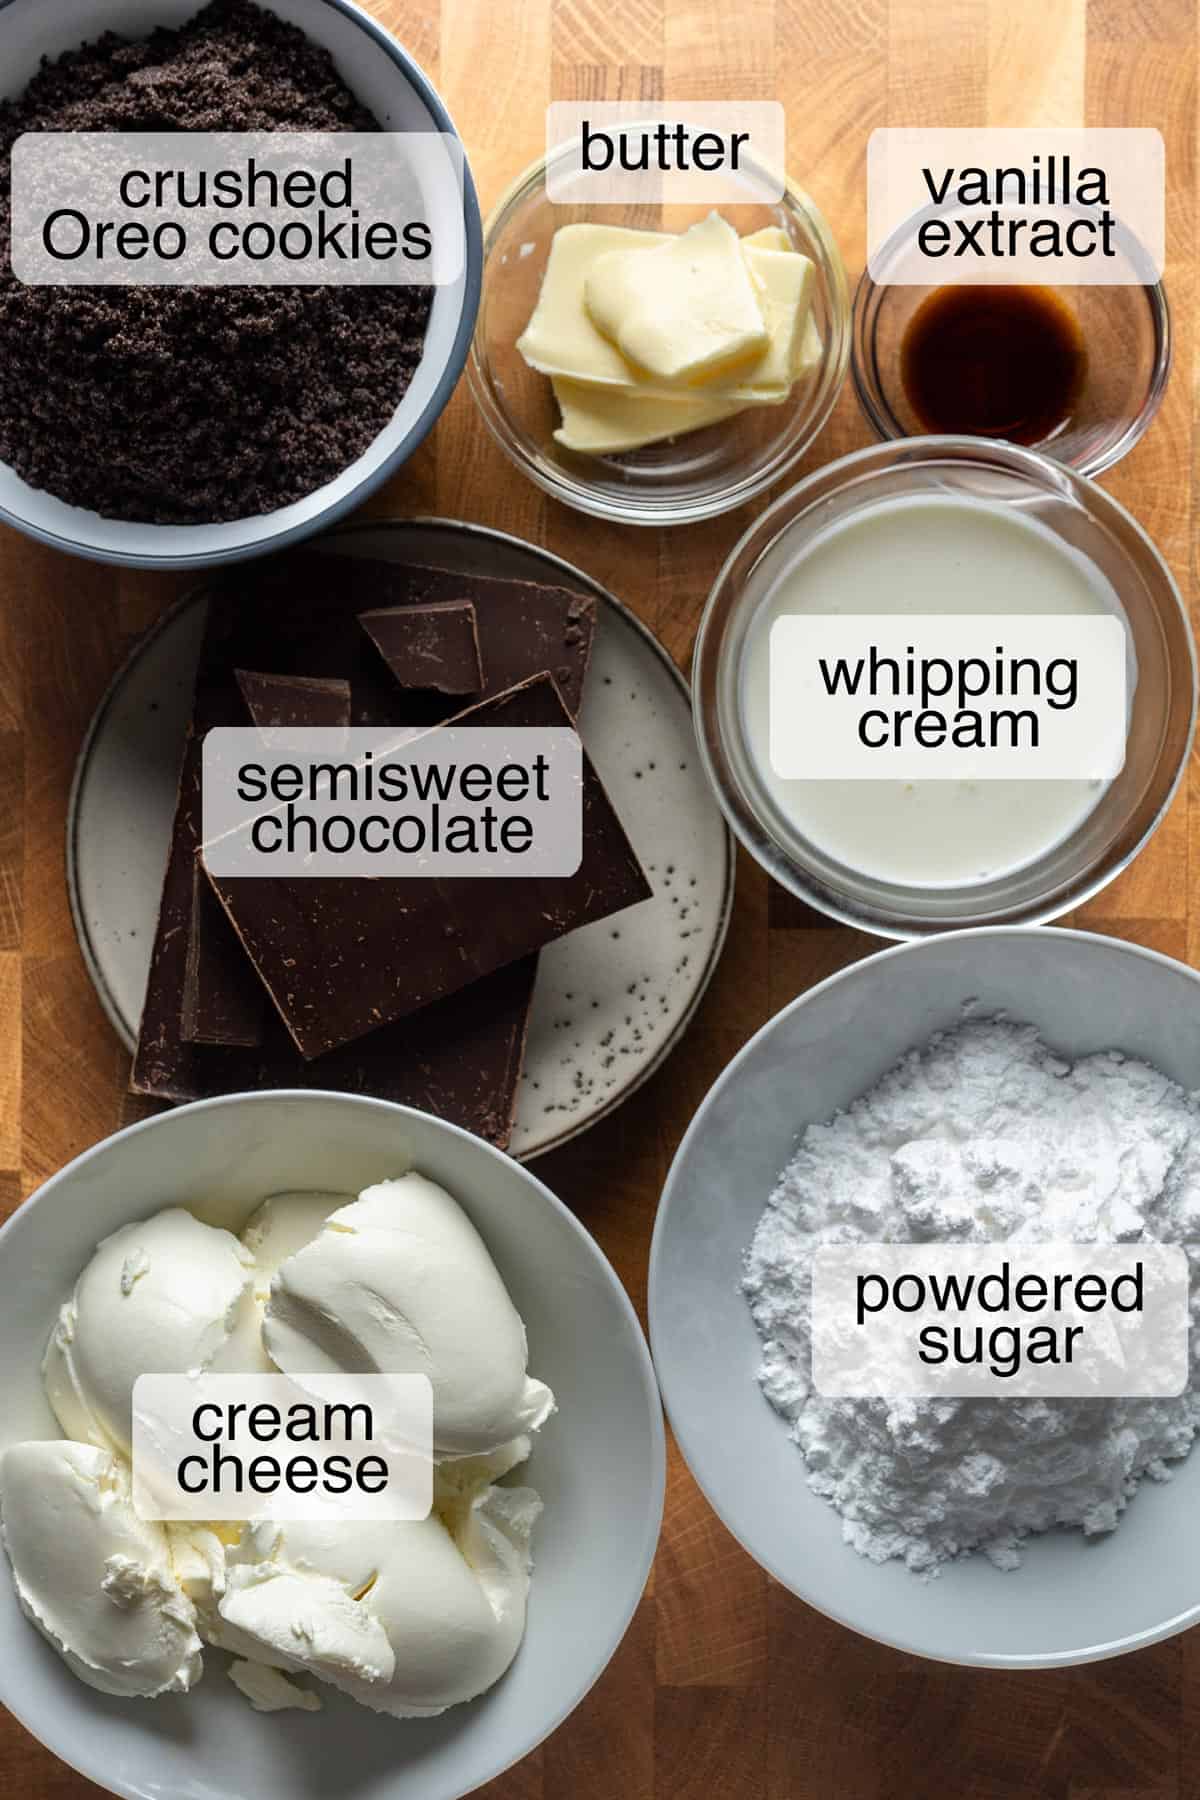
Oreo cookies - No need to discard the filling! The filling adds flavor and sweetness to the cheesecake base. Use other cookies that are similar in consistency, texture, and flavor. We have a no-bake Oreo cheesecake recipe that you should try!
Cream cheese - We use full-fat Philadelphia cream cheese. In the US you can find it in blocks, and if you're in Europe like us, you'll find it in tubs. Don't use light cream cheese as it won't have enough fat content to help firm up the cheesecake.
Chocolate - We use semisweet chocolate with 55% cacao. It gives the perfect balance of chocolate flavor and sweetness to this no-bake chocolate cheesecake, our no-bake peanut butter chocolate cheesecake, and our mini salted chocolate tarts. The higher the percentage of the cacao, the more bitter and less sweet the cheesecake will be.
Whipping cream - With a minimum 35% fat content, like the one we use in our strawberry ice cream. Depending on your location, it's also known as heavy cream. Regardless, just pay attention to the fat content label. Don't use light whipping cream as it won't help to set our no-bake chocolate cheesecake.
⭐ See the recipe card for full information on ingredients and quantities.
Step-By-Step Instructions
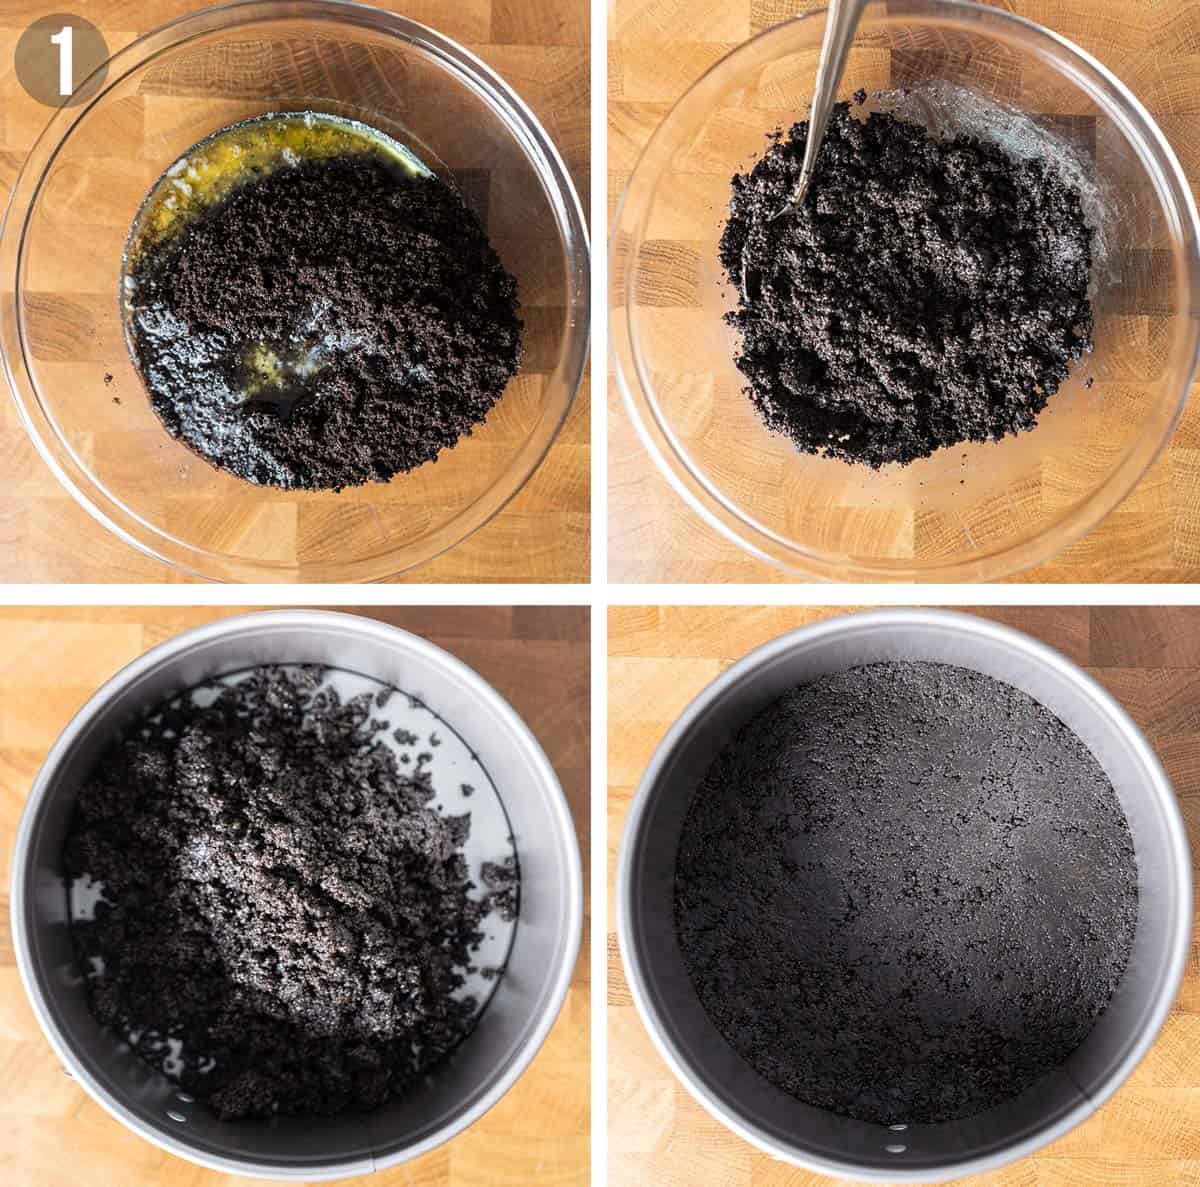
1. Make the base. Crush the Oreo cookies in a small food processor, or put them in a zip lock, and bash them into a fine texture using a rolling pin. Mix it with melted butter in a bowl. Pour the mixture into a 7-inch (18cm) springform pan. Press tightly and evenly with the back of a spoon. Place it in the freezer for 30 minutes.
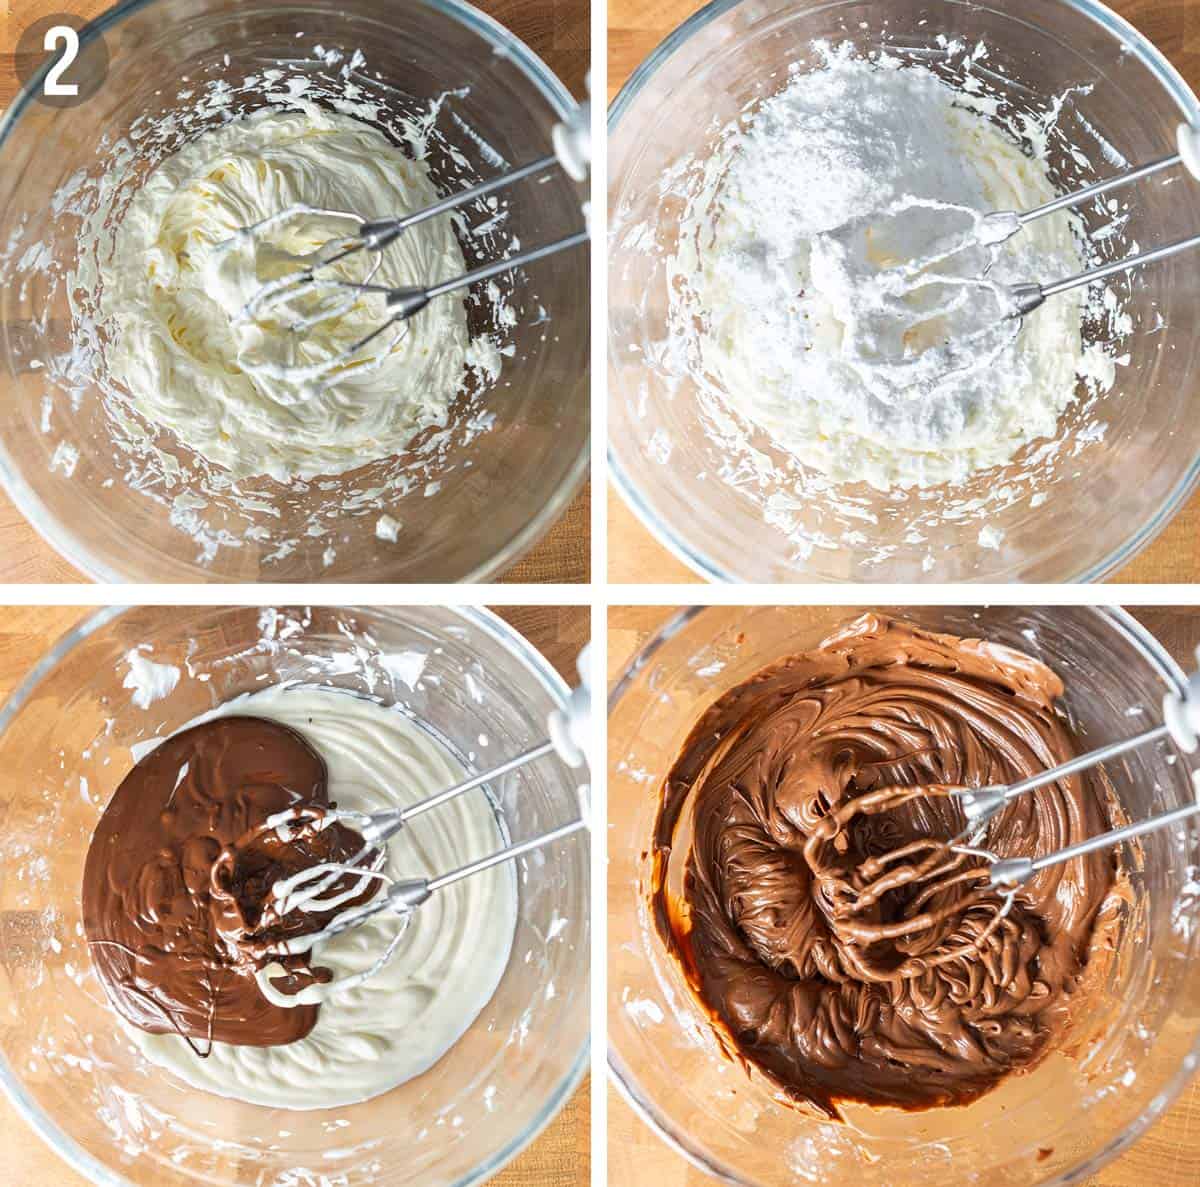
2. Make the filling. Melt the chocolate in a bowl and let it cool slightly before using. Using a handheld whisk or a stand mixer with a paddle attachment, whisk the cream cheese for 3-4 minutes until light and fluffy. Add sifted powdered sugar, vanilla extract, salt and mix well. While mixing, slowly pour in the slightly cooled melted chocolate and mix until well combined. If adding all at once, make sure to immediately mix everything to avoid the chocolate from curdling.
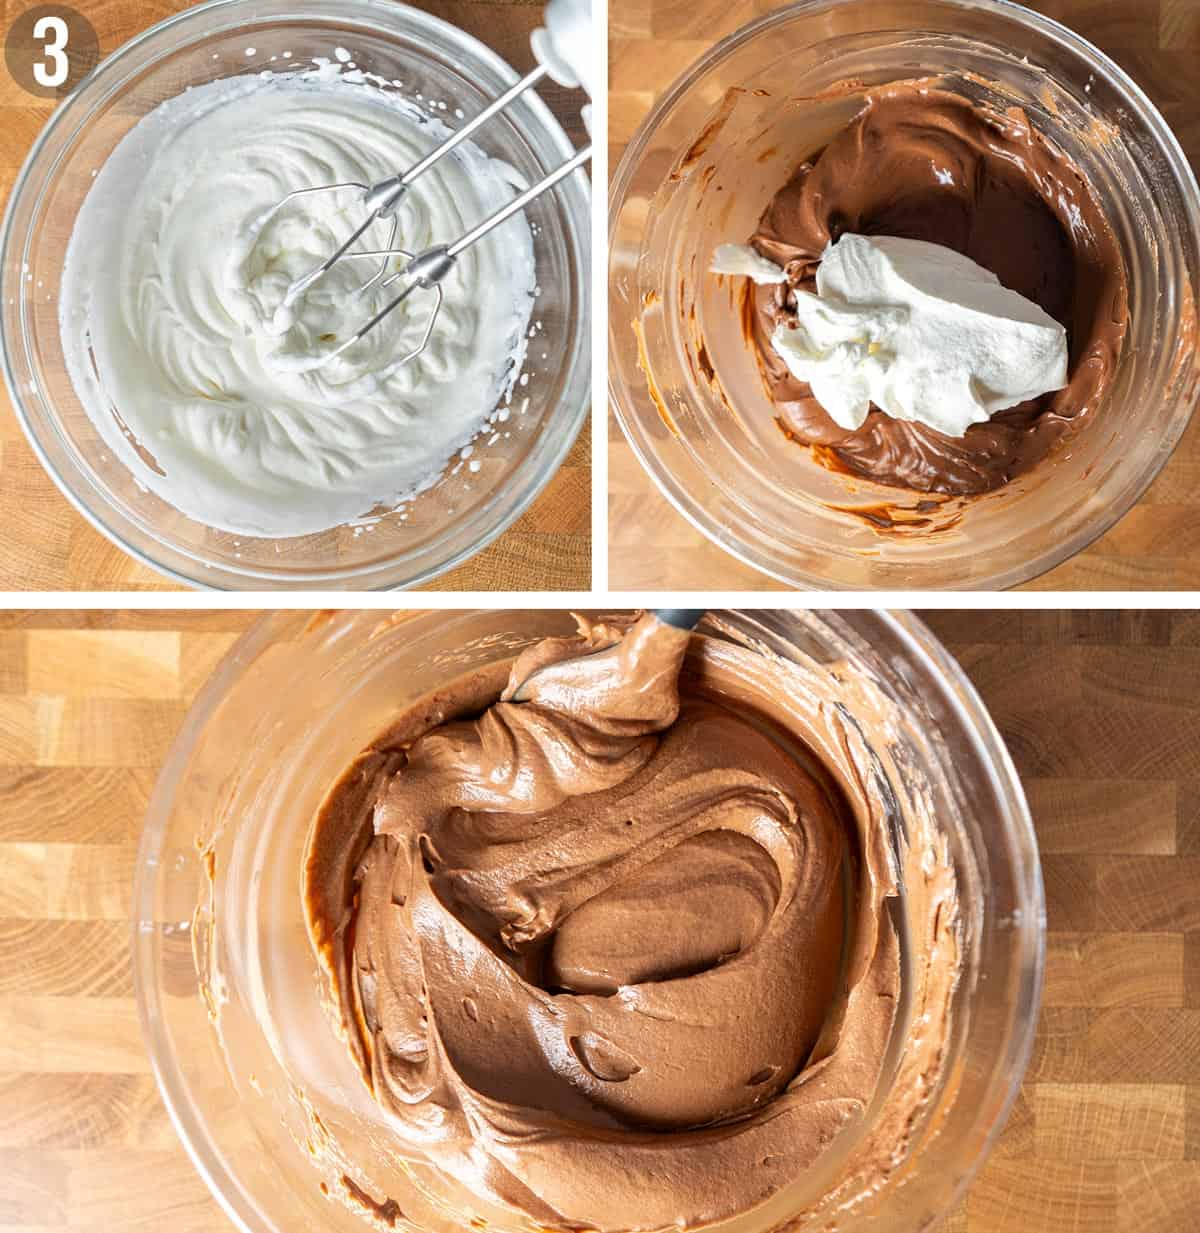
3. Fold in whipped cream. In another bowl, whisk the chilled whipping cream to soft peaks. Add it to the chocolate-cheesecake mixture and gently fold everything together with a spatula until you get a homogenous mixture.
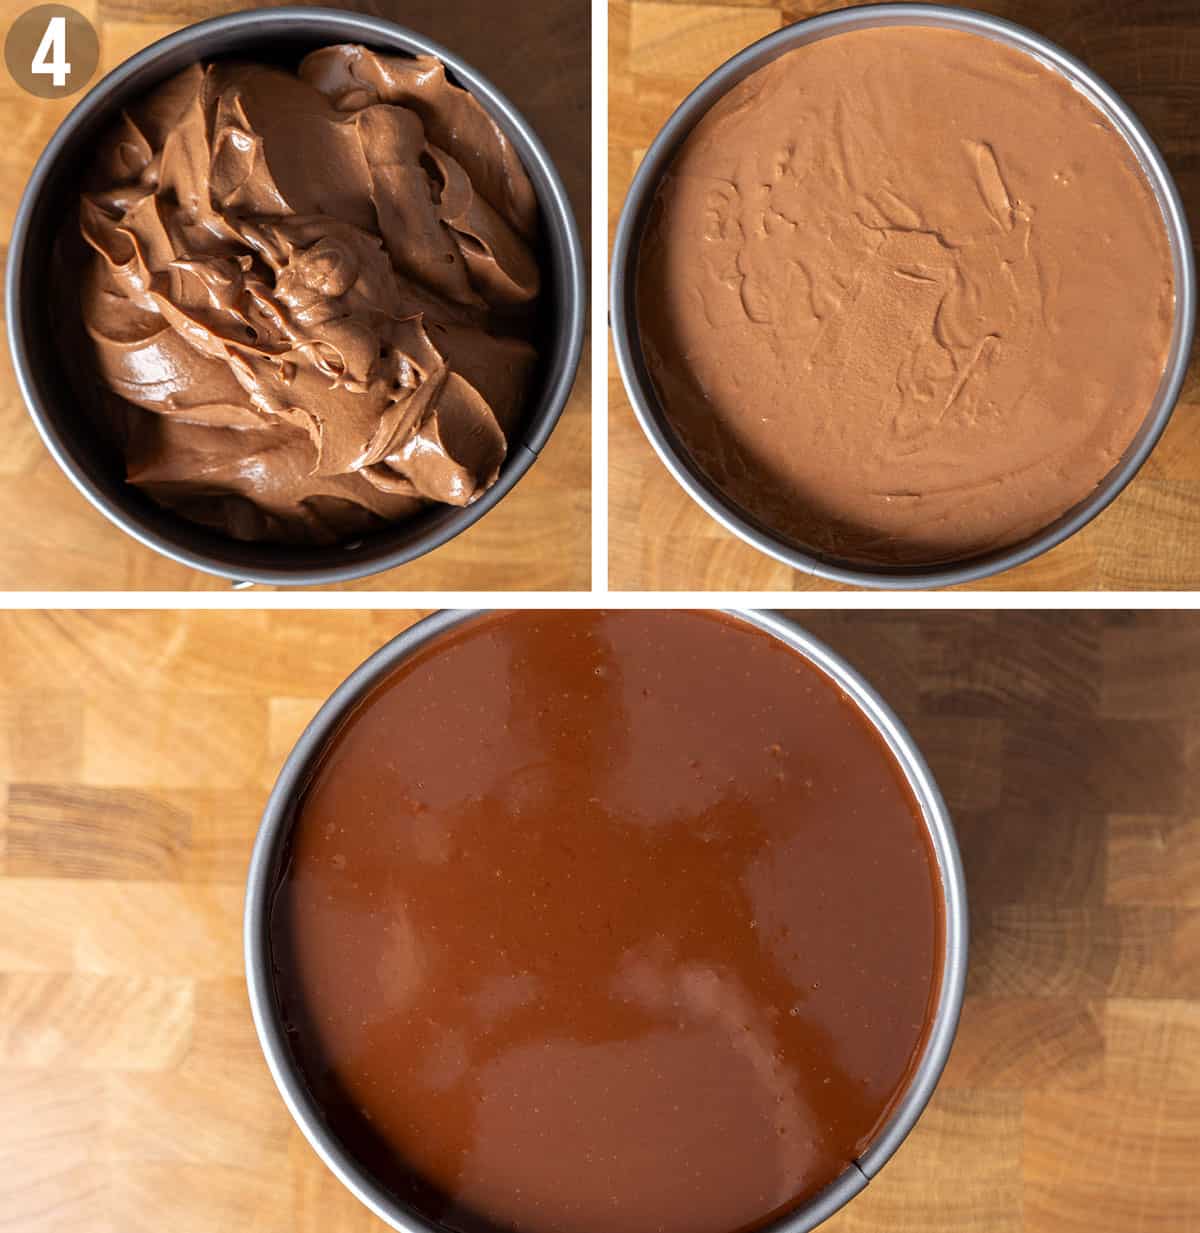
4. Chill. Pour the filling into the springform pan. Spread it evenly using an offset spatula, my favorite tool when making cheesecakes! Chill in the fridge for a minimum of 8 hours, preferably overnight. Make the ganache by heating whipping cream in a pot until you see bubbles around the edges, and pour it into a bowl containing chocolate chunks. Wait for 3 minutes and whisk until you get a luscious ganache. Pour on the cheesecake and chill in the fridge for 1 hour for the ganache to set. Enjoy this best no-bake chocolate cheesecake!
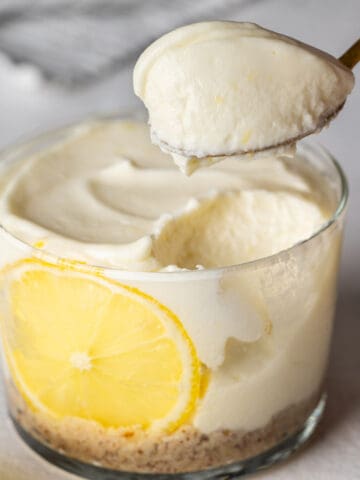
If you enjoy no-bake cheesecakes then our amazing no-bake lemon cheesecake topped with our homemade lemon curd is just something that you need to try next!
How To Remove Cheesecake From The Springform Pan
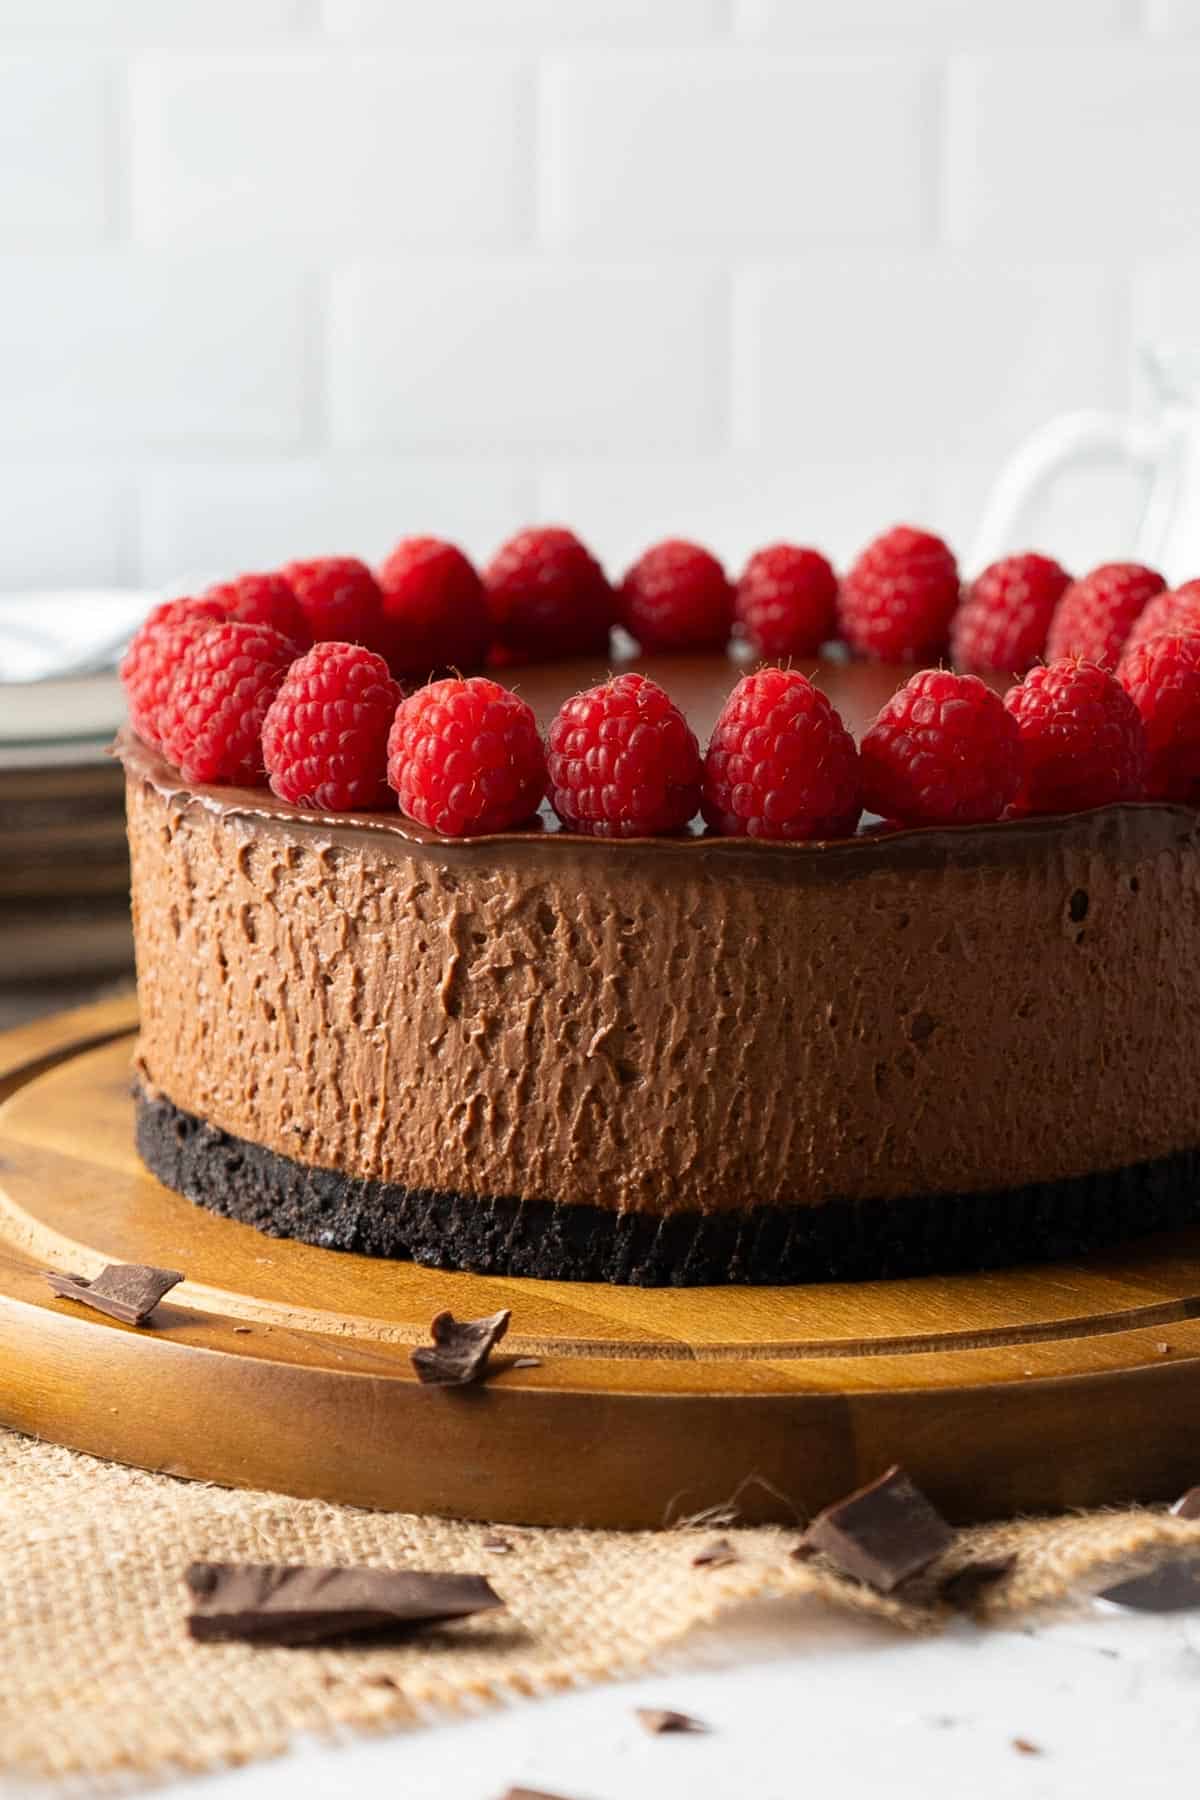
When you have the best no-bake chocolate cheesecake looking so elegant and beautiful like this (we're biased, we know!), it's only fair to want to serve it on something more beautiful than the metal bottom base of a springform pan, right? Here's how we've been removing our cheesecakes like our delicious no-bake cookie butter cheesecake, our no-bake caramel apple cheesecake, and our no-bake stracciatella cheesecake to the serving plates. It's easy!
- Find a serving plate that's a minimum of 1 inch (2.5cm) bigger than the springform pan. Have it ready together with two flat and thin spatulas.
- Take out the cheesecake from the fridge, it's best to do this when the cheesecake is already fully set. Gently run a thin small knife around the edges, making sure you reach the bottom. Wipe the knife now and then with kitchen paper for a neater look.
- Release the springform part and carefully lift it up. Whew! Yeah, we know the feeling!
- Using the same knife, insert it between the cheesecake base and the metal pan base. Again gently run it all around to help detach the cheesecake base, wiping the knife now and then.
- Carefully slide one flat and thin spatula underneath the cheesecake base and the other one in the opposite direction.
- Swiftly yet confidently lift up the cheesecake using both spatulas and place it on the serving plate. Gently slide out one spatula at a time. That's it! At this time you can run an offset spatula around the cheesecake for a neater look. We don't since we like the rustic homemade touch that it gives in this amazing no-bake chocolate cheesecake.
⭐ Make sure the cheesecake is fully set. Use spatulas that are wide, long, and sturdy enough to help support the whole cheesecake.
Recipe Expert Tips
- Flip the base of your springform pan when assembling it. This will provide a flat surface for the base. It'll make it easier to run a thin knife under the cheesecake base to detach it and transfer it to a serving plate.
- Make sure to use the ingredients at the temperature specified. This is to ensure each ingredient mixes well with the other. For example, cream cheese mixes better at room temperature with melted chocolate. Cold cream cheese will definitely curdle the melted chocolate as soon as you pour it in.
- Don't use low-fat ingredients. This is a no-bake chocolate cheesecake without gelatine so we need the fat content to help the cheesecake to set. Besides, it tastes sinfully better, isn't it?
- Chill the cheesecake in the coldest part of the fridge. This cheesecake will be set with no problem, I promise. But all fridges are not the same, obviously. We have it at different temperatures, empty, or full to the max. All these influences on how many hours it'll take for the cheesecake to set.
In our case, our lowest rack is the coldest. We also put the fridge temperature to the coldest whenever we're chilling no-bake cheesecakes. 8 hours or overnight in the fridge always works amazing for us. - Keep the cheesecake in the fridge. This is to prevent our delicious no-bake chocolate cheesecake from losing its shape from being too long at room temperature, or in hotter places. What I like to do is take it out from the fridge 30 minutes before serving to ensure the maximum creaminess. I keep the balance right back in the fridge.
⭐ Make cheesecakes like a pro, in your kitchen! Simply follow all of the tips and tricks that we've put together in our Cheesecake eBook. We've crafted very detailed info for both baked and no-bake cheesecakes!
How To Serve, Store, And Freeze
Serve - Bring this delicious, best no-bake chocolate cheesecake to room temperature 30 minutes before serving. This will give you the wonderful experience of its creamy and rich texture. Keep the balance back in the fridge to avoid it losing its shape.
If you want to have it longer at room temperature, freeze the whole cheesecake for 1 hour.
Store - We keep it in the fridge at all times. It lasts up to 5 days in the fridge, in an air-tight container.
Freeze the whole cheesecake -Fast-freeze this whole no-bake chocolate cheesecake for 2-4 hours in the fridge on a plate lined with parchment paper. Once solid frozen, lift it with the parchment paper, place it in a big air-tight container, and back in the freezer for up to 3 months. Remove the parchment paper, and thaw it on a plate in the fridge 1 day before serving it.
Freeze in portions - Slice the cheesecake into portions. Fast-freeze them for 1 hour on a tray lined with parchment paper. Once frozen solid, wrap each portion with cling film and place them in an air-tight container. They last up to 3 months in the freezer. Either thaw it in the fridge or leave it at room temperature.
Recipe FAQs
There are a few reasons for that. 1) You've swapped the ingredients for lighter ones. Higher fat-content ingredients are what's going to help firm up the no-bake cheesecake. Remember, fat solidifies when it's cold. 2) It needs more time to chill. Make sure to put it in the coldest part of the fridge, give it more time and it will firm up. 3) You've left it out at room temperature for too long. As much as we'd like to display our beautiful no-bake chocolate cheesecake, it needs to be kept in the fridge at all times. Take it to room temperature 30 minutes before serving.
Yes. All cheesecakes do, regardless if they're baked or not. In this case, it's more crucial that it's refrigerated to first set it, and also helps maintain its shape since we're not using any gelatine.
We always put our no-bake cheesecakes in the fridge for a few hours to firm up, thinking of serving it the next day. On special occasions when we want to have it outside for a longer time, we freeze the whole cheesecake for 1 hour. We only freeze the cheesecakes balance in portions, or when we want to make it in advance to serve at least 1 week after. Please refer to our detailed steps to freeze it above.
If you like it, by all means use it. It has a double fat content, richer, and adds a touch of sweetness compared to cream cheese. We are happy to use cream cheese for this recipe as we feel that there's no big difference in flavor and texture, with doubling the fat content.
More Cheesecake Recipes
If you tried this No-Bake Chocolate Cheesecake or any other recipe on our website, please leave a 🌟 star rating and let us know how it went in the comments below!
Watch The Video
📖 Recipe
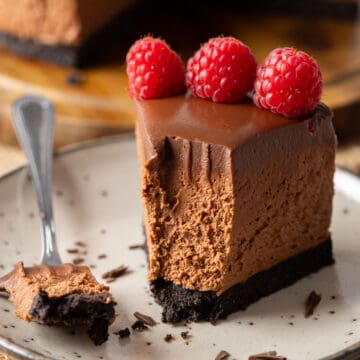
The Best No-Bake Chocolate Cheesecake
Ingredients
Base
- 1 ¾ cup (190 g) crushed Oreo cookies , around 17 regular cookies
- 3 tablespoon (45 g) unsalted butter , melted
Filling
- 14 oz (400 g) cream cheese
- 1 cup (120 g) powdered sugar , sifted
- 1 teaspoon vanilla extract
- pinch of salt
- 8 oz (230 g) semisweet cooking chocolate min 55% cocoa , chopped into small pieces
- ½ cup (125 ml) whipping cream min 35% fat , chilled
Topping
- 3 oz (85 g) semisweet cooking chocolate min 55% cocoa , chopped into small pieces
- 7 tablespoon (110 ml) whipping cream min 35% fat
Instructions
Base
- Crush the Oreo cookies in a small food processor, or put them in a zip lock, and bash them into a fine texture using a rolling pin. Mix it with melted butter in a bowl.
- Pour the mixture into a 7-inch (18cm) springform pan. Press tightly and evenly with the back of a spoon. Place it in the freezer for 30 minutes.
Filling
- Melt the chocolate in a bowl and let it cool slightly before using.
- Using a handheld whisk or a stand mixer with a paddle attachment, whisk the cream cheese for 3-4 minutes until light and fluffy. Add sifted powdered sugar, vanilla extract, salt and mix well.
- While mixing, slowly pour in the slightly cooled melted chocolate and mix until well combined. If adding all at once, make sure to immediately mix everything to avoid the chocolate from curdling.
- In another bowl, whisk the chilled whipping cream to soft peaks. Add it to the chocolate-cheesecake mixture and gently fold everything together with a spatula until you get a homogenous mixture.
Chill
- Pour the filling into the springform pan. Spread it evenly using an offset spatula, my favorite tool when making cheesecakes! Chill in the fridge for a minimum of 8 hours, preferably overnight.
Topping
- Make the ganache by heating whipping cream in a pot until you see bubbles around the edges, and pour it into a bowl containing chocolate chunks. Wait for 3 minutes and whisk until you get a luscious ganache, using a hand whisk. Pour on the cheesecake, and swirl it around to help cover the top surface. Chill in the fridge for 1 hour for the ganache to set. Enjoy this best no-bake chocolate cheesecake with your loved ones!
- Pour onto the cheesecake and swirl around to help cover the surface. Chill in the fridge for 1 hour or until the chocolate sets. Remove cheesecake from the pan, decorate with some raspberries, slice and enjoy!
Notes
- Use full-fat cream cheese, a min of 35% fat whipping cream, and a min of 55% cacao for the cooking chocolate. The lower fat content for these ingredients will not guarantee the cheesecake to firm up.
- Make sure the ingredients are used at the temperature specified to ensure each ingredient mixes well with the other.
- Place the cheesecake in the coldest part of the fridge for 8 hours, preferably overnight for it to firm up beautifully. If it still doesn't then chill it for a few hours longer as all fridges are different (in temperatures and if it's empty or fully packed). It will firm up, I promise.
Nutrition Facts
The nutrition facts provided are an estimate per serving. Accuracy is not guaranteed.
Originally published on Oct 27, 2018. Updated with improved text and pictures on Sep 29, 2023.








SY Ho says
Hi.... Would like to make this cheese cake for my daughter's birthday that is coming up, but I do not have a 7" pan, I have an 8" pan instead..... How much should I increase the ingredients to fit in the 8" pan? Thx a lot
Bea & Marco says
Hi! Multiply all ingredients by 1.2 for an 8-inch pan. Hope it helps!
Gen Dupont says
The best cheesecake I have ever made and I have made lots, with it being non baked, even better! Live in Canada, will tell all my friends about your site, also made the mini cheesecakes and they were delicious but just love the chocolate cheesecake with Oreo base. Thank you, Gen
Storm says
Heya, I was wondering if I could add some gelatin into the recipe just to be 100% it will set well and potentially sooner. Could that mess up the recipe? Thanks 🙂
Bea & Marco says
Heya Storm! Yes, you could. The texture won't be as creamy though (depending on how much gelatine you put in it). Hope it helps!
Connor says
Can you use this recipe to make cheesecake bars
Bea & Marco says
Yes, of course 😊.
Susan says
Would I double the recipe for a 10 inch springform Pan?
Bea says
Hi Susan! For 10 inch pan, it'll be enough if you make 1.5 batch of the recipe. Hope it helps!
Petra says
Fabulous cheesecake- total hit . Great dessert for chocolate lovers ❣️
Will definitely make again .
Could I make it in advance and freeze it?
Bea says
Hi Petra! Yes, you can freeze it (I do it all the time), although it won't be as fresh (the typical frozen-defrosted thing). Hope it helps and thanks for your comment!
Karen says
Recommend too everyone who loves chocolate!
Malissa says
Hi there, can I add this batter to cupcake liners...... and also how many cuppies will I get?
Ritu Singhania says
An excellent recipe! Since I couldn’t get heavy whipping cream, I added a tsp of gelatine dissolved in warm water. Every time this recipe is made, we love it! Thank you for the recipe.
Lola says
Hi
I have a 8” springform pan. Could you tell me what ratio I should use for the above recipe if I want to use 8”?
Or can I use a 7” non springform pan?
Bea says
Hi Lola! Multiply all ingredients by 1.2 for an 8" pan. Hope it helps!
Maggie says
This was my first ever attempt at cheesecake and it came out beautifully. Looked great and tasted better.
Michelle says
I have made this several times. It is so easy, and so DELICIOUS!!!
Bea says
Yeay!! Happy to know that, thanks Michelle! I have more delish cheesecake recipes here if you're interested.
Leni says
Thank you for this recipe. It was a hit! My grandkids declared it their favorite cheesecake unanimously. As a matter of fact, I'm making another one for one of the grandkids, that's been under the weather and requested "the greatest cheesecake". He'll be enjoying it this afternoon. Again, thank you for such a great and easy recipe!
Blessings.
Bea says
Aww that is super amazing! They're lucky to have a grandmother that pampers them! Wishing your grandkid a fast recovery and thank you so much for your feedback, Leni! ❤️
Sandy says
Hi which ingredients 1x 2 x or 3x would be best if I'm using a 9" pan?
Bea says
Hi Sandy! For 9 inch pan I'd recommend you to multiply all ingredients by 1.4. Hope it helps.
Suzie says
My go to recipe! 🙂 I do a sugar free version and use a brownie base instead of the oreos!
Bea says
Brownie base sounds delicious!😋 What do you use to sweeten your sugar free version? Thanks!
Ena says
Hi Bea,
I can only get 30% fat for the whipping cream. Would this work or do I need to add something else?
Bea says
Hi Ena! Although I haven't used it before but I think you can pull it off with 30% fat. Hope it helps 🙂
Marina says
Hey there can i make cupcakes using the same recipe as this one i mean the chocolate cheesecake recipe because i don't want to add egg in it, so is it okay to use the chocolate cheesecake recipe to make chocolate cheesecake cupcakes?
Evi says
Hello, I would like to make this recipe cause it looks amazing but my pan is 27cm. Is it still possible to make it? May I double the portion?
Bea says
Hi Evi! I'd suggest you to multiply all ingredients by 1.6 for your pan size. Hope it helps and have fun making it!