What Are They?
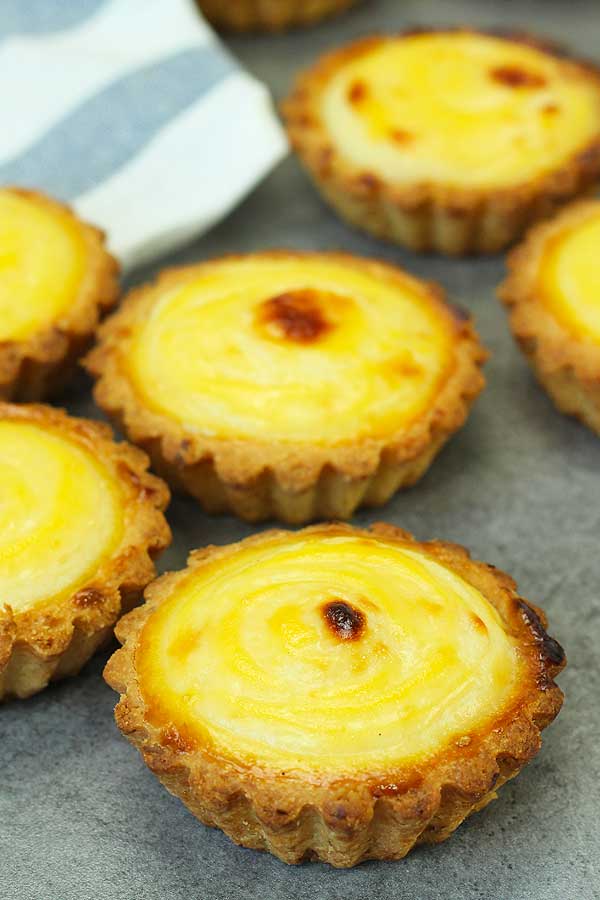
It's a cheese tart that's been so popular throughout Asia. Originally inspired by Hokkaido's dairy products and originated in a bakery in Sapporo, Hokkaido.
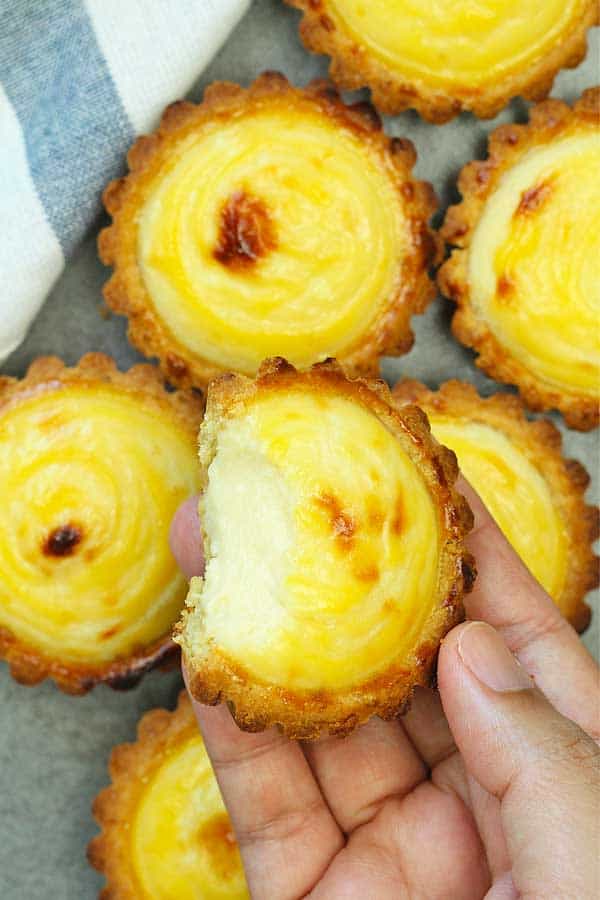
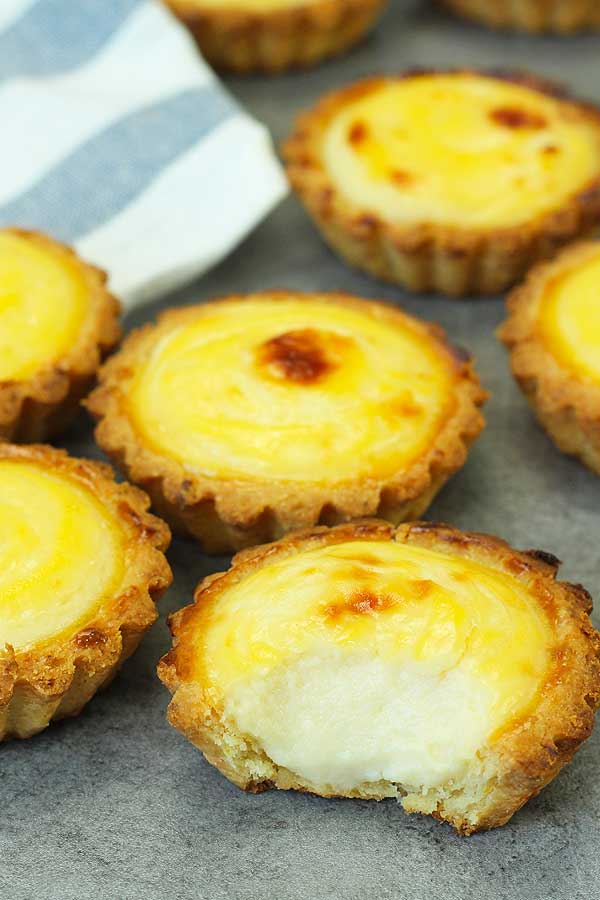
They are really something not to miss out. The tart crust is flaky and the cheesy filling is creamy.
Making These Tarts in Spain
Yes. I've never been to Hokkaido or Japan myself. I would love to, one day. So obviously I'm not using Hokkaido's dairy products nor the original bakery's recipe. This is my take on the ohhh-so-famous-and-yummy Hokkaido cheese tarts.
📮 Save this recipe for later!
I first heard of the tarts like 2 years ago from my sister. She sent me a photo of the Hokkaido cheese tarts that she bought in Malaysia. She was raving on how delicious they were and I thought ok, that cannot be. I simply have to taste it. That means recreating it.
So today I'm sharing my take on it with you.
I'm using local dairy products from Spain. Actually all of the ingredients are from Spain. My point is, you can still enjoy these delicious tarts wherever you are. I'm so passionate about limitless cooking. Cooking should not be bound to certain places and ingredients. It should carry the same freedom as life does, and adaptable to where we are. That's the beauty of cooking.
Tips
This recipe is simple even though you have the crust and the filling components to tackle. I'm adding lemon zest in the crust as it just brings the taste to another level. Just a note though. Where I am now is super hot in the summer.
So that's why I'm chilling the dough for a while so that it's firm enough to handle before pressing it into the tart moulds. If you don't have that problem, by all means skip the chilling process.
I do say to place the unbaked crust in the freezer for a while though. With this type of crust it's always good to have it cold before baking. More when we've been manipulating the dough a lot when pressing into the moulds.
After piping the filling into the baked shells, put them in the freezer until the filling is firm enough to the touch. Why? Because we will be brushing the top with some egg yolk and it's going to be too soft to directly brush on it without putting in the freezer for a while.
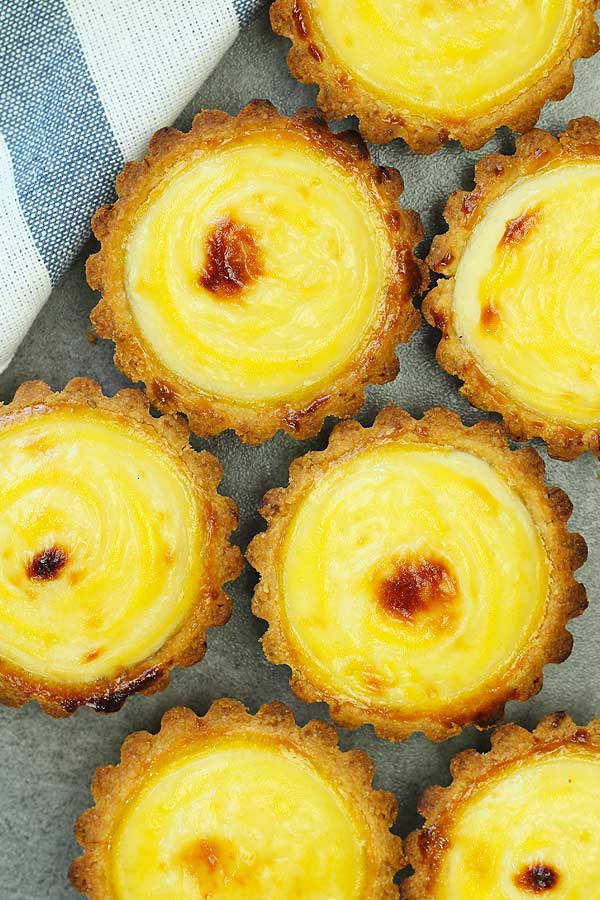
The filling is pre cooked as a custard before we grill it. So it won't take long. Just enough to get that beautiful slight charred looks.
So I know what I would be serving my sisters when they come to visit. And if they don't put it in writing that my Hokkaido cheese tarts are the best in the world (muahaha!) then they might be spending the night in the roundabout across the street. Ha!
More Tart Recipes
- Mini salted chocolate tarts
- Hong Kong style coconut tarts
- Coconut and dulce de leche tart
- Peanut butter cheesecake tarts
Recipe Video
📖 Recipe
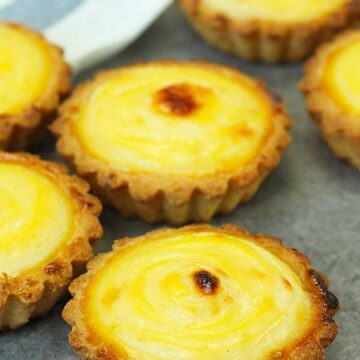
Hokkaido Cheese Tart
Equipment
- 16" Disposable Decorating Bag Set
Ingredients
The Shells
- ⅓ cup unsalted butter (75 g), soften
- 2 tablespoon granulated sugar (25 g)
- 1 egg yolk , room temperature
- ½ teaspoon vanilla extract
- Zest of 1 lemon
- 1 cup all purpose flour (130 g)
The Filling
- 3.5 oz cream cheese (100 g)
- 3.5 oz mascarpone cheese (100 g)
- 1 oz Parmesan cheese (30 g), grated
- 2 tablespoon unsalted butter (30 g)
- ⅓ cup milk (80 ml)
- ¼ cup icing sugar (30 g), sifted
- 1 tablespoon corn starch , sifted
- ½ teaspoon vanilla extract
- 1 tablespoon lemon juice
- 1 egg , lightly beaten
- 1 egg yolk , to brush to top
Instructions
The Shells
- Add butter and sugar into a bowl and mix them well using a spatula. Then add in egg yolk, vanilla extract and lemon zest. Mix well to combine.
- Finally add in flour and mix just to combine. Don't over mix. Place the dough on a cling film and wrap it. Then place it in the fridge for 1 hour. Meanwhile let's make the filling.
The Filling
- Use a thick base pot and place it on medium heat. Add in the 3 cheeses together with milk and butter. Cook until the cheeses are melted.
- Then add in icing sugar, corn starch and mix until smooth. Finally add in egg, vanilla extract and lemon juice. Continue cooking until the mixture thickens. Sift into a bowl to discard any lumps. Cover the bowl with the cling film touching the top surface of the filling and set aside to cool completely.
Assembling
- Remove the dough from the fridge after 1 hour. Take some of the dough and press it evenly inside a 2.5 inch (6.5 cm) tart mould. Cut off the excess dough with a knife and prick the base with a fork. Repeat until the rest of the dough is finished.Tip: Place the unbaked shell in a freezer for 10 minutes to firm up a bit.
- Bake in a preheated oven on the lowest rack at 340ºF (170ºC) for 15 minutes. Cool completely and then remove the shells from the moulds. Tap the bottom a few times to help releasing it.
- Fill the filling in a piping bag and pipe in inside the shells. Then place the unbaked tarts in the freezer for 30 minutes for the filling to firm up. Then brush the top of the filling with some egg yolk wash.
- Grill for a few minutes in the oven until the top is slightly charred. Enjoy!
Nutrition Facts
The nutrition facts provided are an estimate per serving. Accuracy is not guaranteed.






Farriha says
Thank you guys! We had these when in Malaysia, and were really craving them. So I made them and all those holiday memories came flooding back! This recipe is a keeper❤️
Bea & Marco says
Aww we're happy to hear that ❤️! Beautiful memories are even better with delicious food, right? Thank you so much for your feedback and showing us the photo in Insagram. They looked amazing!
Steve says
I thought maybe these were similar to the famous Portuguese Tarts, but I see they are quite different. I hope you will add that famous recipe as well!
Bea & Marco says
You're right, they're not the same as Portuguese tarts. Several have asked for the recipe, we will work on it! 😀
Tasha says
Thumbs up. Love it. Malaysian myself and I know exactly how it taste like. We used to buy like 12 pieces to bring it back to The Netherlands and store it in the frezer.
There is no need anymore. Thank you so much for sharing.
Bea & Marco says
Great to have another fellow Malaysian here! I get to know about these tarts from my sister back in Malaysia. Hope you'll like them as much as we do (and no more freezing!), thanks Tasha!
Estella says
Yummy...yummy
Jen says
Yummy
Rui says
Hi Jessica, I'm thinking of using melted brie instead of mascarpone as well. How did yours go when you used brie?
Jessica Salazar says
Do you think ai can use melted brie instead of the mascarpone?
Bea says
Hi Jessica! I haven't tried it but I'm thinking, why not? Let me know how it goes 😊.
Praise says
GREATTT THANKS FOR SHARING!
Tikay says
What can i substitute for mascarpone cheese? Its hard to find where i am from...
Bea says
Yes, just use cream cheese instead. Hope it helps.
Paula says
Hi Bea! Your recipe is amazing! I just want to know if I were to reheat these filled tarts later on, what temp would you recommend reheating at ? I do not want to overheat it and make the cheese lose its creaminess.
Bea says
Hi Paula! I'm glad that you liked them, thanks! You can reheat them at 350ºF (175ºC) for a few minutes, just until warm. Hope it helps.
Yuliana says
Hi Bea, just a question do you need baking beans to weigh tart shell?
Thank you
Bea says
Hi Yuliana! No, you don't need them. Just bake straight away.
John says
OK what am I doing wrong? Followed the crust part exactly but it's still crumbly, how do you make it doughie like in the video. Think I could only achieve that if double up butter? Thanks.
Bea says
Hi John! Sorry to hear that. Perhaps it's because the amount of flour. Using scale is more precise. If you're using cup measurement, please use the spoon and level method else you'll end up with more flour, resulting crumbly raw dough. Hope it helps.
Beverley says
Hi, just wondering whether it would be okay to make the pastry a day before and leave it in the fridge for longer than an hour for convenience? Or will this change the texture? Thank you very much 🙂
Bea says
Hi! You're referring to the raw pastry dough, right? Yes, you can leave it longer than 1 hour, no problem. Hope it helps.
Beverley says
Hey, yes I was. Thank you very much 🙂
Hannah says
Hi, how long is the shelf life for the tarts assuming it's on the fridge? Worried that the cheese might spoil or will it not since it's cooked?
Bea says
Hi Hannah! The cheese filling is cooked, you can refer to the video or the recipe instructions above. They're best consumed within 2,3 days. Hope it helps.
Kerry Tapia says
I want to make ahead of our dinner date. Are these eaten hot or can you reheat them or eat cold.
Bea says
You can serve them hot or cold/room temperature, it's totally fine. Have fun!