📮 Save this recipe for later!
Dulce De Leche
I didn't know about dulce de leche until I met my husband. Being Argentine, his family and him are just crazy about dulce de leche. He has been eating it since he was a toddler.
He had dulce de leche in almost every single meal. Toast, sandwiches, cakes, alfajor, crepes, drinks.. you name it. What is dulce de leche actually?
Dulce de leche is made by cooking milk and sugar and until it's reduced into a thick paste with luscious darker caramel color. That's how it's traditionally made in Argentina. It has a very smooth and oh extremely creamy texture. The taste? Sweet caramelly milky and creamy. Heaven!
If you don't have access to it, you can make your own dulce de leche. The method is not really authentic but it can be done. Place a can of sweetened condensed milk into a pot of water, with the water totally covering it. Then boil it for a few hours, adding more water as needed.
The Brownie
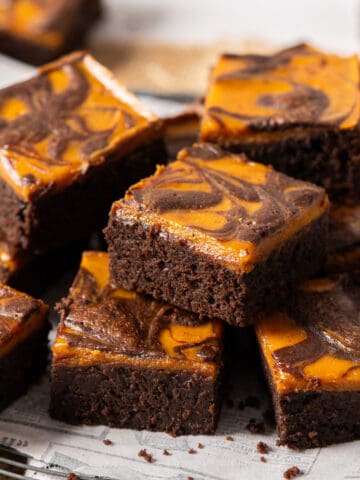
So in this recipe we will be making 2 layers of goodness. First is the brownie layer and second is the cheesecake layer. Which, later we will load it with lots and lots and lots of dulce de leche. Go big or go home, right?
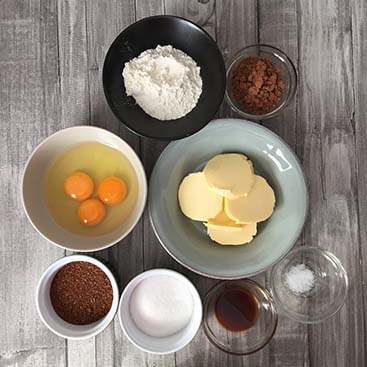
These are the ingredients that I used for the brownie layer. Extremely basic ones. I decided to use both cocoa powder and cooking chocolate to really enhance the chocolate flavour in the brownie.
I wanted the brownie to be decadent.. and it really was. I used unsweetened cocoa powder. For the cooking chocolate I used semi-sweet with 55% cocoa.
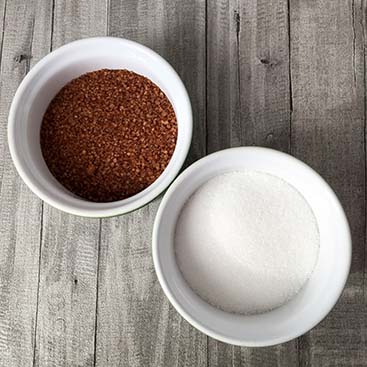
I used two different types of sugar in this recipe. I feel using brown sugar gives it that molassy taste. You can of course, simply use white granulated sugar. But if you can, try it with brown sugar.
What I did for this brownie layer was extremely simple. First I sifted the flour, cocoa and salt into a bowl. I set them aside until later. Then in another bowl, I added the unsalted butter and both of the sugars. I whisked them just until they were fully combined.
I didn't want to whisk them for too long because this was not a cake that needed all the air. After that I added the eggs and vanilla extract. I make it a habit to use my eggs in my bakings, at room temperature. Then I mixed everything together, just until well combined also. No over mixing or anything.
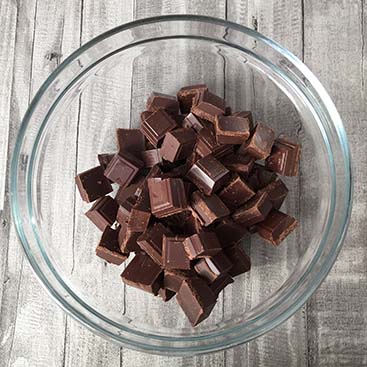
Then came the chocolate. I simply melted the chocolate in microwave at max for 30 seconds at a time. Each time that I took it out, I gave it a stir. After adding in the chocolate, I immediately mixed it into the batter.
Just enough mixing to combine everything. Finally, I added the previously sifted flour mixture into the bowl. Again, I just mixed it well enough until everything was combined. This is to avoid the brownie to be hard and tough, we don't want that.
Well, then I simply poured the brownie batter into a 9 inch (23x23 cm) square pan. I first greased and lined the pan with baking sheet. I purposely make the baking sheet over hanged on the sides so that I could grab it to remove the brownie later.
When we were filming this part where I was pouring the brownie batter into the pan, my husband (he's the cameraman in our team of 2 people: him and me) went "Ahhhh.. that looks so goooood!". Haha!
Anyway. I spread the batter evenly and set aside while I started with the cheesecake.
The Cheesecake
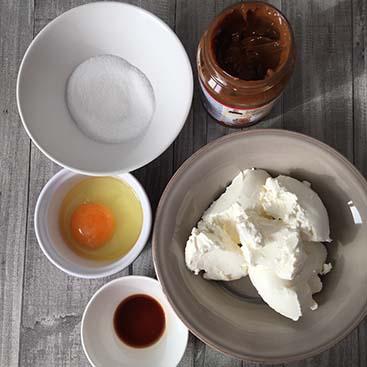
Like always, I used full fat cream cheese for this. I always use full fat cream cheese for baking. I use the light cream cheese for daily use, to spread on a cracker and things like that.
For this cheesecake layer, I didn't want it to be that thick. I just wanted the taste enough to come through and not overcome the two main components in this recipe. Decadent chocolate brownie and sweet caramelly dulce de leche.
What I did was, first I whisk the cream cheese until it was creamy. This time I didn't leave my cream cheese at room temperature because I didn't want a result of too soft batter.
After that I added the sugar and mix just until well combined. Finally I added the egg and vanilla extract, and gave it a quick mix just to combine everything.
Then I poured the cheesecake batter on top of the brownie batter and spread it evenly.
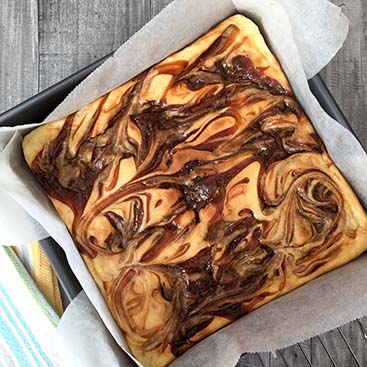
I used LOTS of dulce de leche! That's how we roll. I randomly spooned dulce de leche all around on top of the cheesecake layer. Then using an offset spatula I just made simple swirls.
I did take care not to mix until the brownie batter. I just made the swirls on the cheesecake layer. Then I gave the pan a few shakes, just to let everything settle in.
I baked this dulce de leche cheesecake brownie at 180ºC (350ºF) preheated oven for 40 minutes. The way that I checked if it was done or not was by inserting a knife into it.
If it came out all wet, then it's still not cooked. If it came out all clean, then it's overcooked. The nice spot is when the knife came out crumbly wet, it means perfection. I mean, let's admit it. We want our brownies all fudgy and moist, not overcooked. Certainly not raw.
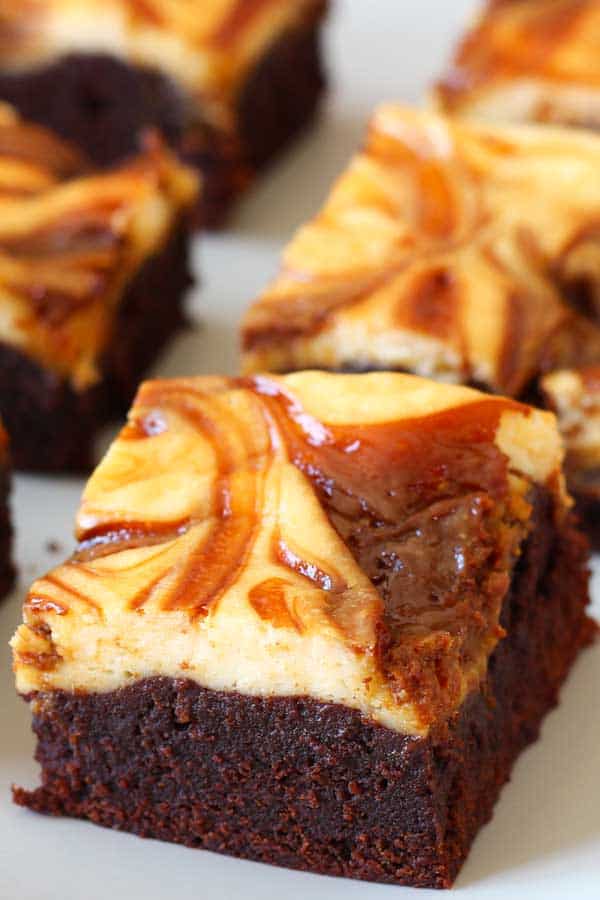
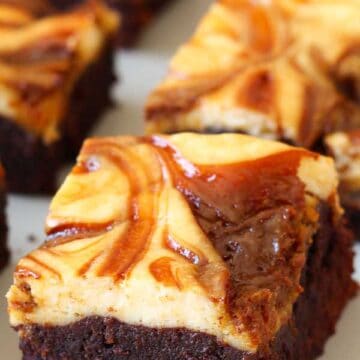
I waited until it was completely cooled before I removed it from the pan. Well then the rest needs no more explanation. Just slice and enjoy!. This recipe yields 16 decadent pieces. Just saying.
More Brownie Recipes
Video
📖 Recipe
Dulce de Leche Cheesecake Brownie
Ingredients
The brownie
- ⅔ cup all purpose flour (80 gr)
- 2 tablespoon unsweetened cocoa powder (10 g)
- ¼ teaspoon salt
- ⅔ cup unsalted butter (150 gr), room temperature
- ½ cup brown sugar (100 gr)
- ½ cup granulated white sugar (100 gr)
- 3 large eggs , room temperature
- 1 teaspoon vanilla extract
- 9 oz semi-sweet cooking chocolate (250 gr), melted
The cheesecake
- 8 oz full fat cream cheese (225 gr), straight from the fridge
- ¼ cup granulated sugar (50 gr)
- 1 large egg , room temperature
- ½ teaspoon vanilla extract
Other
- ¾ cup dulce de leche (225 gr)
Instructions
The brownie
- In a bowl, sift together the flour, cocoa powder and salt. Give is a quick mix and set aside.
- In a another bowl, add in butter, both brown and white sugar. Mix just until everything is well combined. Add in the eggs and vanilla extract. Again, mix just until everything is well combined.
- Add in the melted chocolate and immediately mix just to combine. Add in previously sifted flour mixture. Mix just until everything is well combined. Do not overmix to avoid hard brownie.
- Pour batter into a 9 inch (23x23 cm) square pan that has been greased and lined. Spread evenly and set aside.
The cheesecake
- In a bowl, add in cream cheese and whisk until creamy. Add in sugar and mix until everything is well combined. Add in the egg and vanilla extract. Again, just mix until everything is well combined.
Assembling
- Pour the cheesecake mixture on the brownie batter. Spread evenly. Randomly spoon some dulce de leche on top. Make some swirls, just on the cheesecake layer. Try not to mix the brownie batter. Shake the pan a bit so that everything settles.
- Bake at 180ºC (350ºF) preheated oven for 40 minutes or until fully cooked. To check if it's cooked, insert a knife and it should come out crumbly wet (this means we're not over cooking it), not totally wet (means it not cooked) or totally clean (means it's overcooked). Cool completely before removing from pan and slicing. Enjoy!
Nutrition Facts
The nutrition facts provided are an estimate per serving. Accuracy is not guaranteed.








Daniela Alzate A says
We just did the recipe, we are not sure if it should have baking soda... We put some but the chocolate Part grew so much and the cheese Part sank. Help
Bea says
You don't need baking soda for this recipe Daniela. Hope it helps.
sally says
just made this yesterday... and ohh so good... but i reduce 0,6 from the recipe because i only have 20x20 pan 😉 thanks for sharing your recipe 🙂
Bea says
That's great Sally, thank you so much for your feedback!
Daniela Alzate A says
Dear Bea,
I just tríed it with My family and is just incredíble, the favor and everything. I just have a question... My father poured on it 1 tea spoon baking poder but I think it should not have any, is that right? Because the chocolate Part grew a lot and the cheese sank. Thank you Four your avise in andvance!
Bea says
Hi Daniela! This recipe doesn't call for any baking soda and your brownie grew a lot because of baking soda. Glad you liked it anyways, thank you!
Daniela Alzate says
Thank you Bea so much for your answer. We will try the recipe again tonight. I will let you know. Thanks!! By the way your blog is just amazing!!
Bea says
Thank you Daniela, I'm happy that you like it!
Tini Halliday says
MY OH MY...first time tried....no need to guess...everyone loves it...!!!..All thumbs up to u my dear...:)
Bea says
Thank you Tini!
Hiza silva says
Amooo suas receitas !! Parabéns !! Vou testar com certeza , passei a ser sua seguidora agora mesmo , grata por compartilhar suas receitas.
Bea says
Muchas gracias Hiza! Espero que te guste, un saludo! XOXO