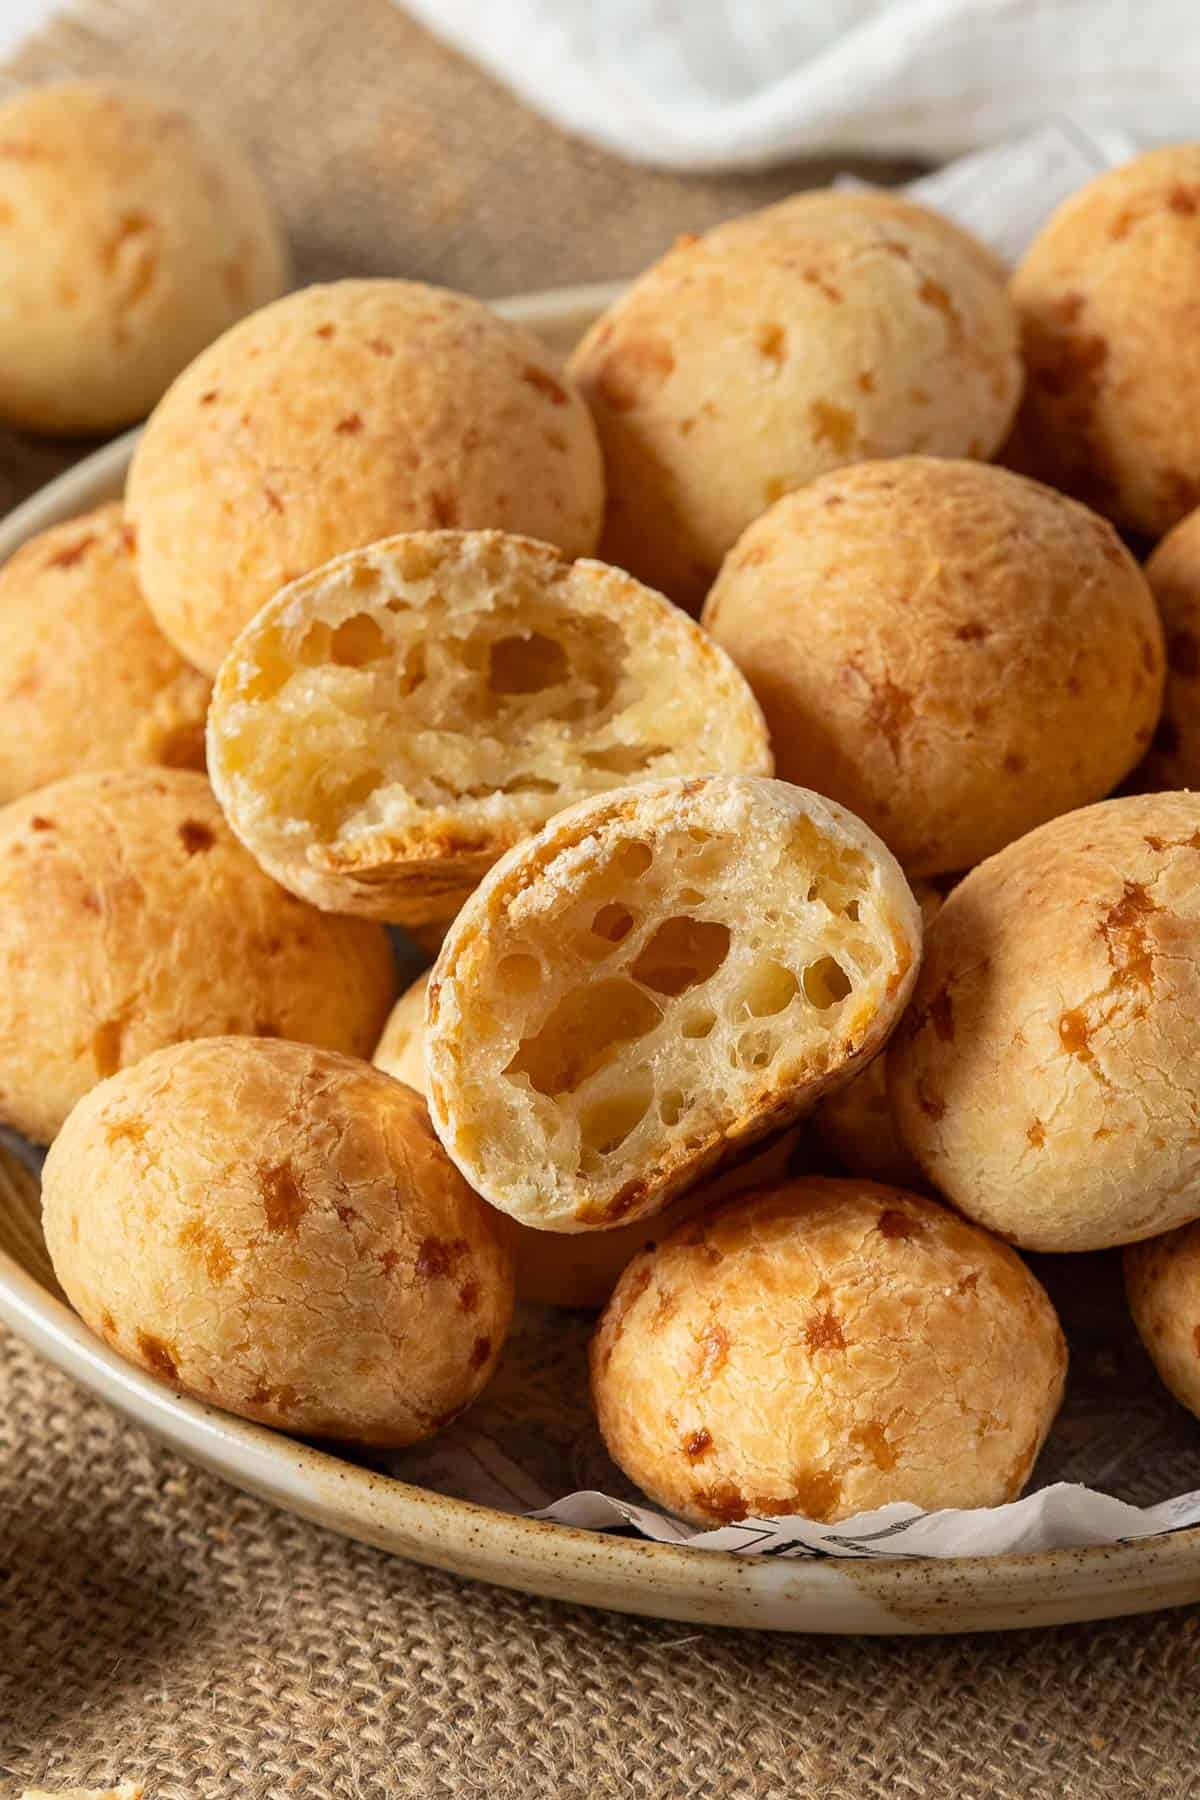
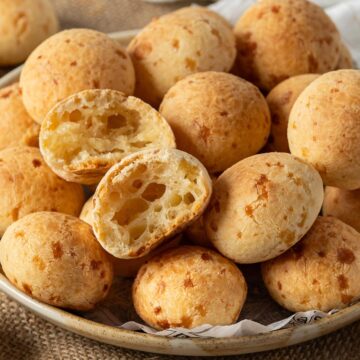
This easy Brazilian cheese bread recipe is definitely a must-make for cheese lovers. Crispy on the outside, and soft, chewy with airy pockets on the inside. You won't be able to stop eating them, trust me. And it takes only 15 minutes to make.
📮 Save this recipe for later!
Jump to:
What Is Brazilian Cheese Bread?
It's pao de queijo in Portuguese. It's a very known traditional snack in Brazil that originated in a state called Minas Gerais.
They're gluten-free, made from basic ingredients of tapioca flour, eggs, milk, oil, and cheese. Traditionally the local "Minas cheese" was used but any sharp cheese is great in these.
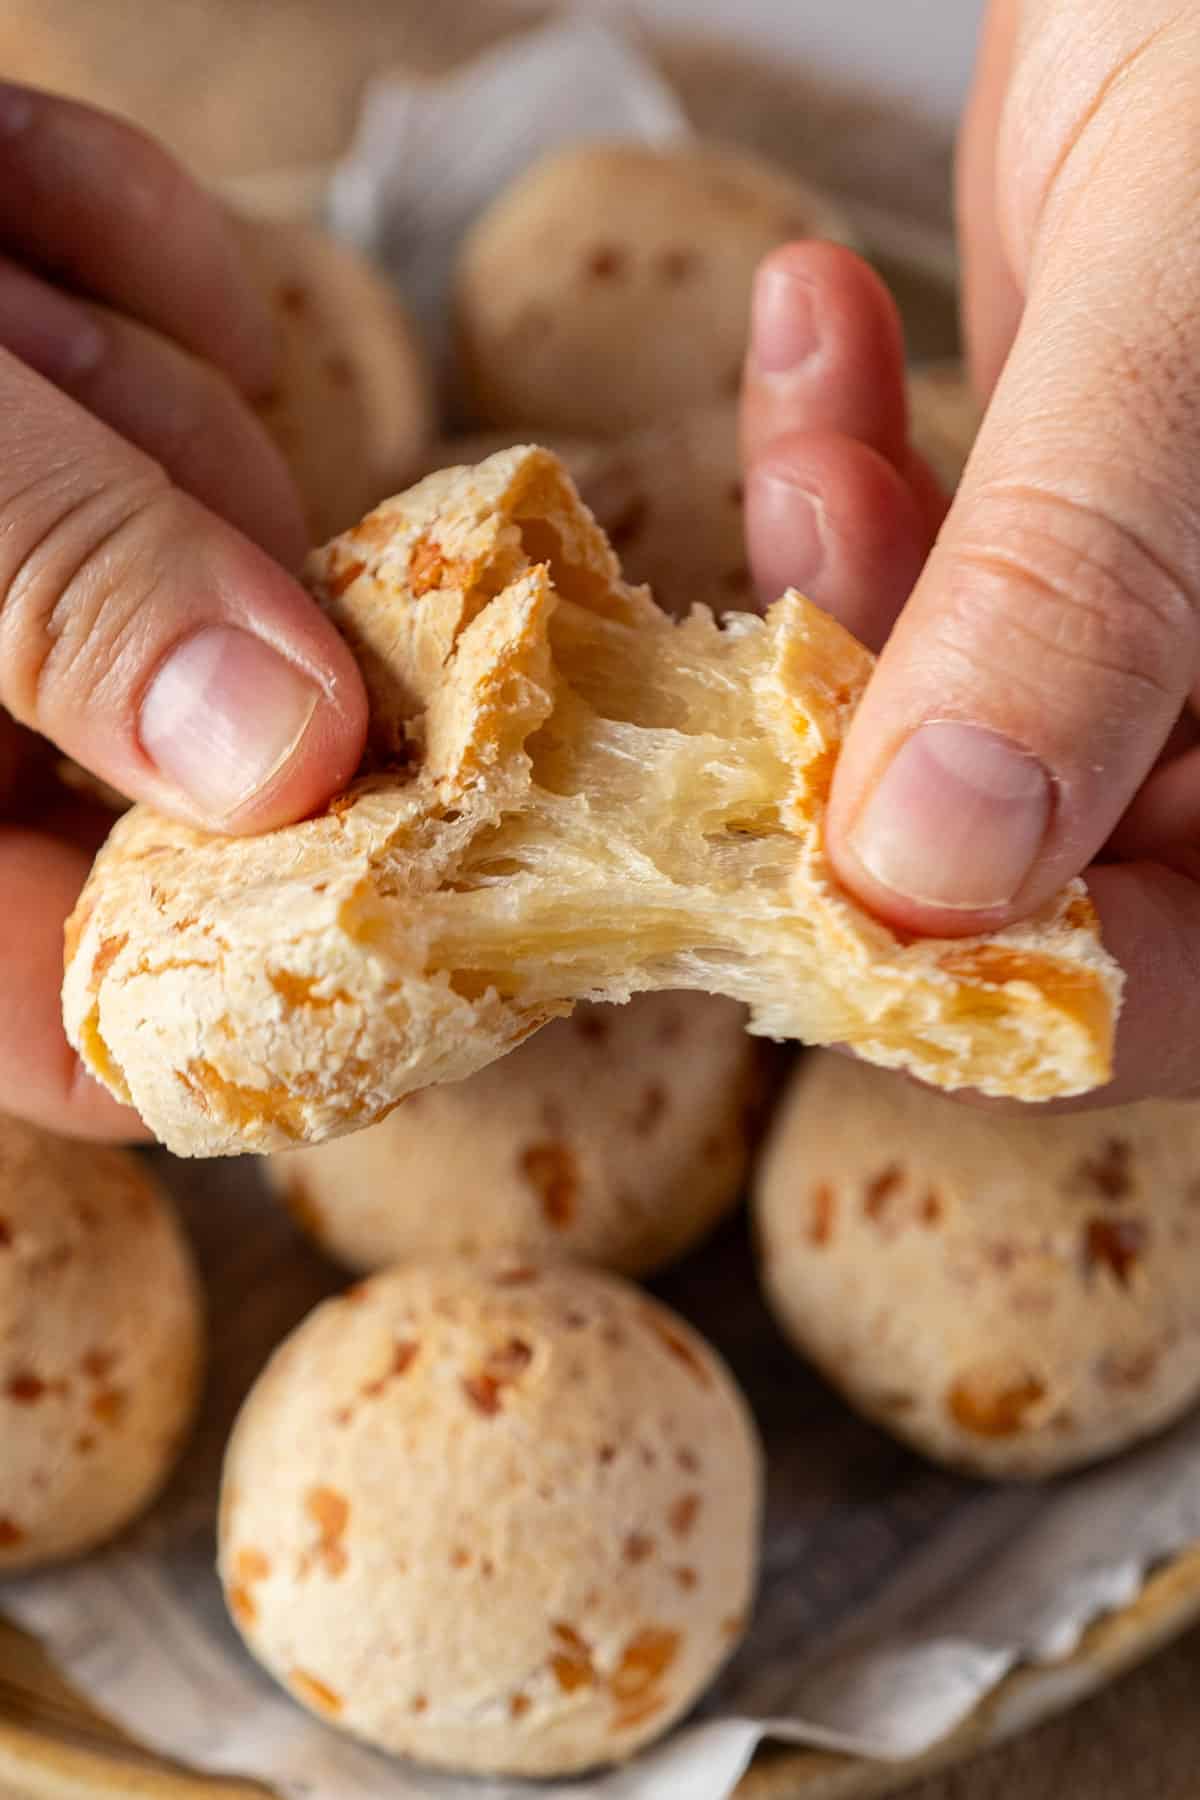
These Brazilian cheese puffs are with crispy skin with a contrast of soft and airy inside. They're also chewy with a mochi-like texture. They're deliciously cheesy and trust me, you won't be able to stop munching on them!
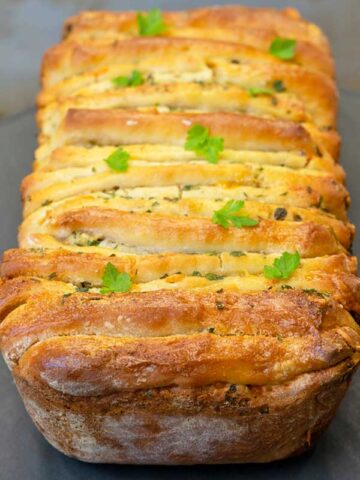
If you love cheese bread, then you simply have to try my cheese roti canai (paratha), garlic cheese pull-apart bread, and even my turkey and cheese puff pastry pinwheels!
Why This Recipe Works
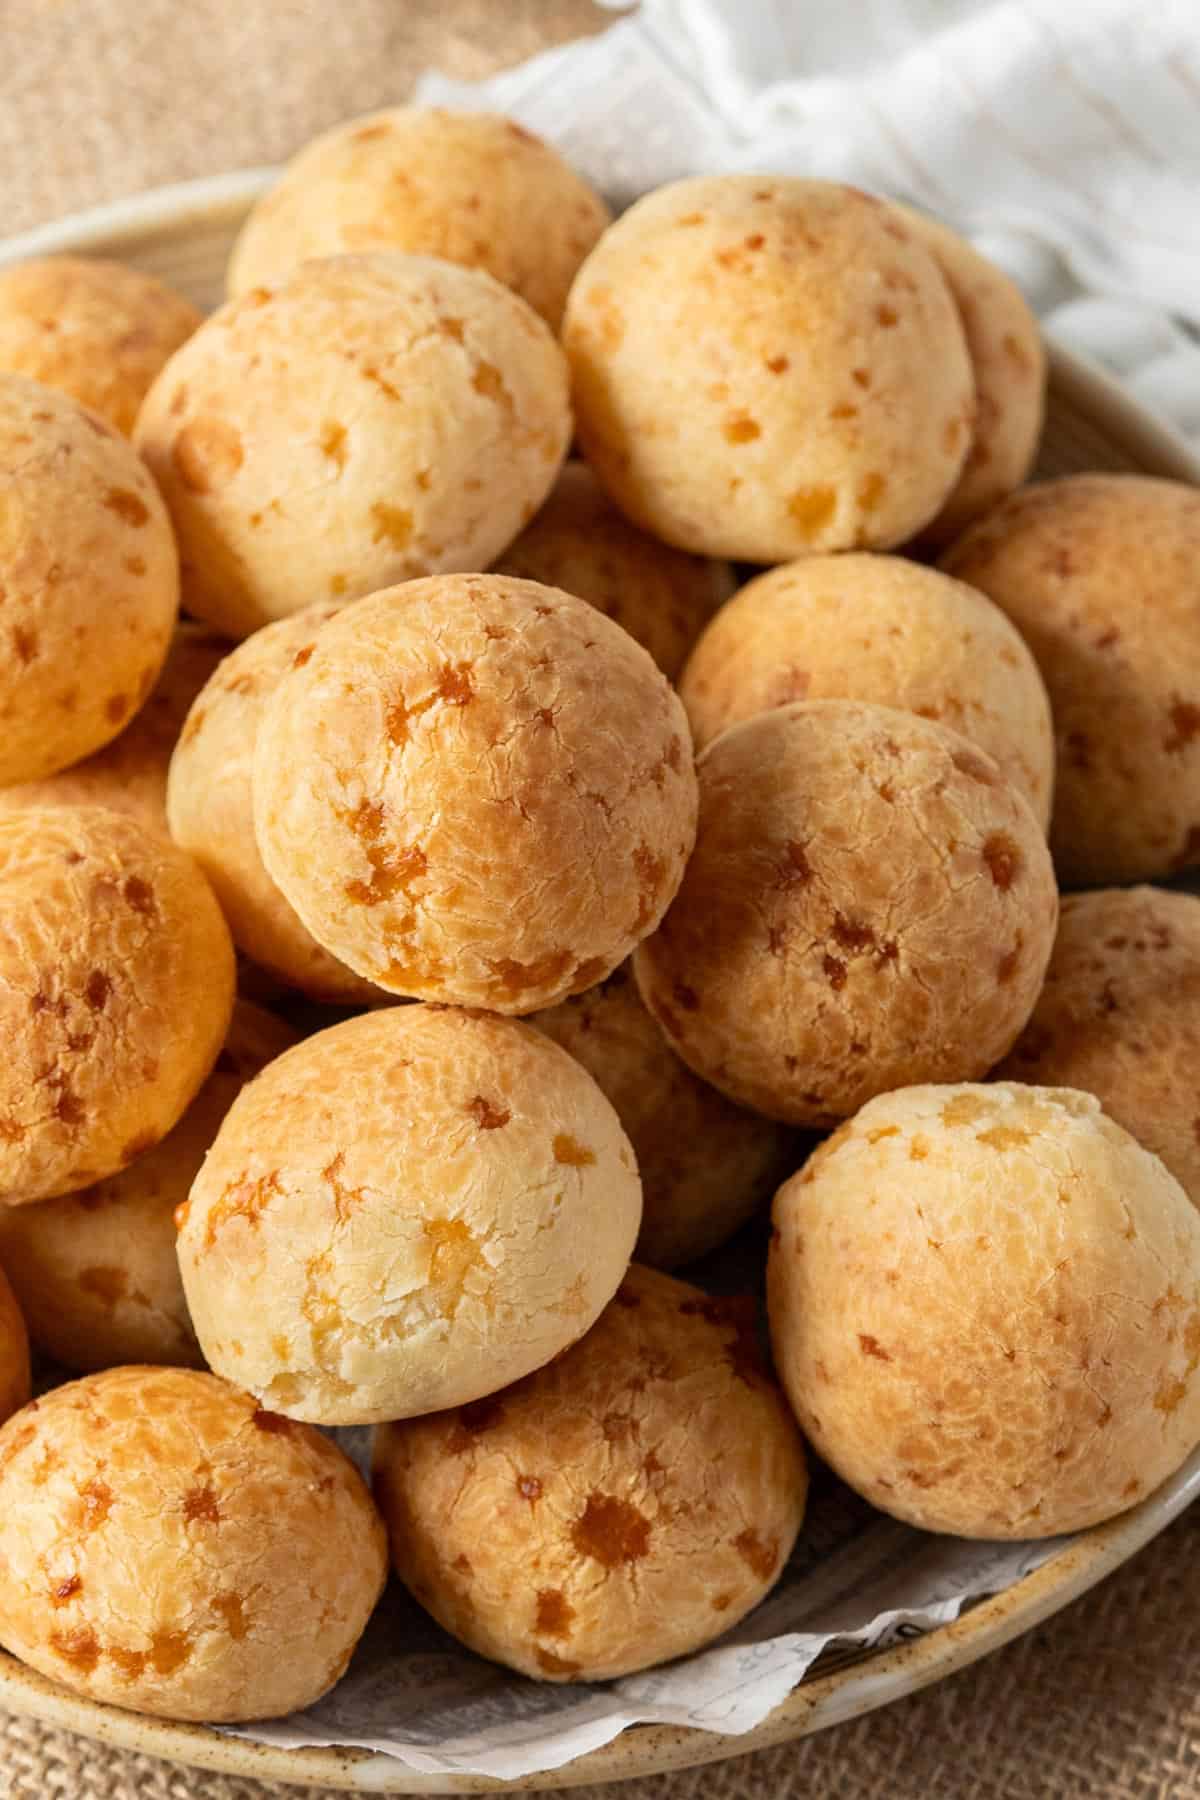
This is the easiest recipe, delicious and success-guaranteed, just like our caramelized onion tartlets with camembert. Trust me. Marco's had this cheese bread since he was a kid. He and his family ate these every time they went to Brazil. We've made this so many times, our readers loved them, and everybody we serve these cheese bread balls simply goes crazy for them.
And you don't need a food blender to make them. Just a wooden spoon, a bowl, and a small pot. Simple, eh?
Also, the dough is very forgiving. You can't go wrong with it. Just follow our easy instructions and tips, and you'll be golden!
Ingredients For This Recipe
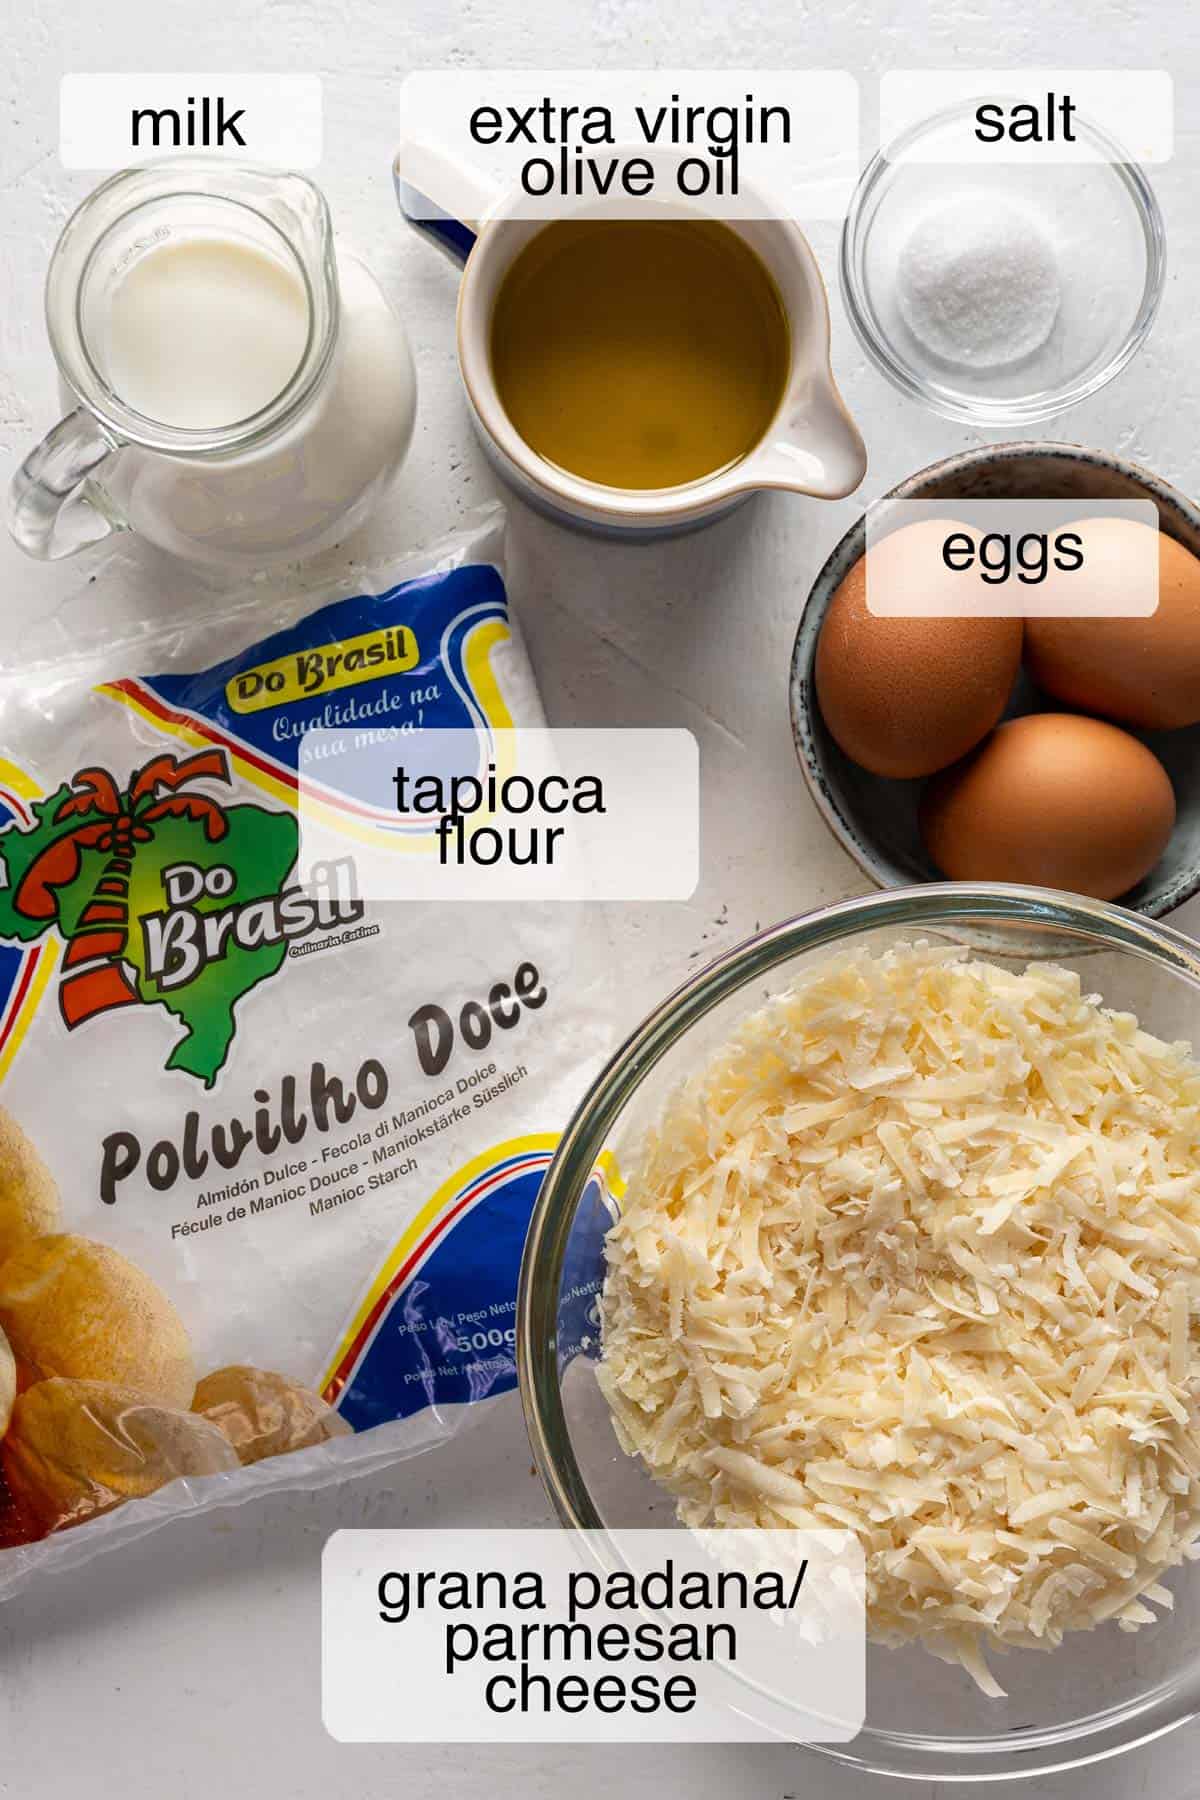
Tapioca flour - Make sure it's tapioca flour also known as tapioca starch. If you go to a place/aisle where they sell Latin American products, look for polvilho doce (sweet tapioca starch). There're two types; sweet and sour. The sour one has too strong of a taste, I don't recommend it.
Cheese - I use grana padano but any sharp cheese like parmesan or cheddar will work amazingly. Talking about cheese, my skillet pull-apart bread with parmesan and mozzarella cheese dip is to die for!
Oil - I use extra virgin olive oil but any oil will do. Olive oil, coconut oil, avocado oil, your choice. Think of the flavor it'll add to this delicious Brazilian cheese bread.
Milk - Whole or skimmed works great. I've used them both without any problem.
Step-By-Step Instructions
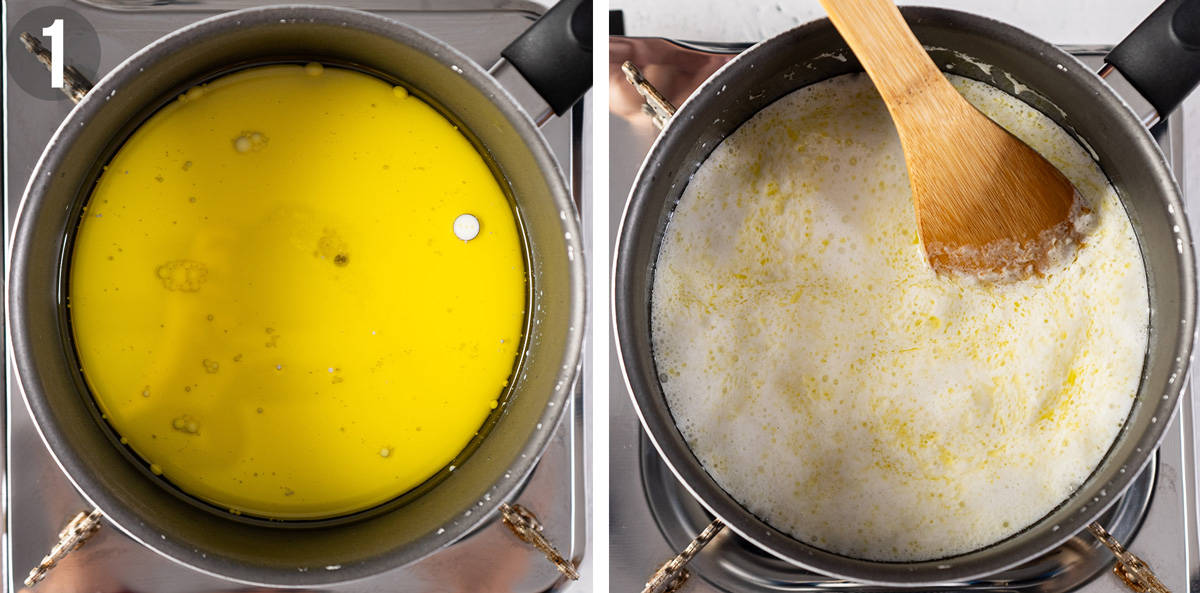
1. Prepare the liquid mixture. Add milk, oil, and salt into a small pot and bring it to a rolling boil on medium heat, while stirring now and then with a wooden spoon.
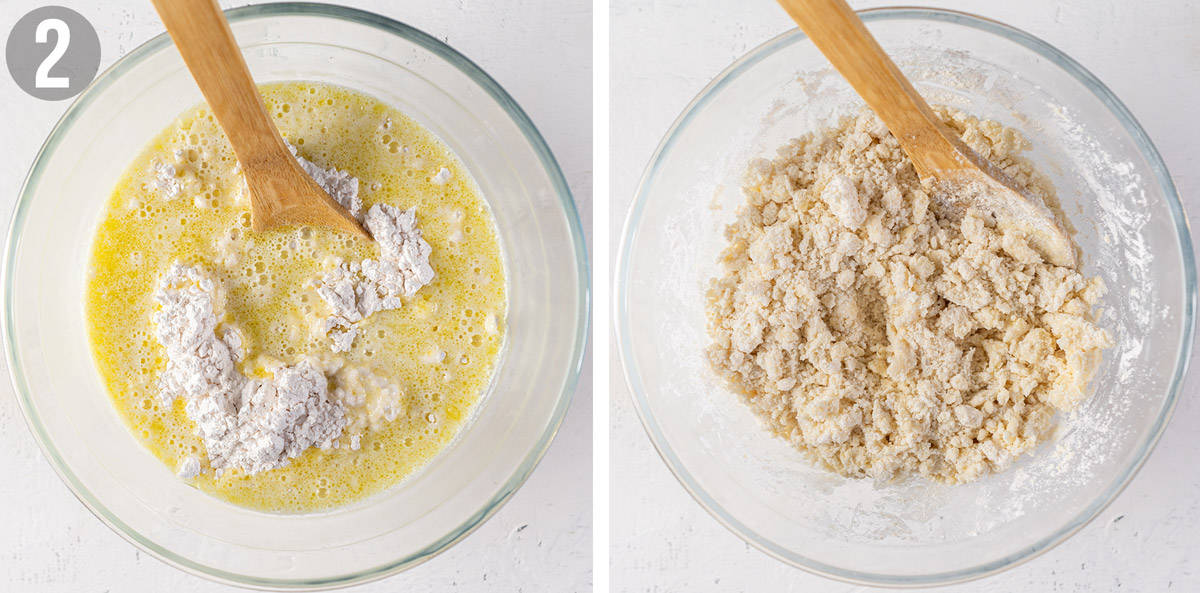
2. Add to the flour. While still hot, immediately pour it into a bowl with the tapioca flour. Mix everything well until you get a homogenous crumbly dough. Leave for a few minutes until it's warm to the touch.
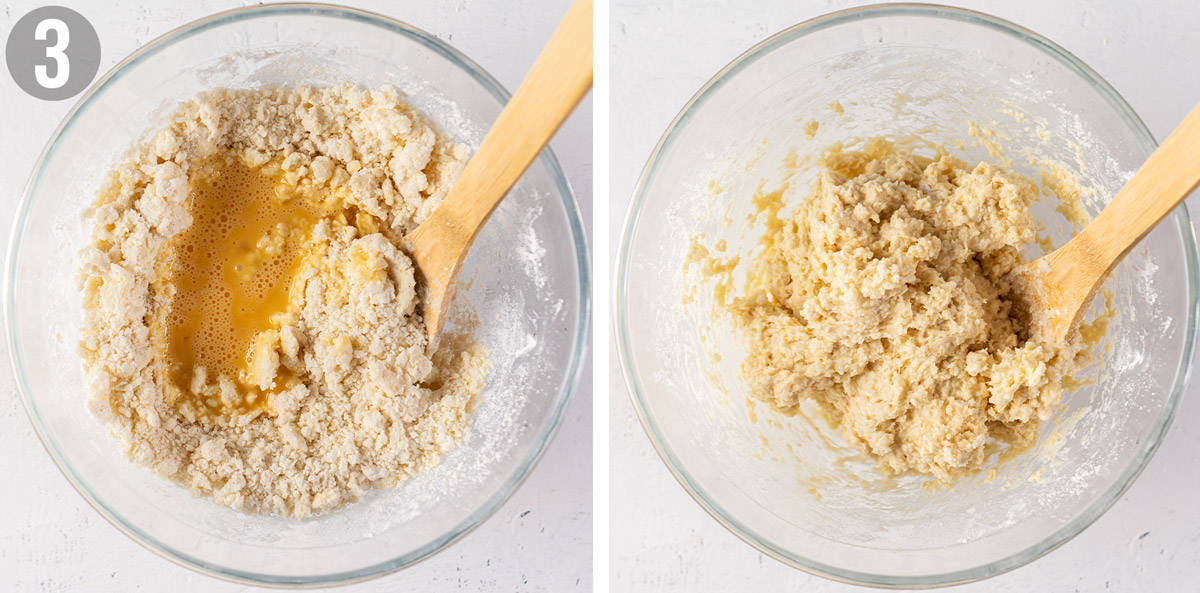
3. Add in the eggs. Briefly whisk the eggs in a bowl and pour them together with the dough. Make sure the dough is not too hot to avoid the eggs from being cooked (we don't want scrambled eggs!). Mix thoroughly.
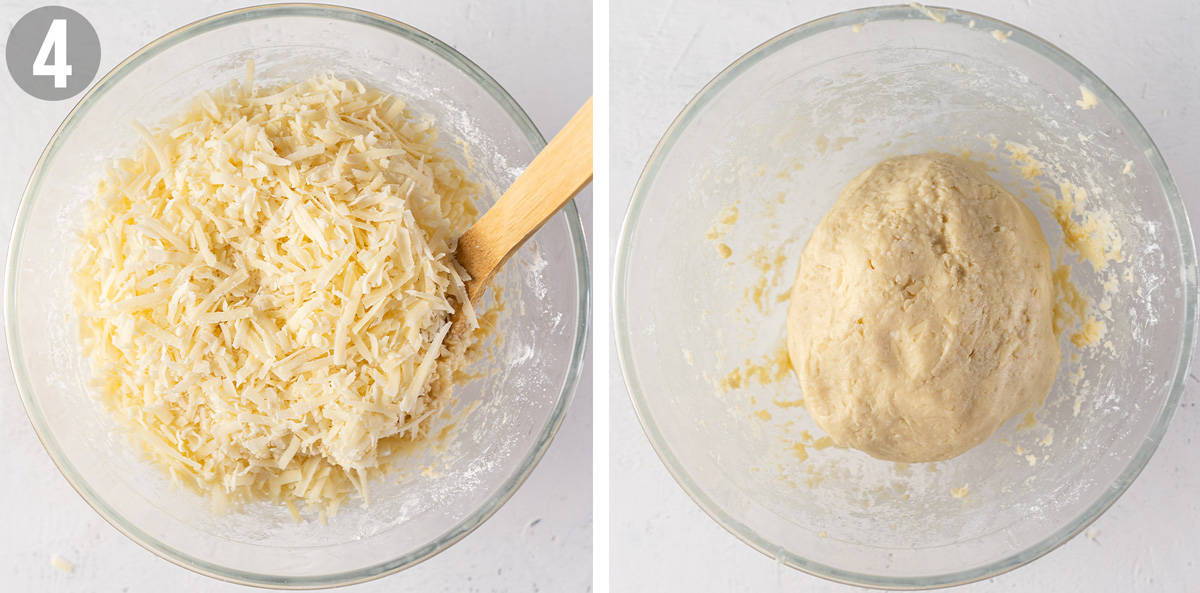
4. Add in cheese. Mix in the cheese, the dough will be sticky at first. Knead with your hands until everything comes together. The more time passes, the less sticky the dough will be.
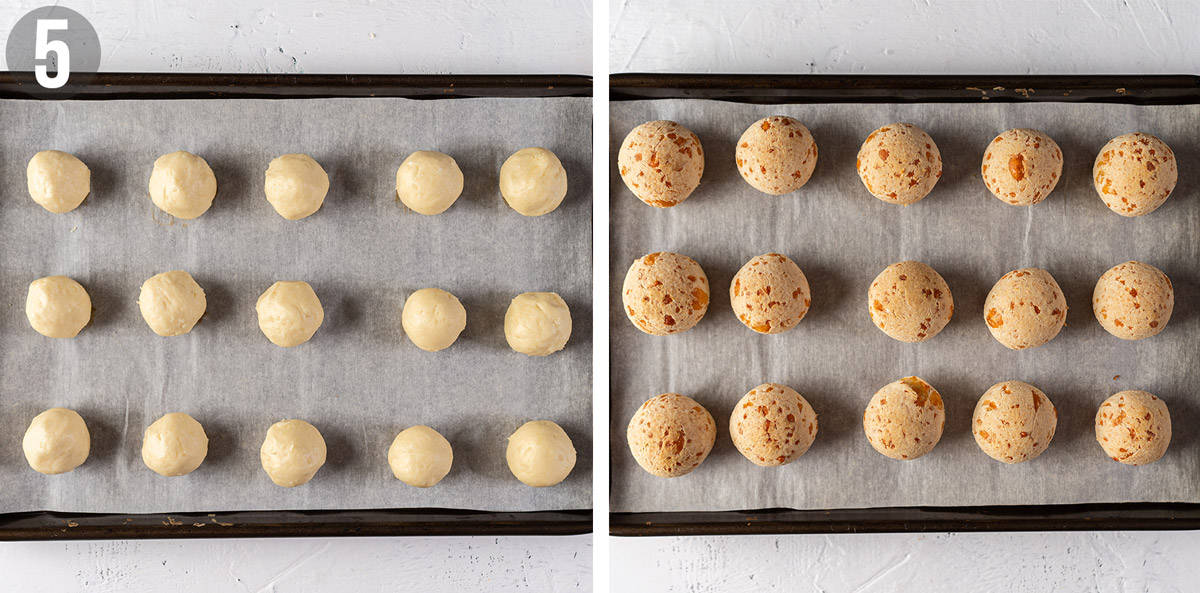
5. Bake. Roll the dough into 1-inch balls and place them on a baking tray with parchment paper. Bake in a preheated oven at 400ºF for 25 minutes. I love them hot from the oven but Marco and his family don't mind these pao de queijo at room temperature.
⭐ See the recipe card for full information on ingredients and quantities.
Recipe Expert Tips
- Coarsely grated cheese. This is to get those beautiful cheese bits that you see on the Brazilian cheese puff! The similar cheese bits that you can see in my cheesy flaky biscuits.
- Wait before adding the eggs. Make sure the dough is warm to the touch, before adding the eggs. This will avoid getting scrambled eggs in our dough.
- The dough will be firmer in time. You'll get sticky dough at the beginning. As you knead it, and as time passes, it'll not be as sticky. Cleaning your hands from sticky dough bits or oiling them will help.
- Rest the dough. If for some reason your dough is still sticky after kneading, no worries. Simply cover it with a cling film and leave it for 10-20 minutes. As time passes, it'll be firmer to handle.
How To Serve, Store And Freeze
Serve - Marco and his family don't mind eating this Brazilian cheese bread hot from the oven or at room temperature. I love them hot! Serve them as snacks or appetizers. They're the best fresh, on the day of baking.
Store - In an air-tight container at room temperature for up to 2 days, or in the fridge for up to 1 week. Reheat in the microwave for a few seconds. Or in the oven or air-fryer at 350ºF for a few minutes.
Freeze - Place raw dough balls on a tray with parchment paper and freeze for 1 hour until they're solid. Then transfer them into a Ziploc bag or an air-tight container and back in the freezer, for up to 4 months. Bake for a few minutes longer as instructed in the recipe. No need to thaw them first.
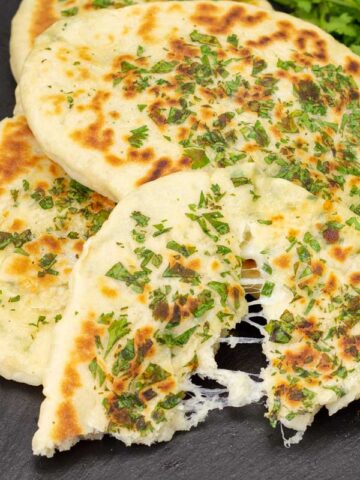
If you love this bread, then I know you'll also love my cheese-stuffed naan bread. It's so delicious and easy to make!
Recipe FAQs
Yes, they are! We're not using wheat-based flour, so no worries.
Of course! Just use a lower temperature. Bake in a pre-heated air-fryer at 360ºF (180ºC) for 12-15 minutes or until they're golden brown. The time varies depending on the air fryer.
You'll get sticky dough at the beginning, don't worry. Knead it on a working surface for a few minutes, it'll not be sticky as time passes. Remove/clean the sticky dough bits from your hands, or oil your hands, it'll help.
If that doesn't help, cover the dough with a cling film and rest it for 10-20 minutes. It'll be more manageable then, and not sticky anymore. Trust the process!
Other Cheese Bread Recipes
If you tried this Brazilian Cheese Bread or any other recipe on our website, please leave a 🌟 star rating and let us know how it went in the comments below!
Watch The Video
📖 Recipe
Brazilian Cheese Bread (Pao de Queijo)
Ingredients
- 1 cup (250 ml) milk
- ½ cup (125 ml) extra virgin olive oil
- 1 teaspoon salt
- 4 cup (500 g) tapioca flour
- 3 large eggs , room temperature
- 2 ½ cup (250 g) coarsely grated grana padano cheese
Instructions
- Preheat the oven to 400ºF (200ºC). Prepare a baking tray lined with parchment paper.
Dough
- Add milk, oil, and salt into a pot, and bring to a boil on medium heat, stirring now and then.
- While still hot, pour it into a bowl containing tapioca flour. Mix using a wooden spoon until you get a crumbly dough. Leave for a few minutes until it's warm to the touch before adding the eggs. Mix thoroughly.
- Lastly, mix in the cheese. You'll get sticky dough at first. Knead for a few minutes on a working surface until nothing sticks to your hands. Cleaning your hands from the sticky dough bits or oiling them will help.
- Roll the dough into 1-inch balls, and place them on the baking tray 1 inch apart.
Bake
- Bake on the middle rack for 25 minutes or until they're golden brown. Enjoy!
Notes
- Wait until the dough is warm to the touch before adding in the eggs. This is to avoid the eggs being cooked with the hot dough.
- If the dough is too sticky and you can't manage it, no worries. Cover it with a cling film and leave it for 10-20 minutes. It'll be not as sticky as time passes.
- Kneading with clean (no sticky dough bits) or oiled hands will help bring the dough together faster.
Nutrition Facts
The nutrition facts provided are an estimate per serving. Accuracy is not guaranteed.
Originally published on Nov 8, 2017. Updated with improved text and pictures on Jul 8, 2023.








Helen says
I’ve just baked these and they’re so delicious. I’ve tried different recipes but this one is by far the tastiest. Thank you for such a lovely (and easy) recipe. Xxx
Bea & Marco says
Yay! Happy to hear that you loved them, Helen! This is our go-to recipe to make the cheese balls. Thank you for your feedback!
Indi says
I love your detailed explanations. I made this for the 1st time and it was superb! thank you bea and Marco.
Bea & Marco says
Yay! I'm so happy to hear that. I baked the frozen ones over the weekend and everybody loved them. Thanks for giving the recipe a try, Indi!
Magdalena says
Thank you! Super delicious! Will be definitely making them again 😊
Wondering how can I store and reheat them once baked? And can the dough be prepared in advance and baked the next day?
Bea & Marco says
Happy to hear you liked them 🙂 Store them in an air-tight container at room temperature for up to 3 days, and reheat at 350F (175C) in the oven for a few minutes. Regarding the dough being prepared in advance, I haven't tried it but I would say no because this type of dough hardens with time. Hope this helps!
Declan says
This worked perfectly. Would not consider myself a baker but they turned out great! One question for all the experts out there. How might I make them a little lighter and fluffier?
Bea & Marco says
Happy to know you liked them 🙂 Thanks for letting us know.
karla says
hello please advise which tapioca starch is best to buy for the bread. I'm in California and there are so many to choose from. what consistency or colors am i looking for? thank you for sharing your recipes
Bea says
Hi! I like to use the brand Yoki, I don't know if you can find it at your place. Perhaps in the Latin American aisles? It's very white in colour with very fine texture, similar to corn starch. hope it helps and let me know how it goes.
angela says
HI,
can I turn the mixture due to not having enough tapioca four into bread not small rolls
cheers
Bea says
Hi Angela! Honestly I haven't tried it so I can't really say. Sorry though!
Naomi says
Perfect on my first try, I am really impressed and so were my Brazillian friends. Obregada!!!
Bea says
I'm so happy to know you and your friends liked it! Thanks for the feedback Naomi!
Silvia says
Hi, Bea!
I made Pao de Queijo for the first time and I am super happy with the results. I got 43 balls out of the recipe! The dough was a little sticky at first, but I let it rest per your instructions and used a cookie scoop and then rolled them with my hands. Thank you for this awesome recipe!
Bea says
Awesome, I'm glad to hear that Silvia! Thank you so much for your feedback 😍!
Ana says
Finally, I found out an amzing Brazilian cheese bun recipe! Thank you for sharing,
Bev says
Hi, Bea! Thank you for sharing your recipe with us! I’ve tried making this a few times but I would end up with a super watery and runny dough (unlike video) every time after adding the eggs and after adding the cheese and kneading for a long time, it’s still runny and making it impossible to shape into balls. So I always end up with cheese biscuits instead of the cute little balls shown in your video. 🙁
Is there a reason why this keeps happening to me? I don’t see anyone else having the same problem. Would love to hear from you! 🙂
Bea says
Hi Bev! Did you use the same exact measurements as mentioned in the recipe? Was there something that you changed/sub for the ingredients? The dough is the opposite of runny, it takes a few minutes to bring it together.
Bev says
Hey, Bea! Thanks for getting back to me. Everything was the same! Measurements and ingredients. Which was why I found it strange that it turned runny! ☹️
Bea says
Hi Bev! Yes it's very strange because for me, it's the opposite of runny. It takes quite an effort bring the dough together. Could it be the type of flour 🤔
June says
I use cheddar as substitute as I have a lot leftover. I was skeptical when the dough was so fragile to mold at first. But voila! The inner and outer textures turned out so fine aft baking. Awesome recipe! 😋🙌🏽
Bea says
That's great June, thank you for your feedback!
Jen says
Hi! I have a question. Can I use regular flour or corn starch instead? Because I don’t have tapioca starch or tapioca flour.
Juliana says
I just tried this recipe and it's amazing! I'm Brazilian so I can attest this is the real deal. I used half of parmesan and half of Monterey Jack (because I didn't have enough parmesan). I also put a piece of the parmesan rind in the milk and oil to boil for some added flavor.
It turned out perfect! My mother asked for the recipe (she's been making these her whole life, but she likes this recipe better.
Thanks so much!
Bea says
Oh coming from a Brazilian and even her mother approves, well that makes me beyond happy 😆! We simply LOVE these, they’re so addictive you can’t stop munching on them 🤣. Thank you for your feedback, warm regards to you and your mother 😍!